With every portrait shoot, my goal is to see what kind of results I get with a specific camera and lens combination.
Like many beginner photographers, I just want to know what it would look like to shoot with a specific lens. What are the results, and would I like this lens in my collection?
Portrait Shoot Breakdown
All lenses give unique looks, and on this model test shoot I tested the Sony 55mm f1.8 Zeiss lens on the Sony a6600 APSC camera. I also tested the Sony 24-70mm f2.8 GM lens on the full frame Sony a7iii. Both combinations resulted in high quality images, but the user experience for each camera combination was very different.
Model Test Shoot Portrait Session – The Concept
The concept for this test shoot was very simple. I wanted more of a lifestyle feel to the portraits. I knew I was going to be using natural light for most of the shoot, but I had my Profoto B2 strobe with me just in case.
I asked the model ahead of time to present photos of her wardrobe, so we knew what to expect on location. Hanna sent her pics along with ideas for makeup. Once we had the look down, we stayed in communication until the day of the shoot.Space
Studio Location – The Space at South Side Studios
The Space at South Side is a 2-story studio featuring a lower level for more traditional studio shoots, and a lifestyle studio on the second floor. I booked the lower level because of the large windows and wall of light that would be crucial to my portraits.
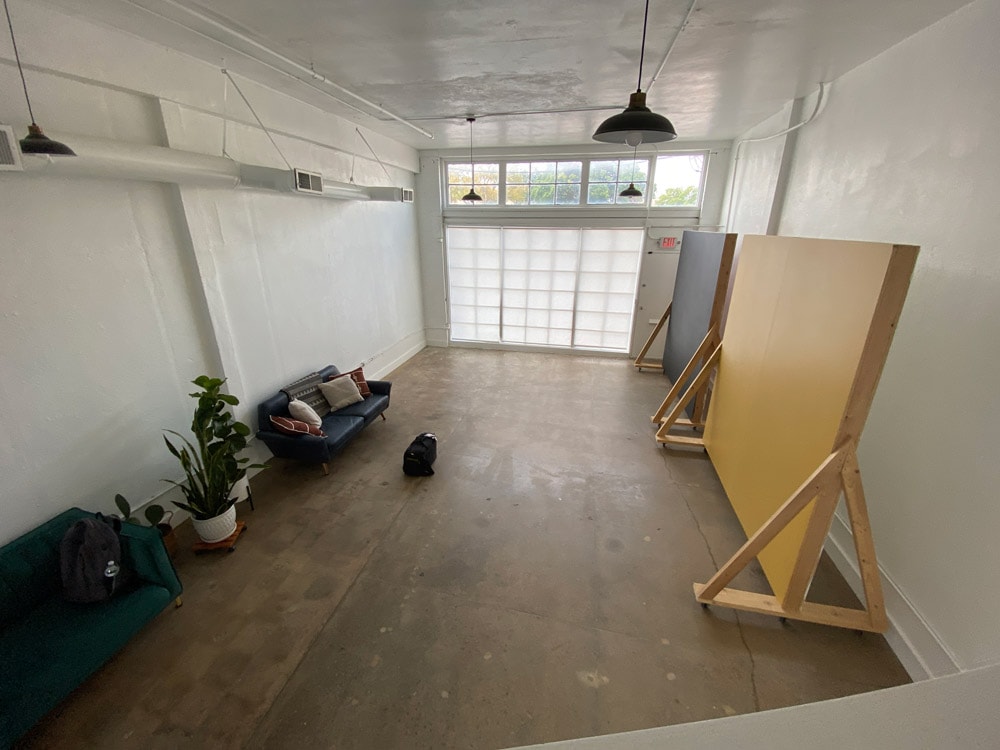
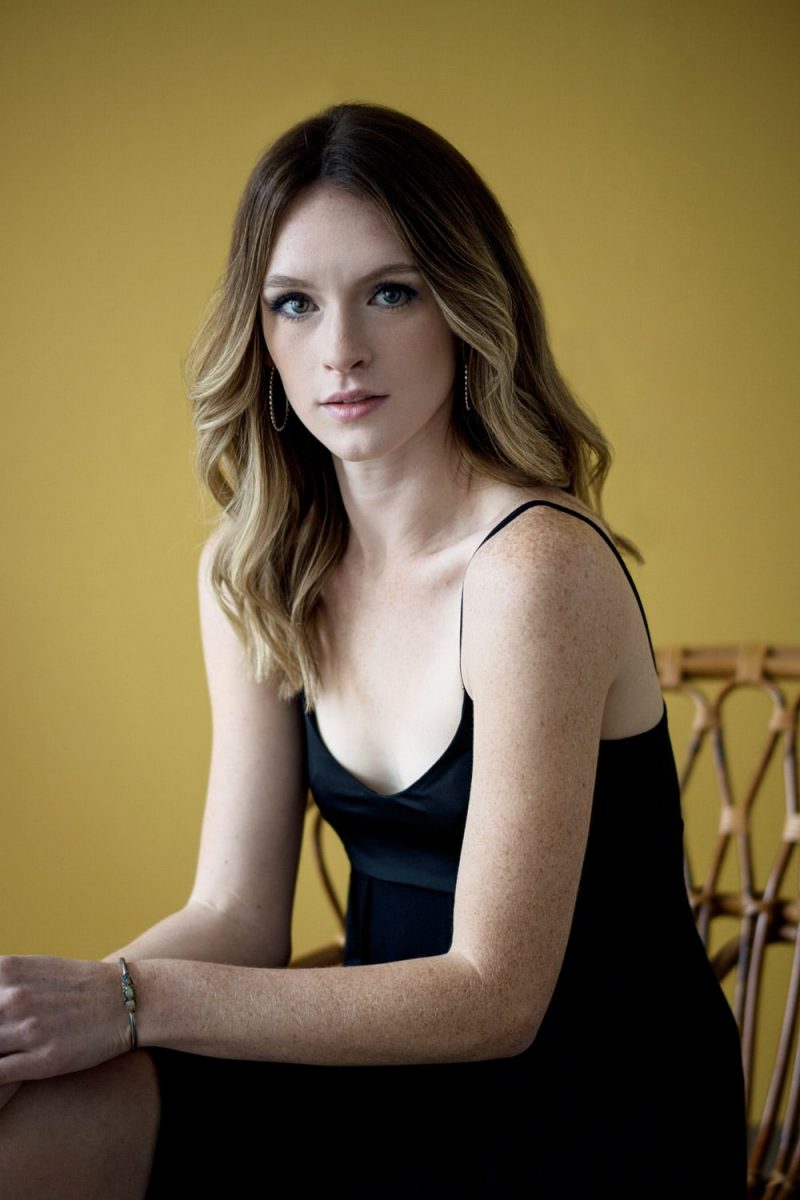
This studio is great for Dallas area photographers as it provides backdrops and an assortment of props for your shoot. I took advantage of the large colored panels as backdrops for my portraits.
The studio space was roughly around 15ft x 25ft approx. The north facing wall was all windows and this provided much of the soft natural light I was looking for.
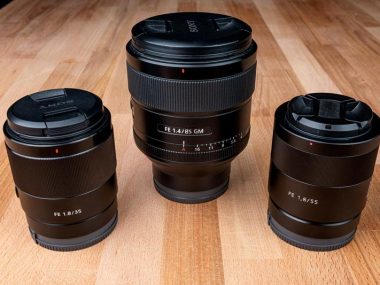
Camera Gear for this portrait session
I brought 2 camera combinations with me to this test shoot and a small assortment of lenses. I was not sure what the spacing of the studio was going to be like, so I made sure to cover my bases with wide and zoom lenses.
Sony a6600 with Sony 55mm f1.8 Zeiss Lens
The Sony a6600 is an APSC camera and I paired this with the full frame Sony 55mm f1.8 Zeiss lens. This is a small and light weight setup that is easy to shoot with. The 55mm full frame lens comes out to around an 82mm equivalent view on the crop sensor camera.
The e-mount system allows for using my full frame lenses on APSC bodies and taking advantage of the closer crop. The lens balances well on this camera and the new larger grip on the Sony a6600 makes it easier to hold than my other Sony APSC cameras.
Sony a7iii with Sony 24-70mm f2.8 GM Lens
In contrast to my Sony a6600, I went ahead and shot with my Sony a7iii full frame camera as well during this portrait session. I had the Sony 24-70mm f2.8 GM lens mounted on the camera for maximum versatility.
This combination was heavier than the Sony a6600/55mm combo, but it had some unique advantages for this shoot.
Profoto B2 Strobe with 2×3 OCF Softbox with Profoto Air Remote
Even thought I was planning on shooting with natural light, I also had my Profoto B2 strobe on hand to help add a small amount of light to the shadows of my portraits. I did use it for a small amount of shots, but ultimately decided to stick with natural light for much of the shoot.
Mounted on the Profoto B2 head was the 2×3 OCF softbox with inner diffusion baffle in place. This gave me the softest light I could get while shooting in the limited space. I mounted the light on a standard light stand and placed this in the middle of the room.
Don't Miss This
Model Posing and Direction
Hanna arrived a bit early, so we discussed the shoot and expectations. This is a big part of any shoot as it allows for the photographer and model to communicate ahead of time and has out ideas in the space.
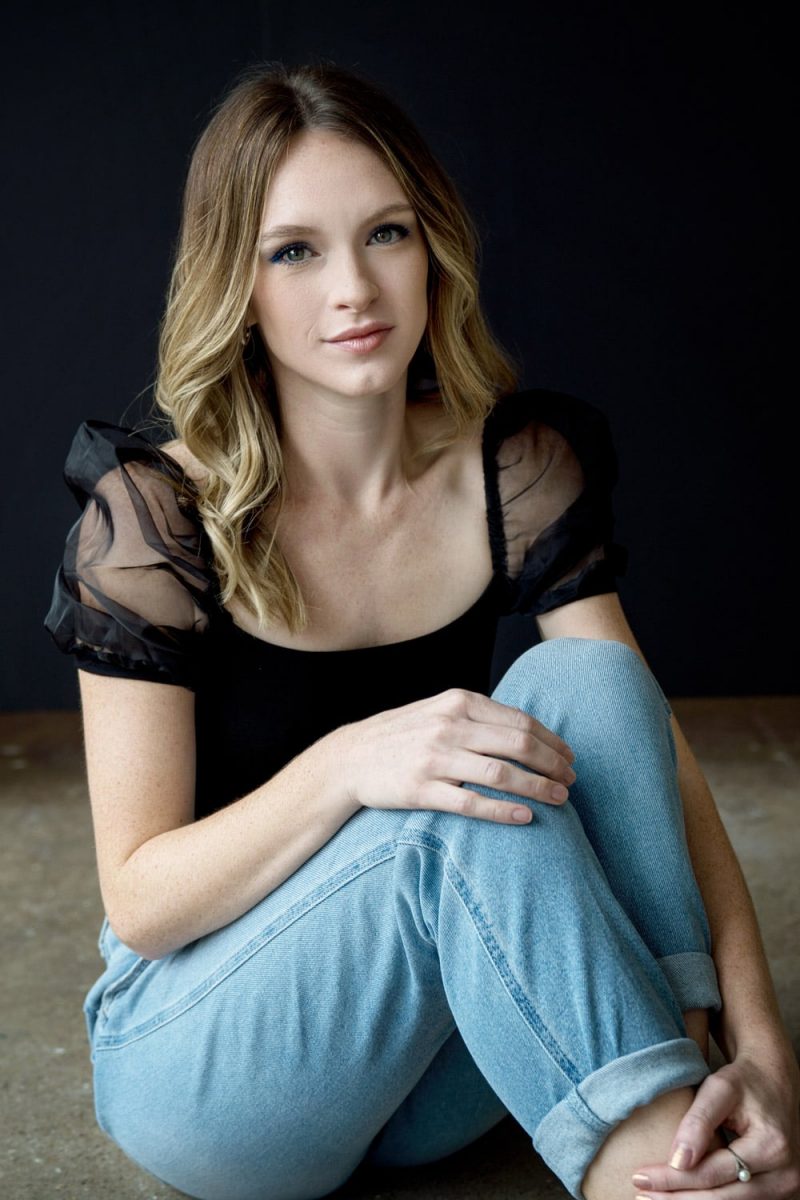
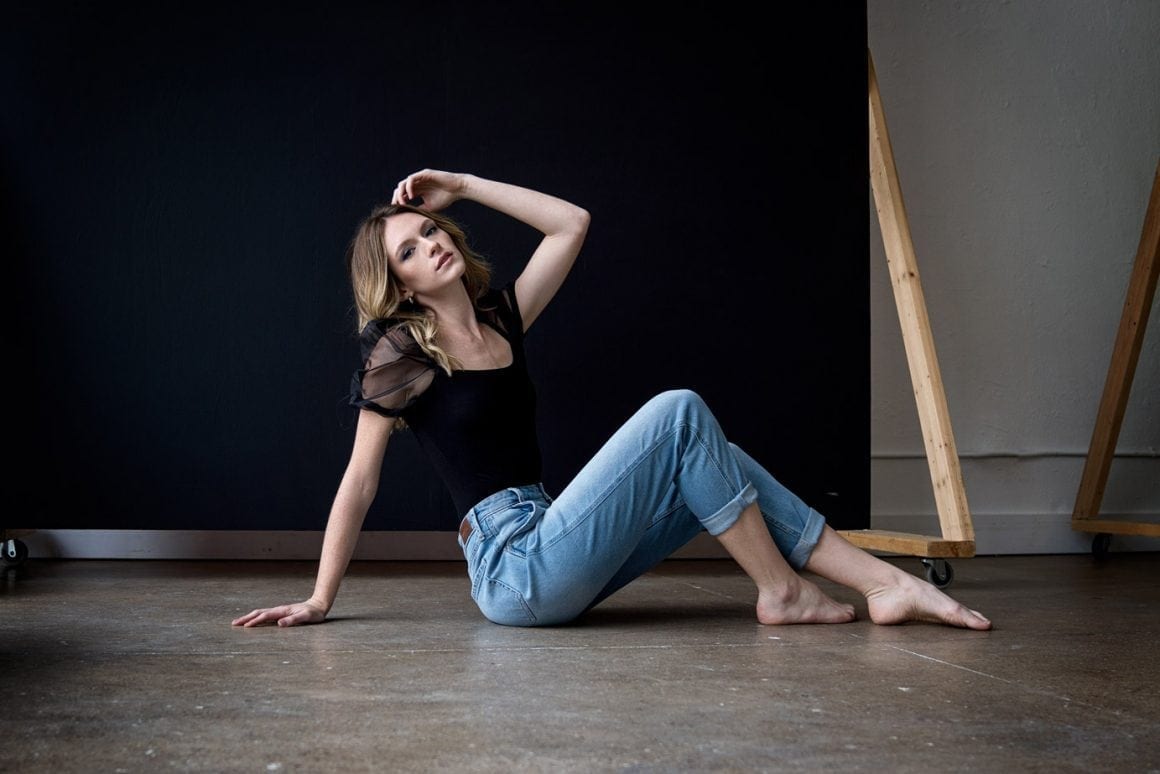
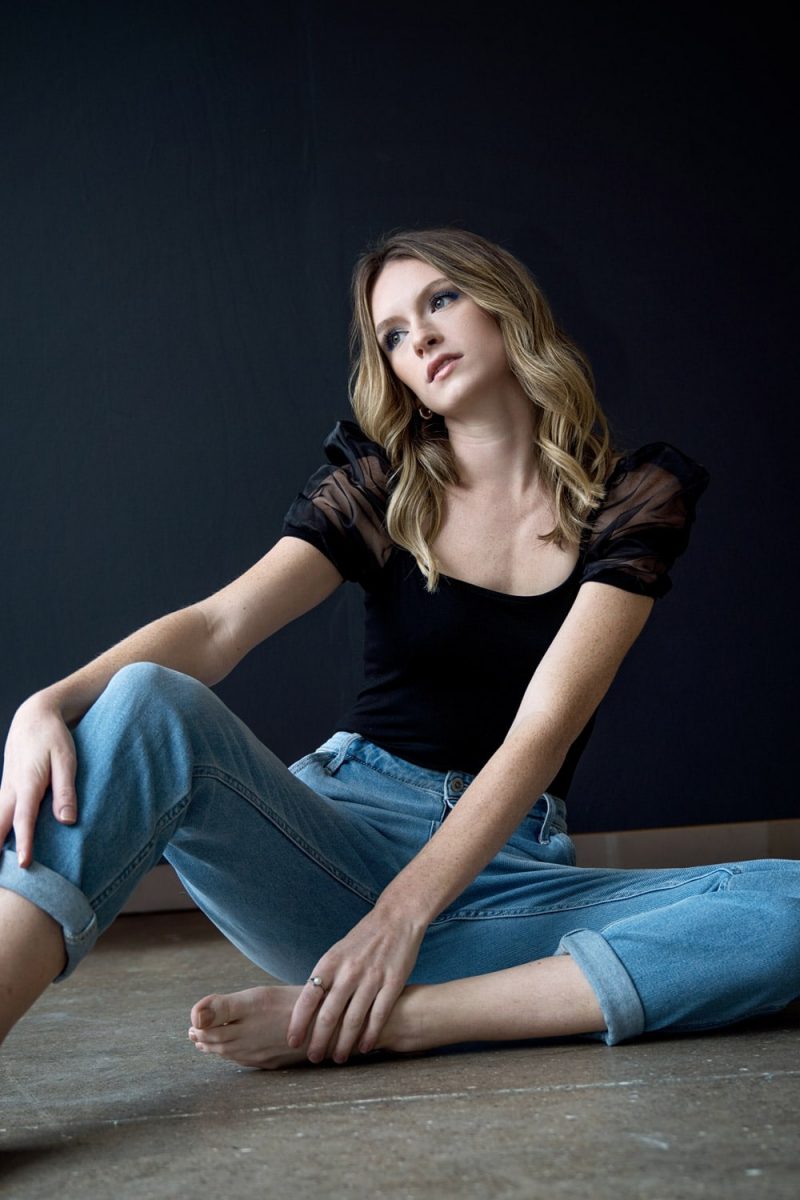
I wanted very elegant micro-movements as I was going to have her sitting for parts of the shoots. I made sure she was pointing her toes out and elongating the look of the legs.
I was shooting at a medium pace, so she didn’t have to hold her poses for very long. I shoot faster with natural light so she would move after every camera click.
Breaking down the portrait shoot – Here are the results
Now that we have all the gear and technical aspects of the shoot out of the way, let’s check out how each combination did and see which one I preferred in the end.
Sony a6600 Performance Overview
My overall review of the Sony a6600 is positive for this portrait shoot. I was impressed with the camera overall and found a few things that I feel that I should note below.

1. Sony a6600 Autofocus
The autofocus system on the Sony a6600 is precise and quick. The eye auto-focus system made this shoot easy and gave me a higher chance of hitting focus over the single spot setting.
Of 20 shots I reviewed in a small sequence, I had 3 shots that did not hit critical focus on the eye. I believe this was due to Hanna’s hair getting in the way, so I don’t fault the camera system on these.
2. Sony a6600 User Experience
The user experience of the Sony 6600 is not like the full frame counterparts even though there are many similarities.
This camera body has fewer custom buttons and sports a smaller body and does not feature a front wheel for customizing. I found myself trying to spin a non-existent front dial to change the aperture. I have this setup on my a7iii.
3. Drawbacks to the Sony a6600
One draw-back I found was the view finder. It’s small and slightly harder to use versus the Sony a7iii view finder. I like to switch between the viewfinder and back LCD screen, but I finally just gave up and went 100% back screen for composition and focusing.
I think the placement of the viewfinder all the way to the left side of the body is not a comfortable placement for me when shooting faster sets.
The only other drawback I will note is the lack of custom buttons. I was having to constantly bring up the menu when changing settings on the fly and this was slowing me down since I had to bumble thru the large menu to find the options I needed.
I’m sure once I study the menu system, I will get faster at changing settings.
Sony a7iii Performance Overview
The Sony a7iii is a top performing camera and it was no different on this shoot. I use this camera for many of my test shoots along with my Sony a7riii. I knew I was going to be shooting a large variety of shots and I didn’t want to large file sizes, so the a7iii was perfect.
1. Sony a7iii Autofocus
Like the Sony a6600, the eye tracking and continuous auto focus worked as expected. I had a high percentage of in-focus photos and I didn’t have to stop and double check after every shot. What photographers refer to as chimping.
I did have a few smaller focusing issues but this was because my shutter speed was not fast enough to capture the quick movements on certain sets. That issue was with me and not paying attention to my camera settings.
2. Sony a7iii user experience
by far the best experiences I have had with shooting are with the Sony a7iii full frame camera. Specifically, this camera and the Sony a7riii button placement is simple to find and the extra custom buttons let me have certain features right at my fingertips.
3. Drawbacks of the Sony a7iii
Just like other Sony cameras, the menu is always a hassle to work with, but I found myself going into it less with this full frame camera. I don’t have many other issues with this camera, but the menu always stands out in my mind.
Having the Profoto B2 Onsite
Just in case, I had my Profoto B2 with 2×3 OCF soft box and my Profoto Air Remote on hand to compliment some of the shots. This studio is known for the natural light, so I didn’t use this strobe much.
The limited shots I did take came out great, but I preferred to keep the shoot geared towards natural light. The 250ws strobe is a perfect companion for filling in shadows and complimenting your photography, but I simple didn’t need it
Why use multiple cameras for a portrait shoot
My goal was to do a simple comparison of the final images. I have always been curious if you can get similar results to a full frame camera with a crop sensor camera.
Now, I was using a full frame lens on a crop sensor camera, but I am not sure that made a big difference in the final quality of the RAW file. I could be wrong and that is why I test.
Prime vs Zoom Lens Portrait Shoot
Prime lenses tend to be sharper in my experience and I could also shoot wider apertures. Most Zoom lenses are a maximum of f2.8 while prime lenses can go to f1.8 or even f1.4.
Zoom lenses provide plenty of versatility for your composition and give you a chance to take more variety without having to move around.
Prime lenses require you to be thoughtful of your composition and think head about what type of shot you’re looking for. For example, the 55mm on the Sony a6600 had a tighter crop so I knew I would have to stand further away to get more in frame.
With a zoom lens I could stand close to my model and change focal length without having to move around.
Crop Sensor Vs Full Frame Portraits
My results for this portrait shoot were unexpected. The Sony a6600 provided excellent quality shots when compared to the Sony a7iii.
You would need to pixel peep to start seeing the major differences in quality and this was not something I was expecting.
I have researched many photographers who say you can immediately tell the difference between the APCS and full-frame line up, but I don’t think this was the case. At least in my personal experience on this shoot.
Natural Light Vs Strobe Flash
Natural light portraits are easier to shoot in my opinion, but you need to be careful of changing light.
The sun is constantly moving and light density changes with cloud cover and other factors during your shoots. Even white balance can change if your camera is set to auto white balance so keep an eye on this when shooting.
When shooting natural light, I quickly realized that the transitions between all the shadows on my subject are soft and subtle. With Flash, the shadows tend to have an abrupt transition, and this is dependent on distance of light and modifier used.
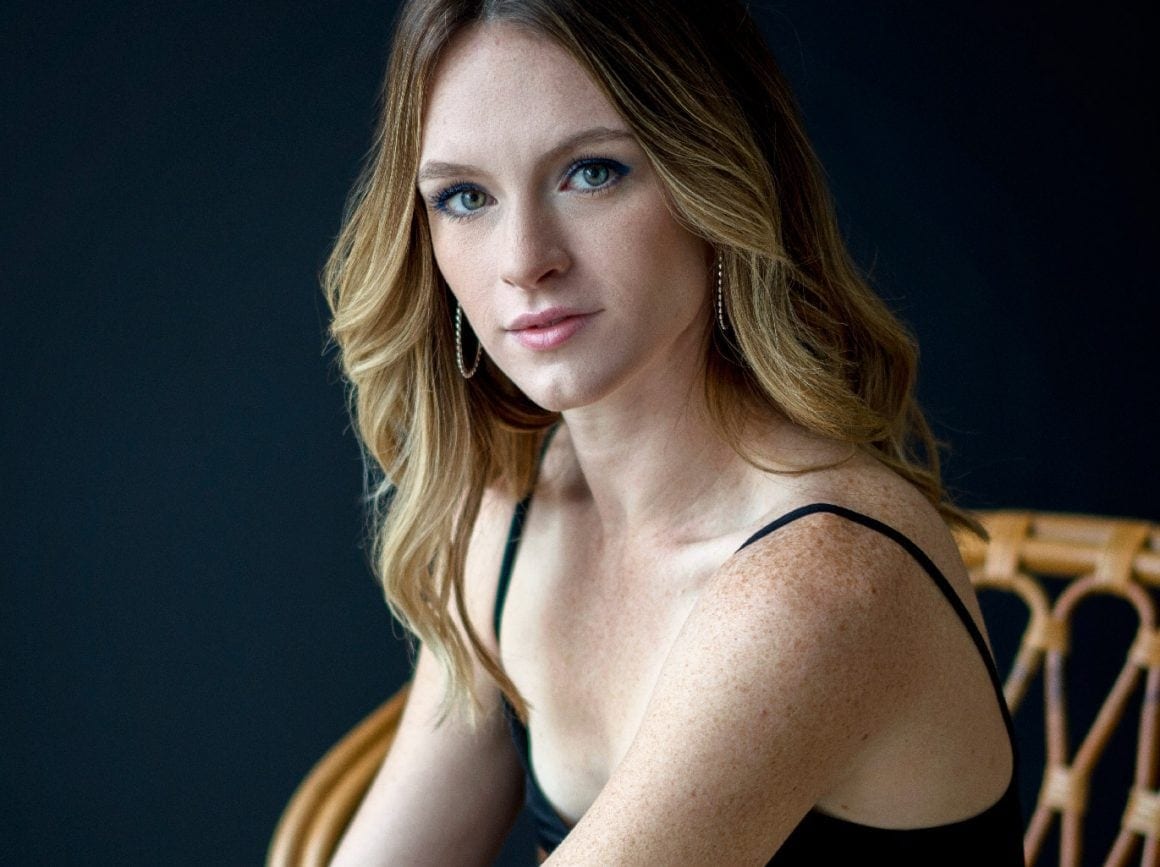
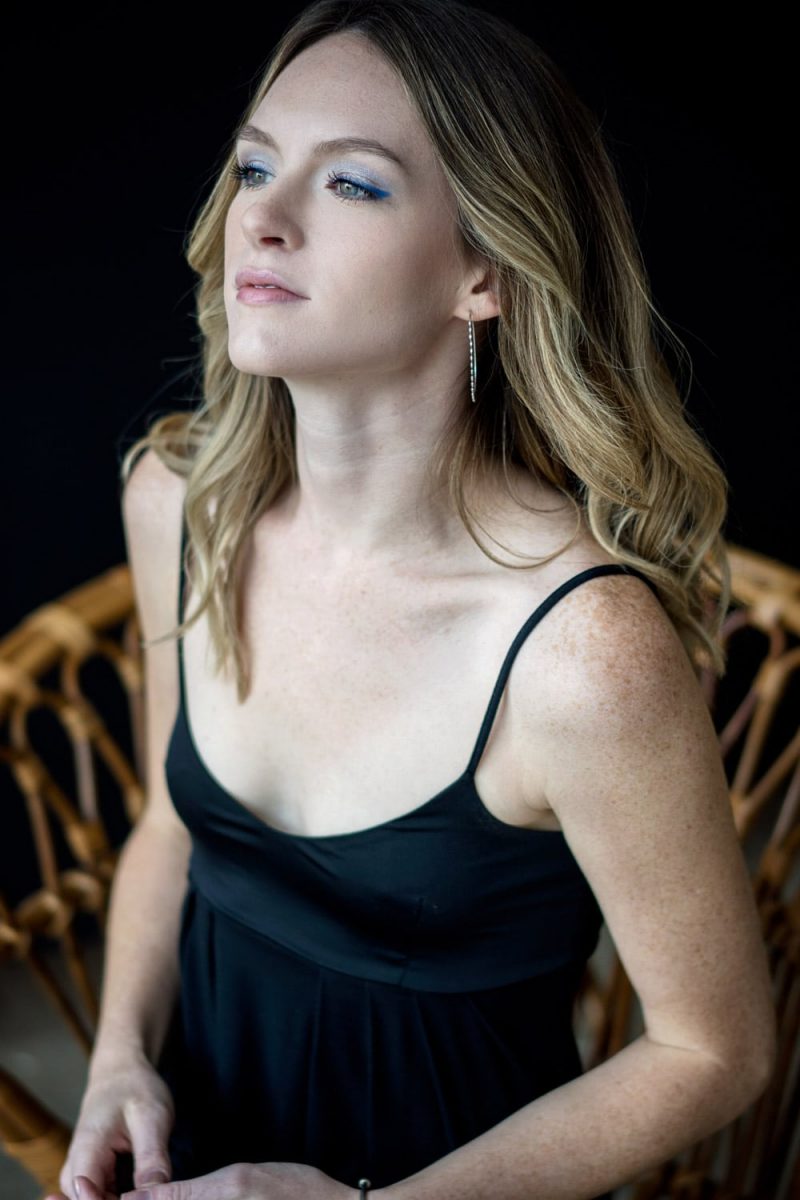
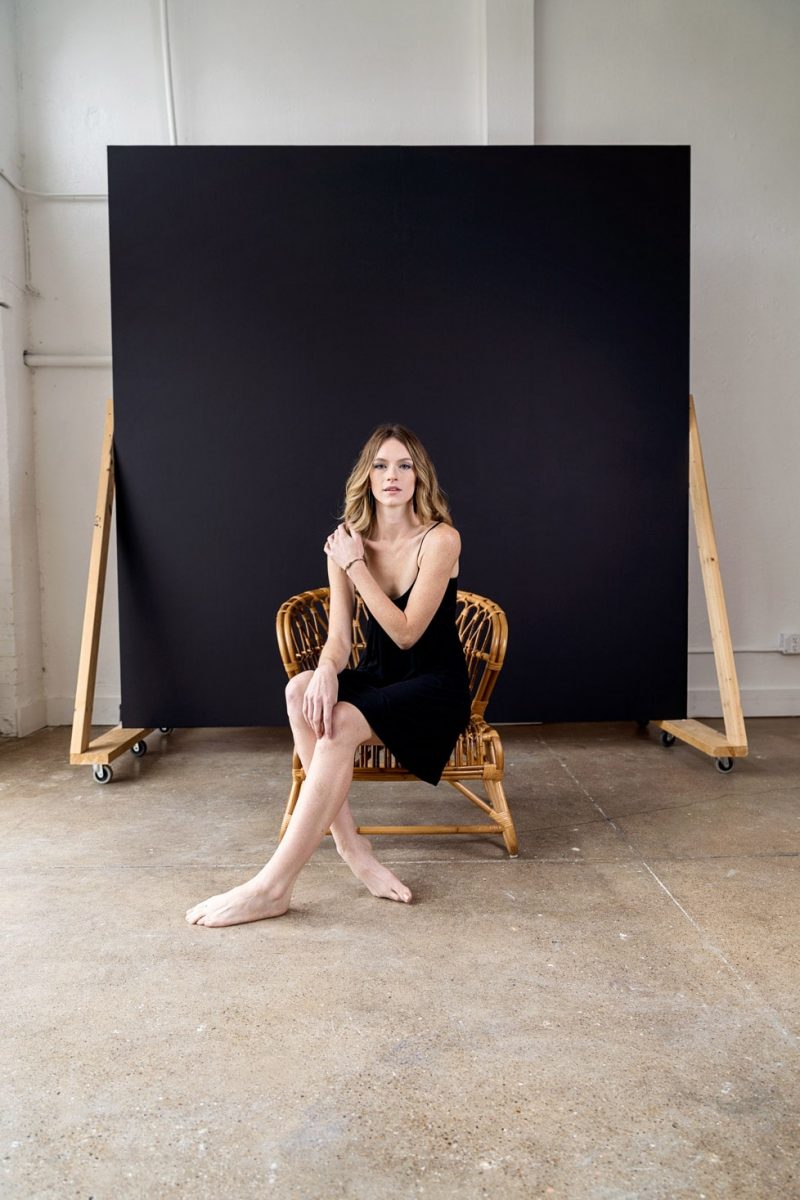
Sony a6600 natural light portrait example:
Strobes provide a more consistent look for your portraits and can be used to compliment your natural light shoots. It does take a bit more time to dial in the light and get everything setup but the results are worth the time spent preparing.
Sony a6600 Off camera flash portrait example:
On this shoot with Hanna, I did add in a few shots of with the Profoto B2 strobe as a fill light. This provided a more even tone in the portrait, but I noticed I was losing too much of the shadows in my shots and I kept having to adjust.
Having a big soft light source is my personal preference and I liked how the light was bouncing all over the studio. With flash, I was concentrating this light source into a smaller area and I just couldn’t make the style of the natural light.
I chose to stick with natural light only after I kept switching the Air remote back and forth. I just got tired of doing this, so I stuck to natural light for the rest of the shoot.
Shooting Portraits Wide Open
I don’t recommend always shooting wide open with my fast aperture lenses. It’s an easy way to miss focus because of the limited depth of field. For this shoot, I kept both lenses wide open.
This maximized the amount of light coming into the sensors and gave me smooth background blur for each shot.
There isn’t a big difference between f1.8 and f2.8 and this is even more limited when you’re shooting solid backgrounds and you can’t tell how the bokeh looks. If I could go back, I would have changed my aperture and stopped down the around 4.0 or even 5.6 on more of these shots.
Just so I could get more of the image in focus when I was closer to Hanna.
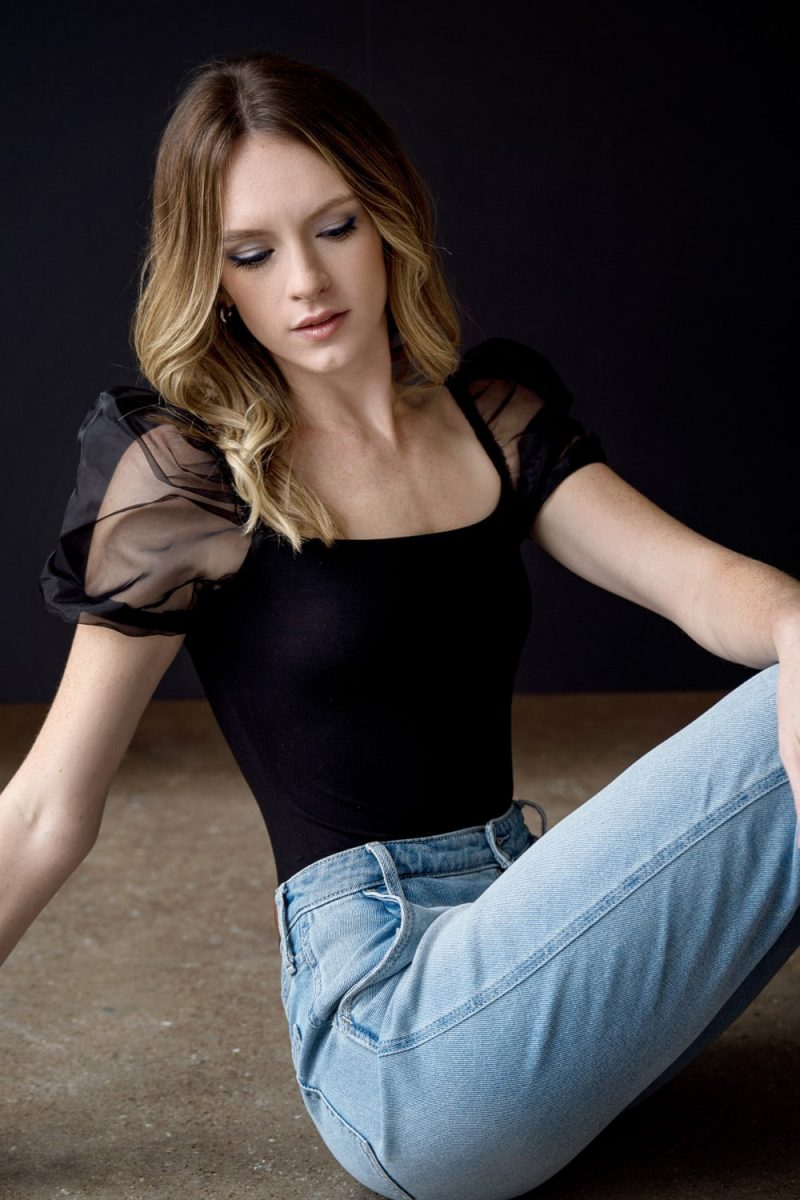
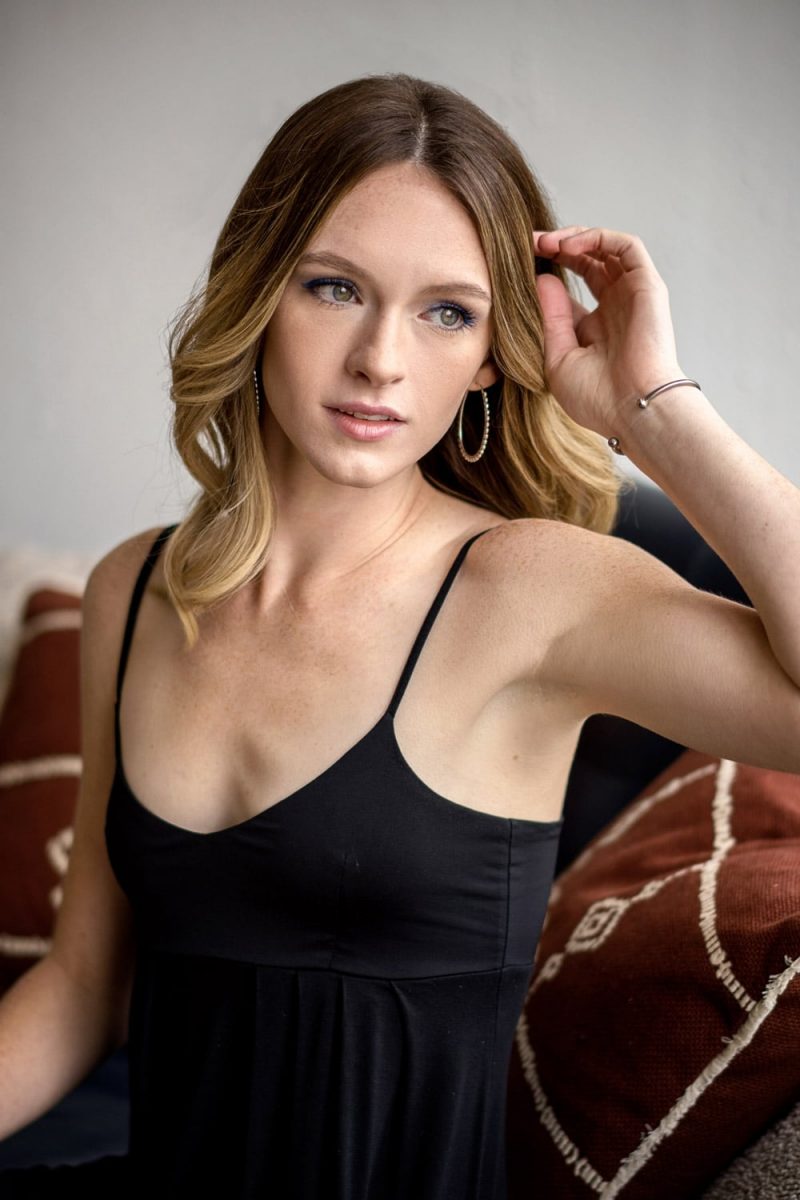
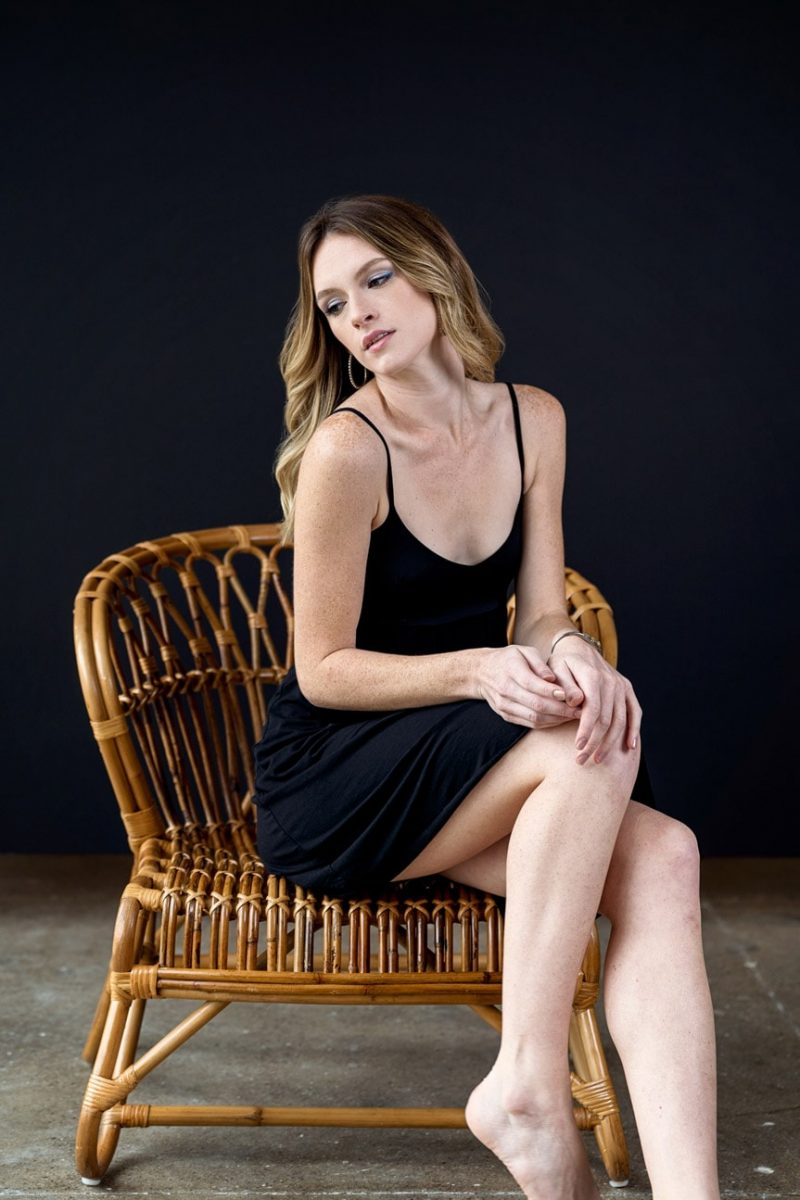
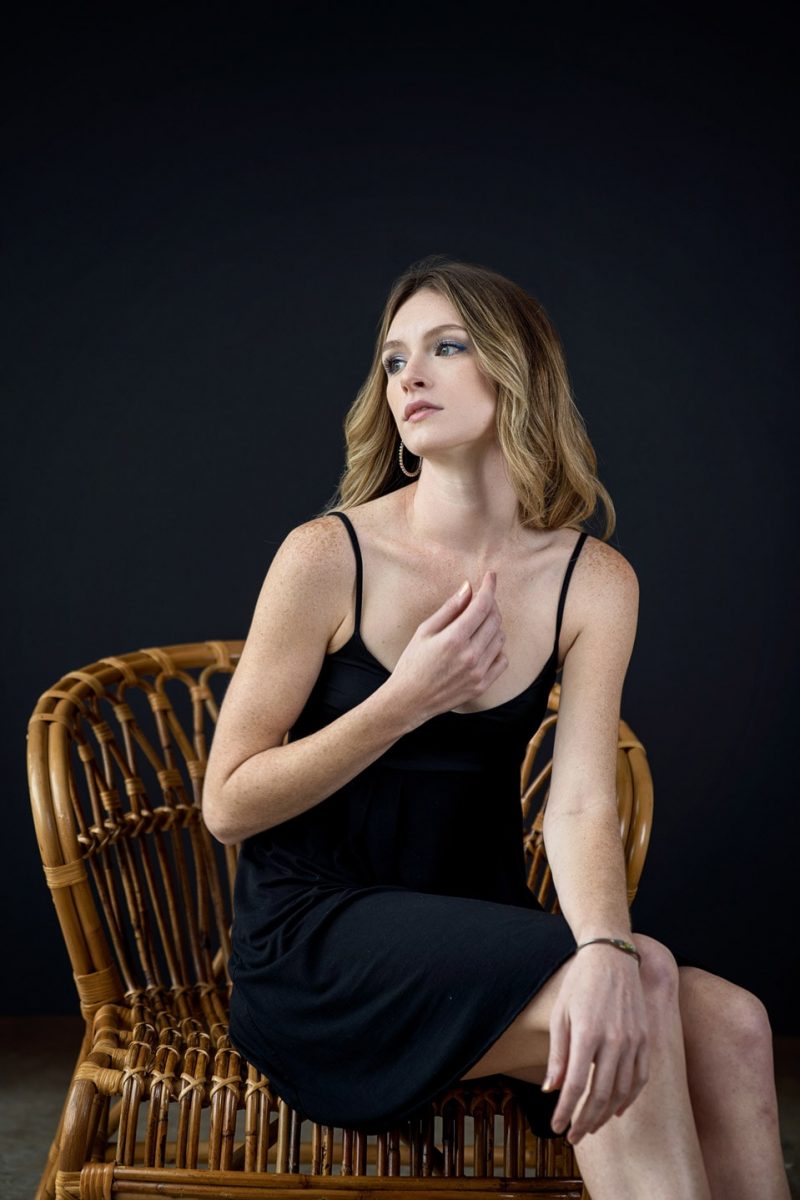
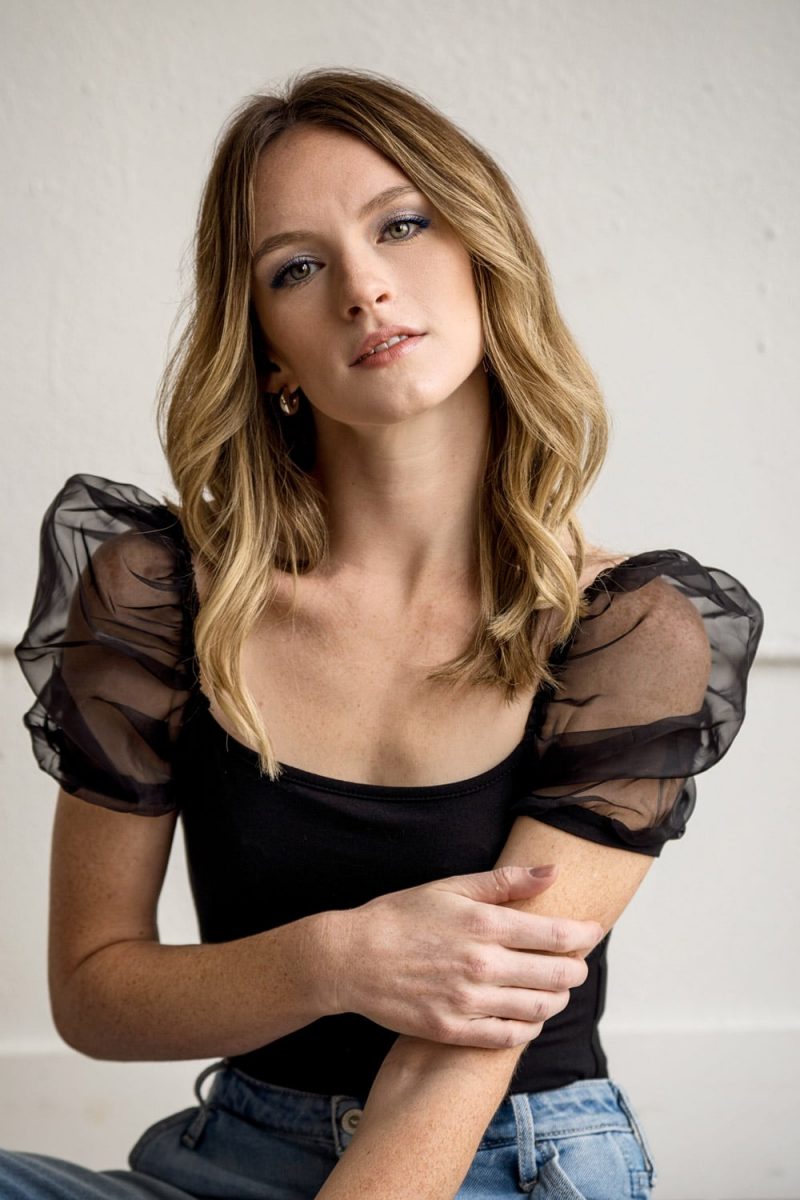
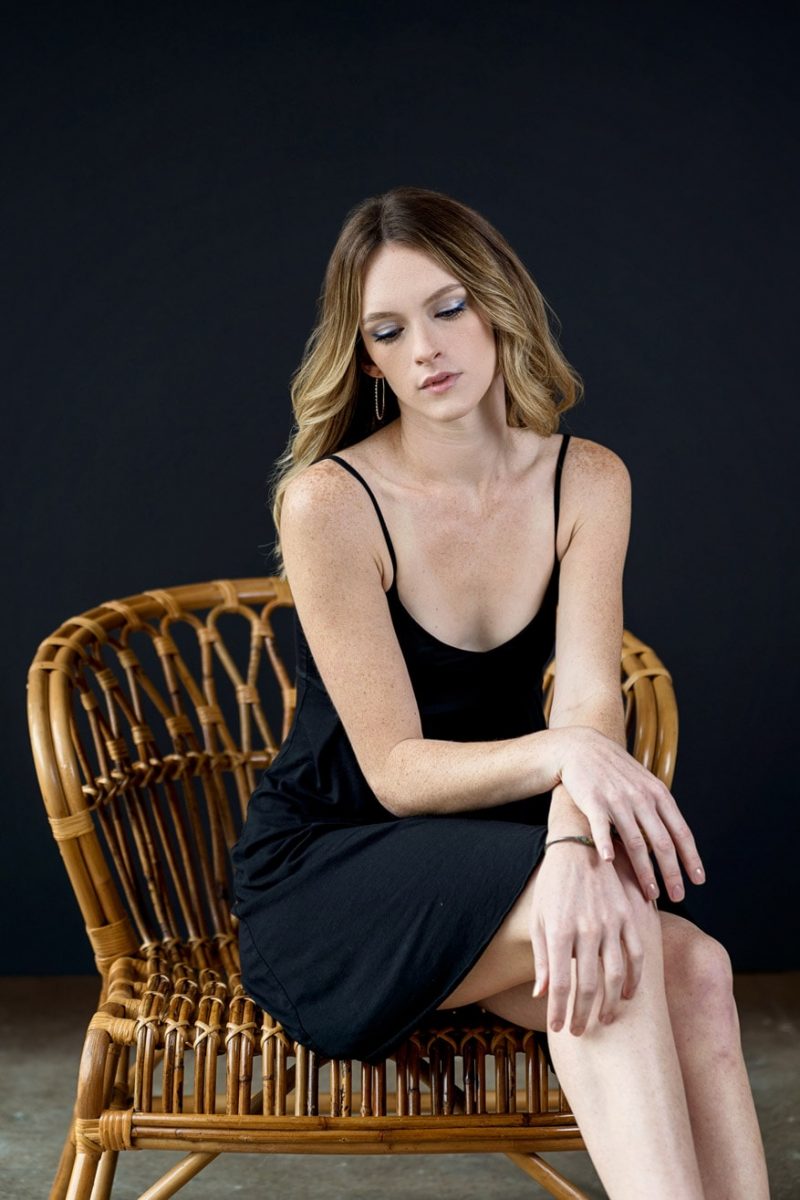
Portraits Shot with Sony a6600 and Sony 55mm f1.8
Portraits Shot with Sony a6600 and Sony 24-70mm f1.2 G Master lens
Don't Miss This
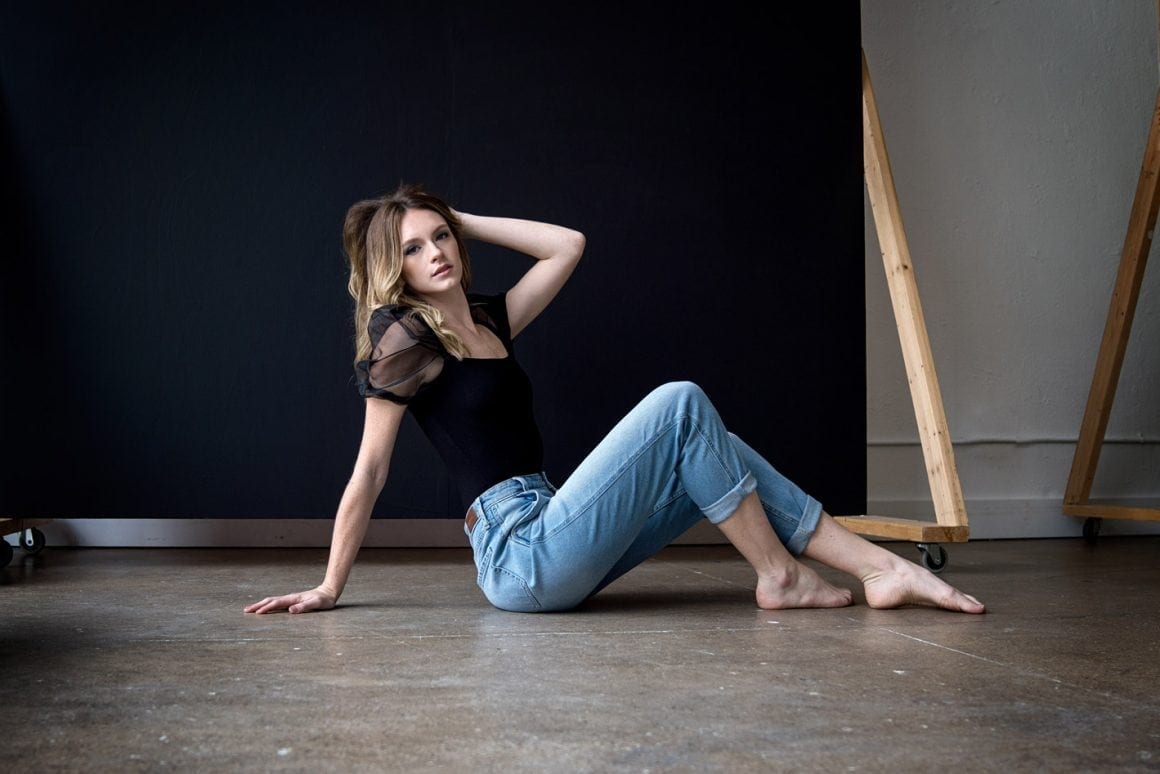
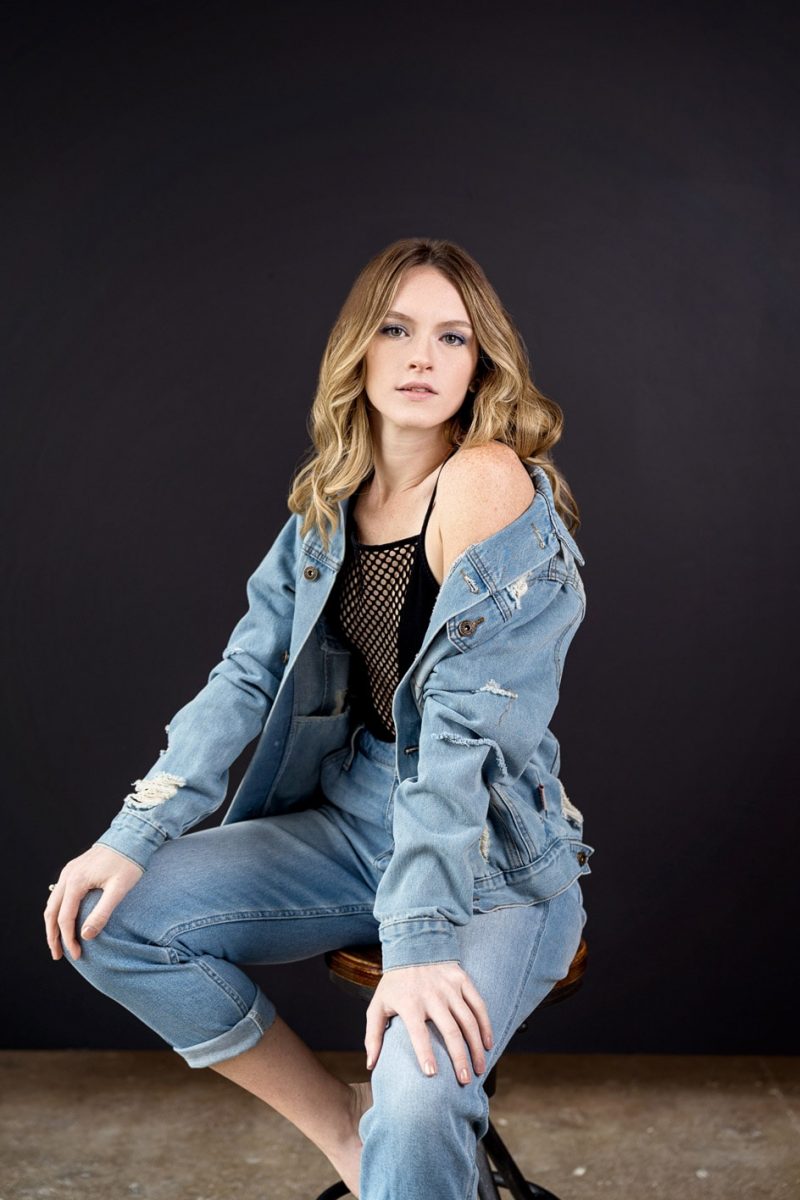
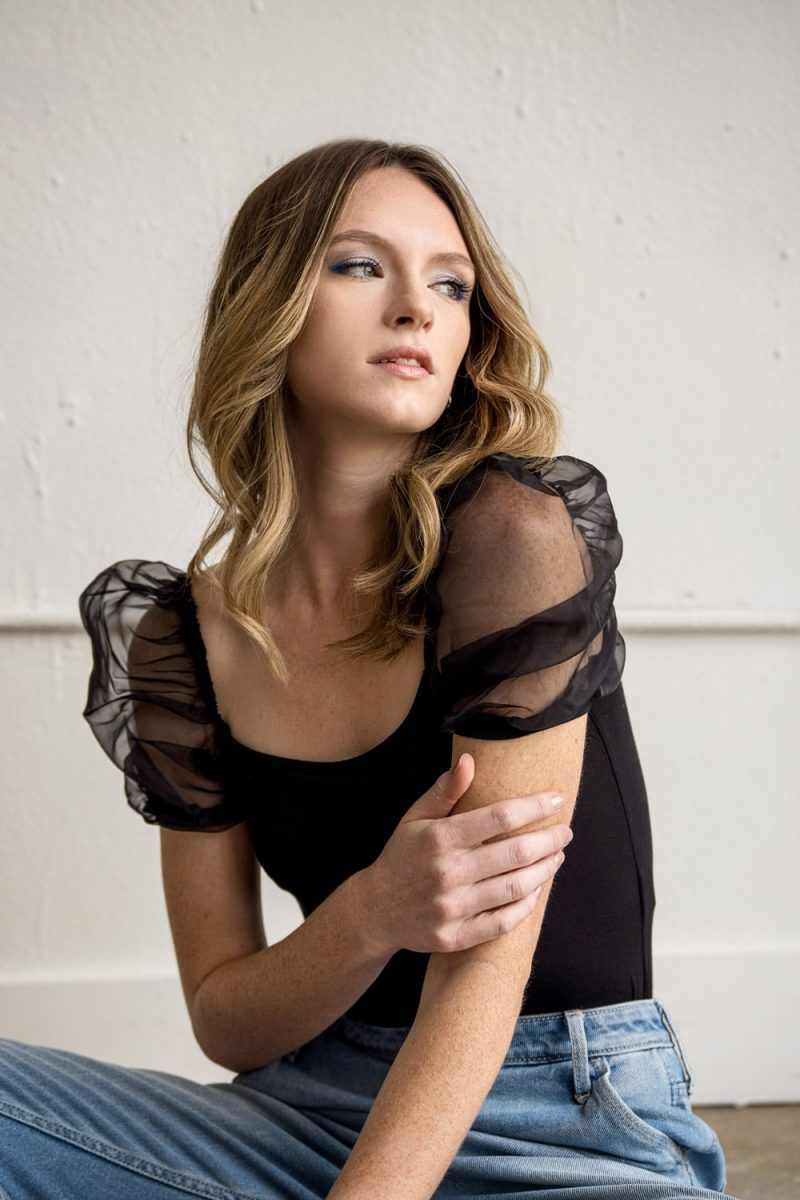
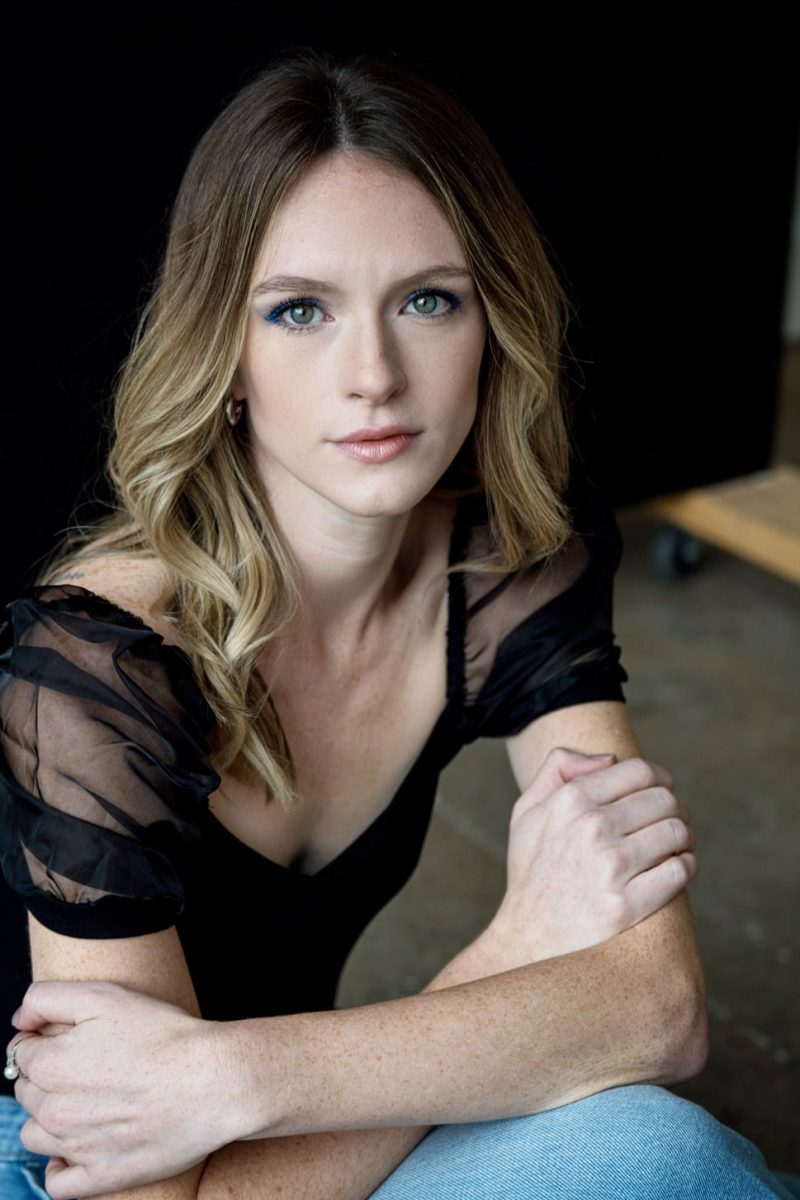
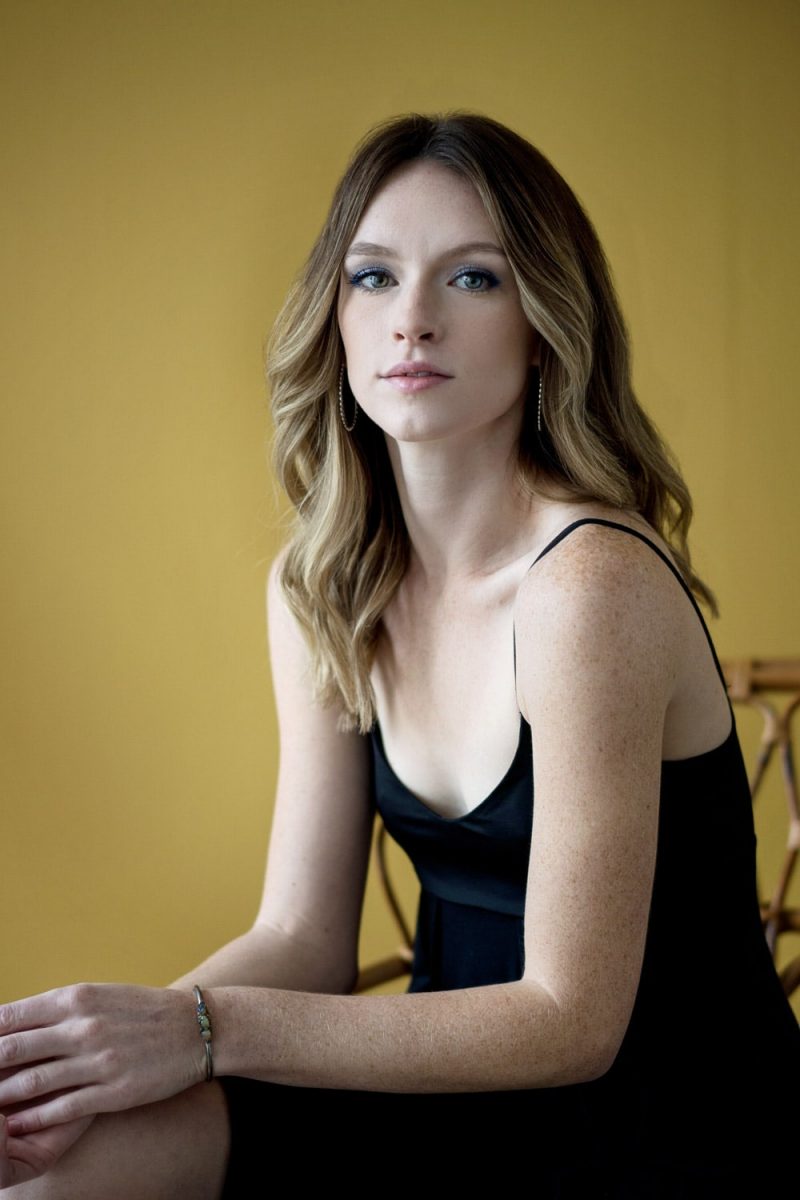
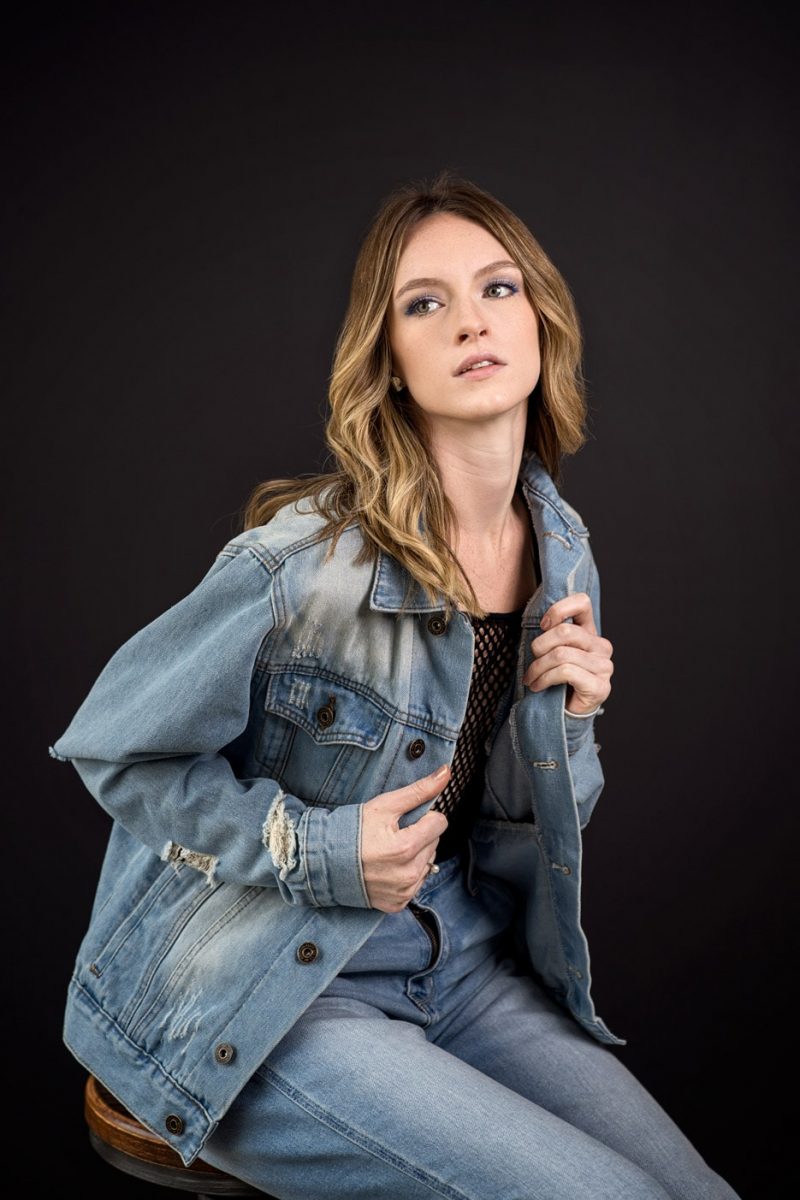
Portraits Shot with Sony a7iii and Sony 24-70mm f2.8 GM Lens

Camera and Lens Alternatives to Consider
For the Sony a6600 I look back and wish I had also used my Sony 35mm f1.8 FE lens. This would have given me a slightly wider field of view versus the 55mm. The Sony 35mm f1.8 full frame lens on an APSC body comes a 35mm equivalent of 52mm.
Likewise, I think that putting the Sony 55mm f1.8 Zeiss on the Sony a7iii would have given me different look over the zoom lens. The 24-70mm is a versatile lens but man does it get heavy after shooting for longer periods of time. Something to keep in mind when considering this lens.
Even thought the space was very limited, I also wanted to try out the Sony 70-200mm f1.8 GM lens. This would have given me even more background compression and allowed me to get some closer beauty shots of Hanna.
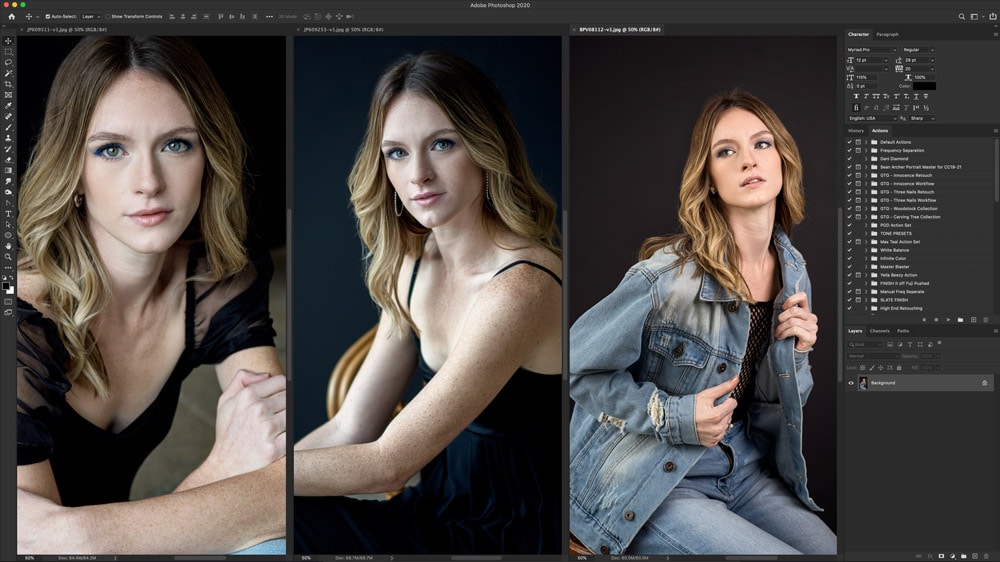
Post-Production Editing
I edited this portrait shoot in Adobe Camera Raw and then finalized the edit in photoshop. I have a few custom-made presets that I use for my portrait photography and the same goes for my photoshop actions.
I spent an average of 5-7 mins per edit with Hanna. I didn’t have to spend much time on editing skin or making big changes.
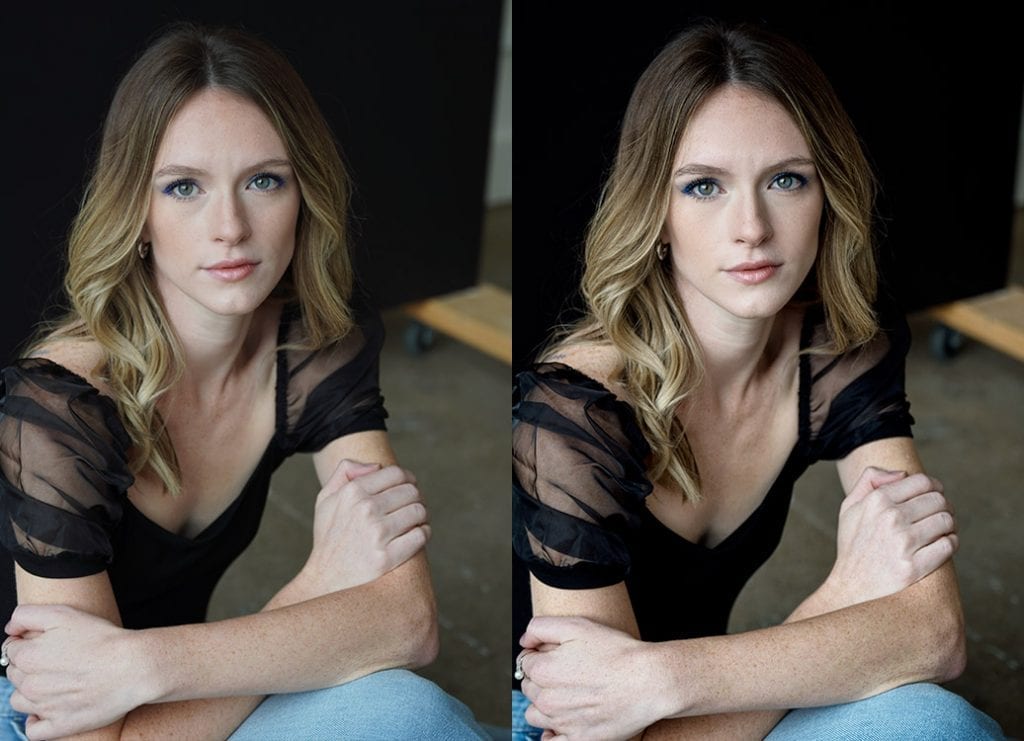
Unedited vs Edited Portraits
Here are a few before and after shots of Hanna. The left is the original straight out of camera shot and the right is the final edited version. Each edit was done in Photoshop and exported as JPGs for web.
Before and After Gallery


Final Photo Delivery
I culled the images and found that I liked about 90 images. Many were duplicates so I culled this down even more to the final shots you see in this post. Once I have all photos finished, I place the final files on Dropbox and provided Hanna with a link to download the images. I’m happy to report she liked all the images.
Conclusion
Do I recommend shooting with 2 cameras on a simple portrait shoot. Not really, but it does make for some fun and interesting comparisons. I hope you enjoyed this portrait shoot breakdown and I look forward to doing more for you very soon!
[wptb id=3129]