If you’ve ever been interested in seeing the results of the 70-200mm vs 24-70mm for portraits, then you came to the right place.
In this small test shoot, I used both lenses and wanted to see the final results for myself.
70-200mm vs 24-70mm Portraits
The goal of this portrait shoot was to test the 70-200mm vs the 24-70mm for portraits. I wanted to control the lighting so I choose a studio shoot versus natural light.
I knew for natural light the settings would change often, and in Texas the heat during the summers can get pretty spicy so a studio shoot was the best choice.
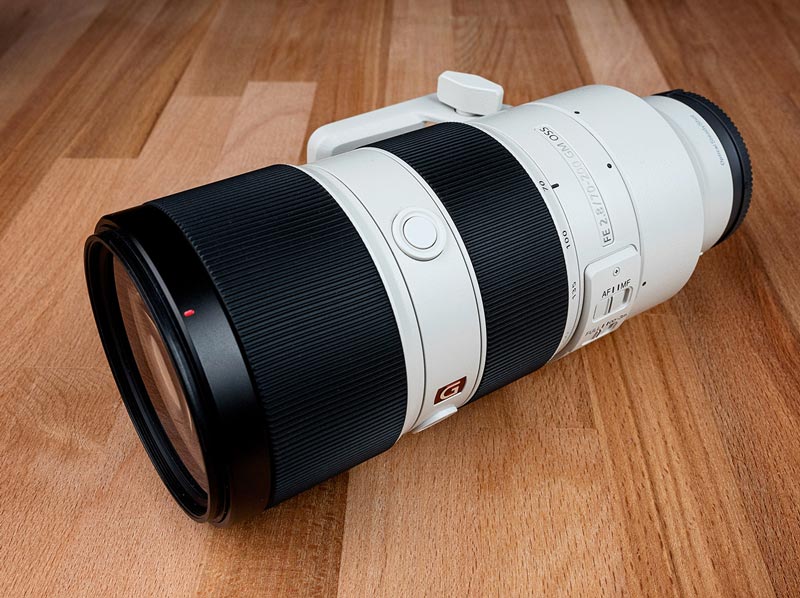
Photography Gear Used
So as stated a few times, I used my Sony 70-200mm f2.8 GMaster lens and my Sony 24-70mm f2.8 GMaster lens. Both where paired to my Sony a7riii mirrorless camera.
My Sony a7iii is my main backup camera, but for this shoot I just switched lenses during wardrobe changes.
[wptb id=5526] [wptb id=5338]I was using my Profoto B2 studio strobes paired with small white umbrellas. I also used my Profoto B10 Strobe as a key light with a large 6ft umbrella.
The umbrella had a white baffle on the front to help soften the light in studio.
All my studio walls are painted light gray so much of the light bounced around the room and helped fill in many of the shadows.
Zoom Lenses In A Small Studio
So you know up front, my studio space is a small extra room in my home. This home studio has served me well for doing small test shoots with off camera flash strobes.
I had 3 lights setup in studio, but ended up only using 2 of them for the main shoots. The room size is 14ft x 20ft. Just long enough to shoot with a 70-200mm lens.
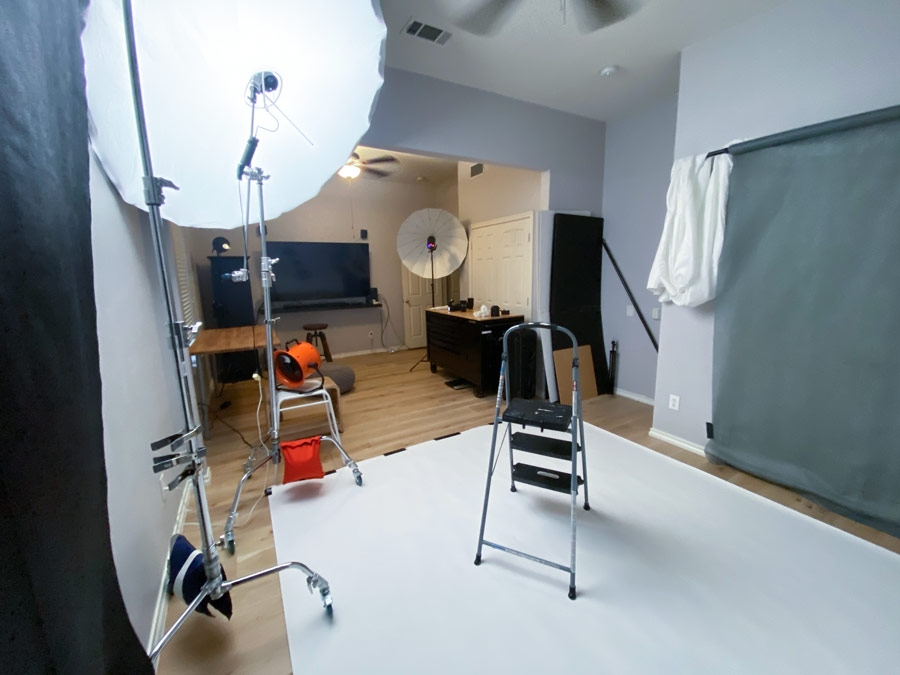
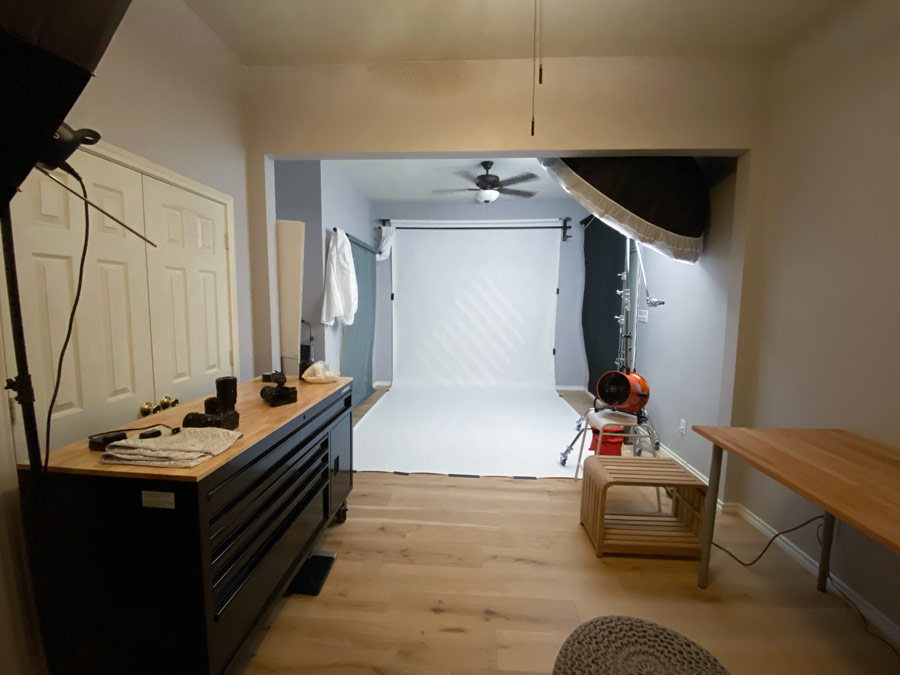
At first I didn’t think I was going to be able to use this lens, but after a few test shots, I got the shoots I was wanting.
Introduction to Model
Kortnie is a local Dallas model who reached out over social media to setup a TFP shoot. This is a Trade For Portfolio shoot where the model and photographer exchange time and resources to build up the others portfolio with final images.
Kortnie was looking to get some final images for her portfolio and I was looking to test out the differences between the 70-200mm f2.8 and 24-70mm f2.8 lenses in studio.
I created a quick casual fashion mood board and we set a day to shoot. The whole session lasted around 1.5 hours and everything went smoothly.
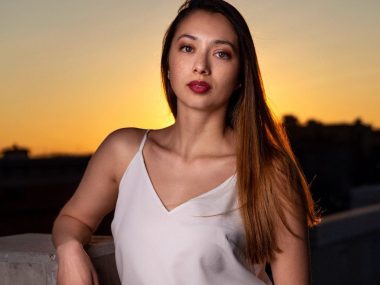
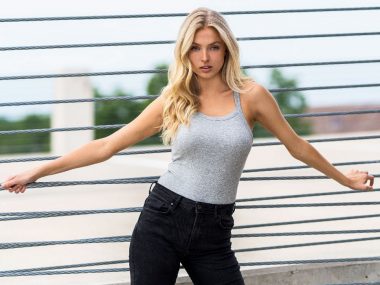
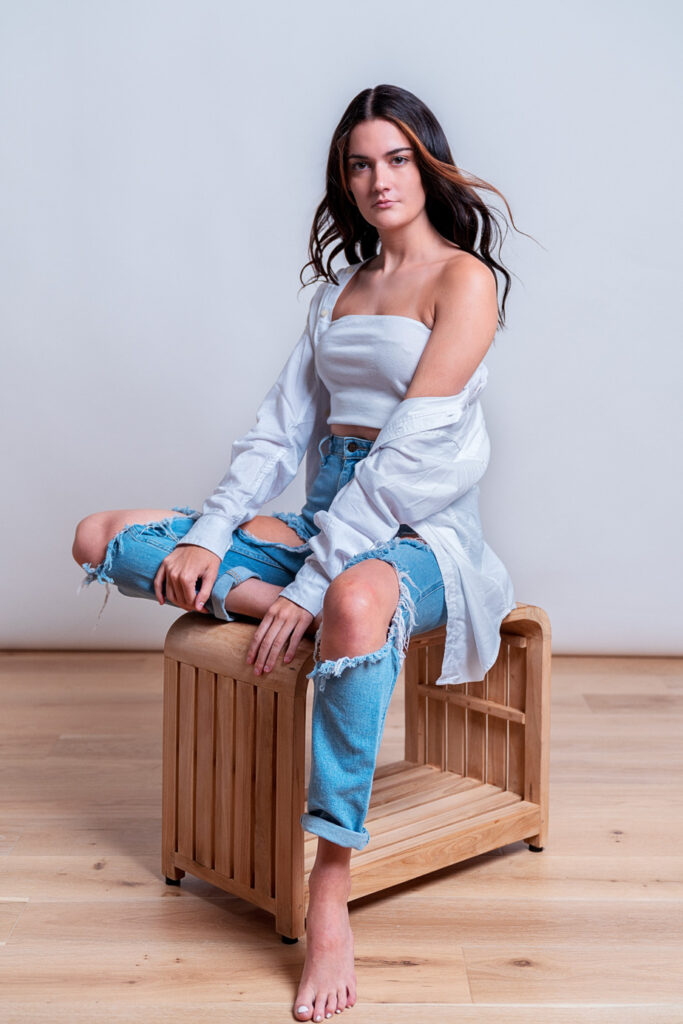
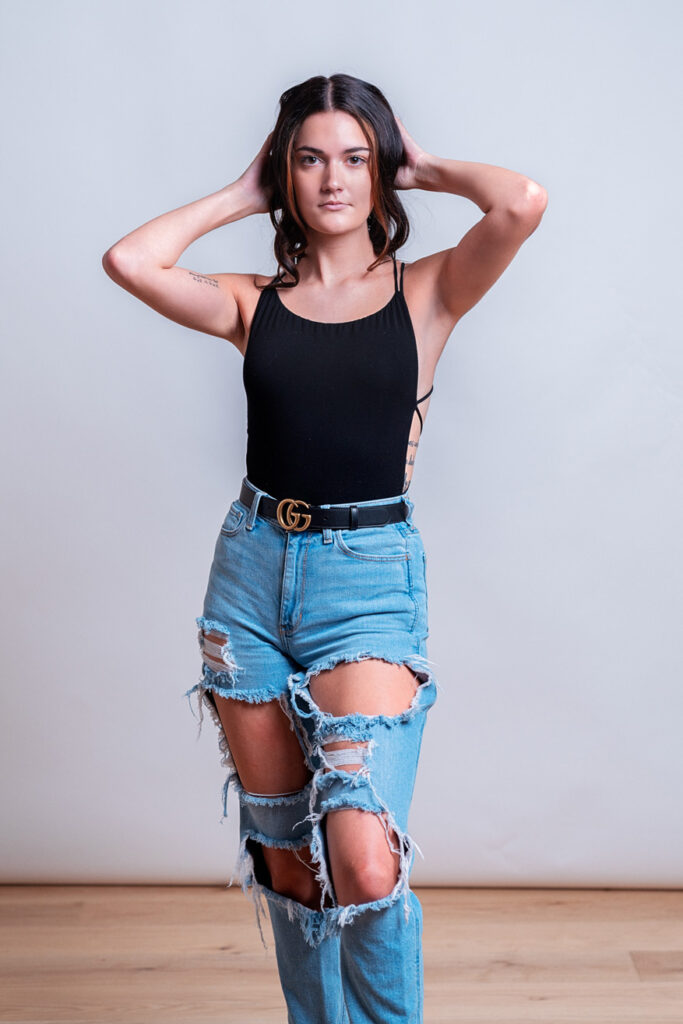
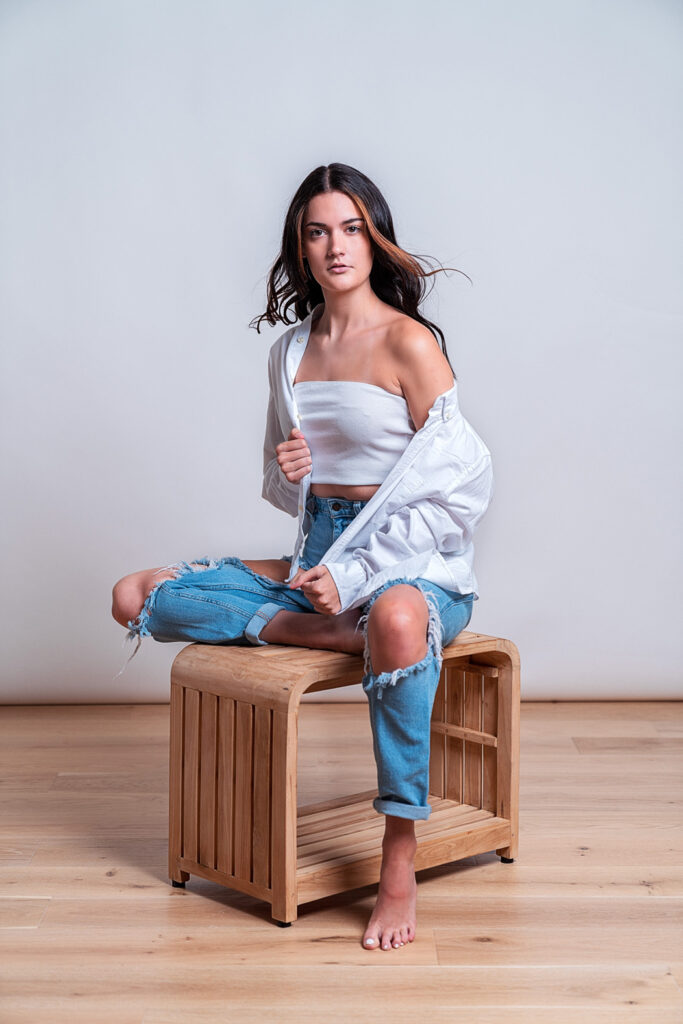
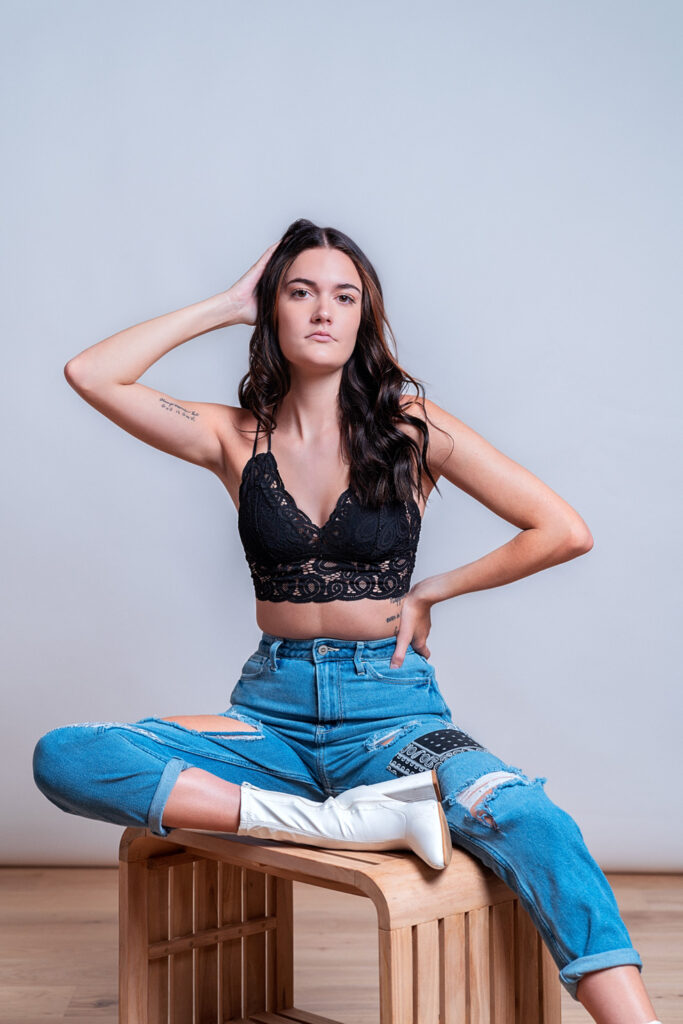
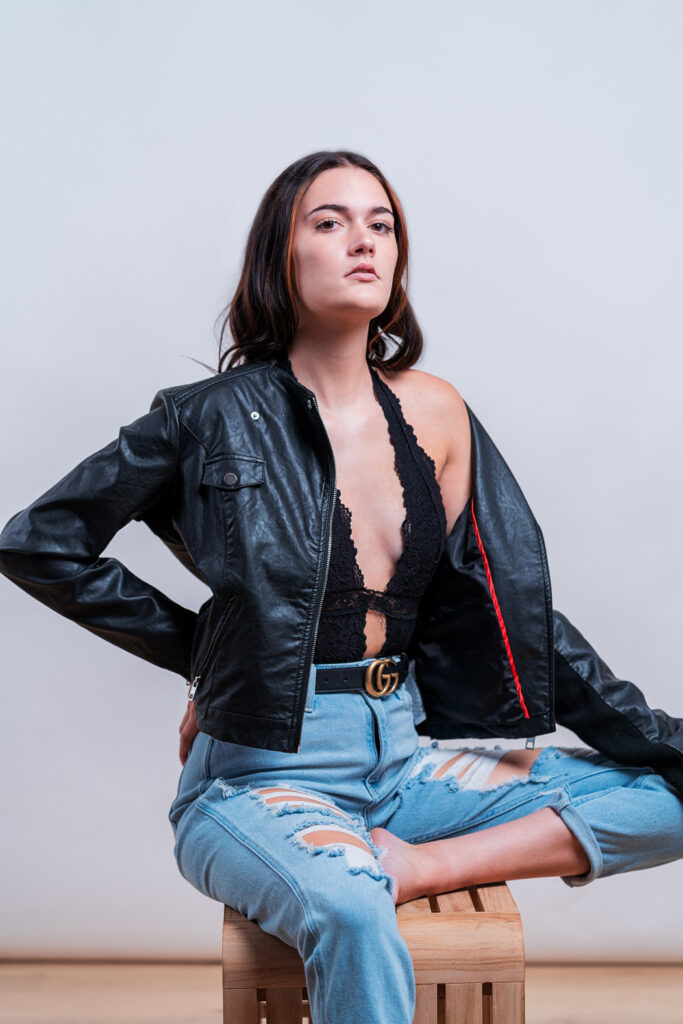
24-70mm Portraits – Gallery

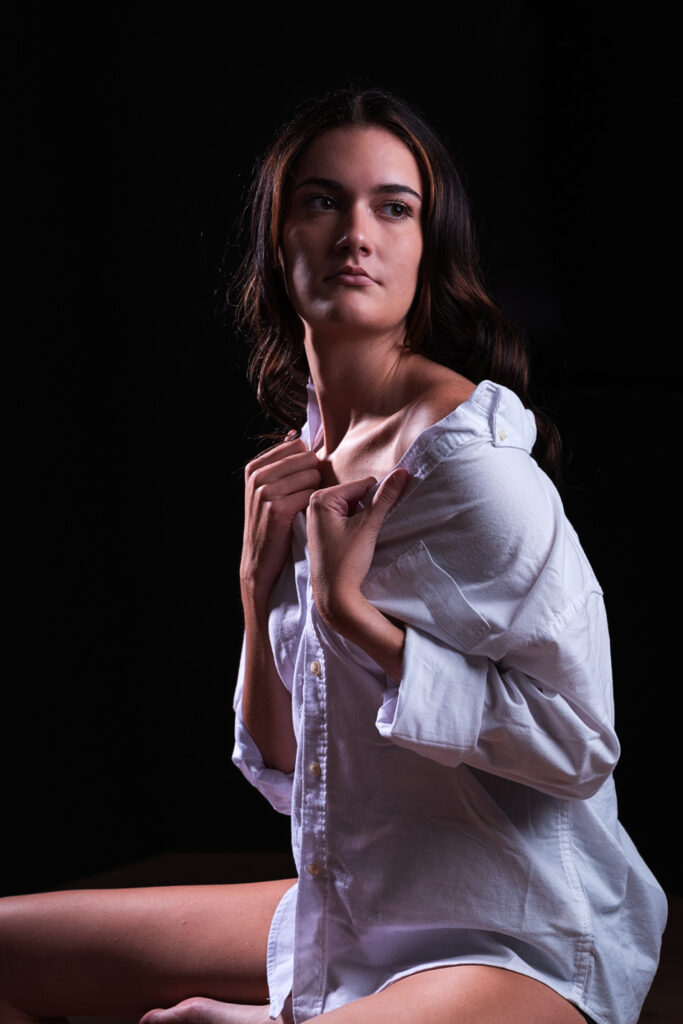
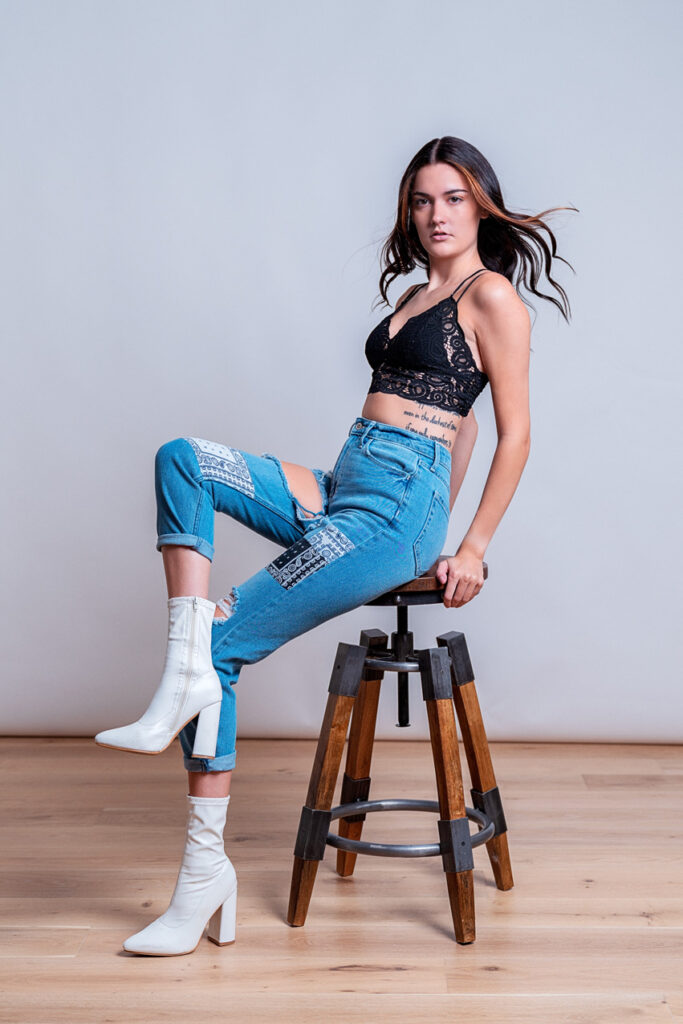
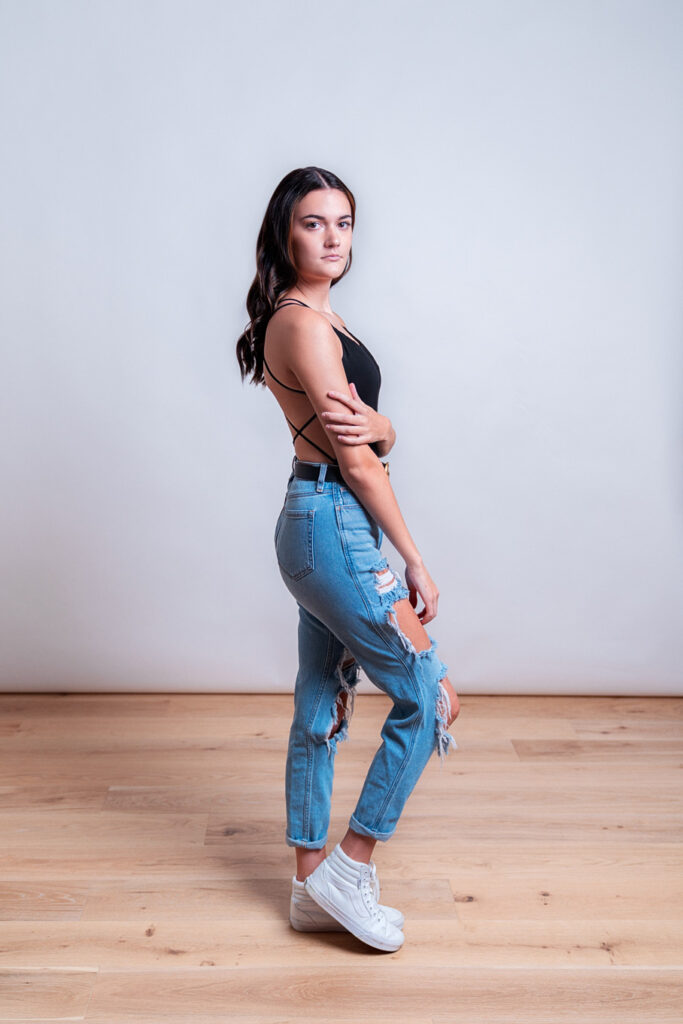
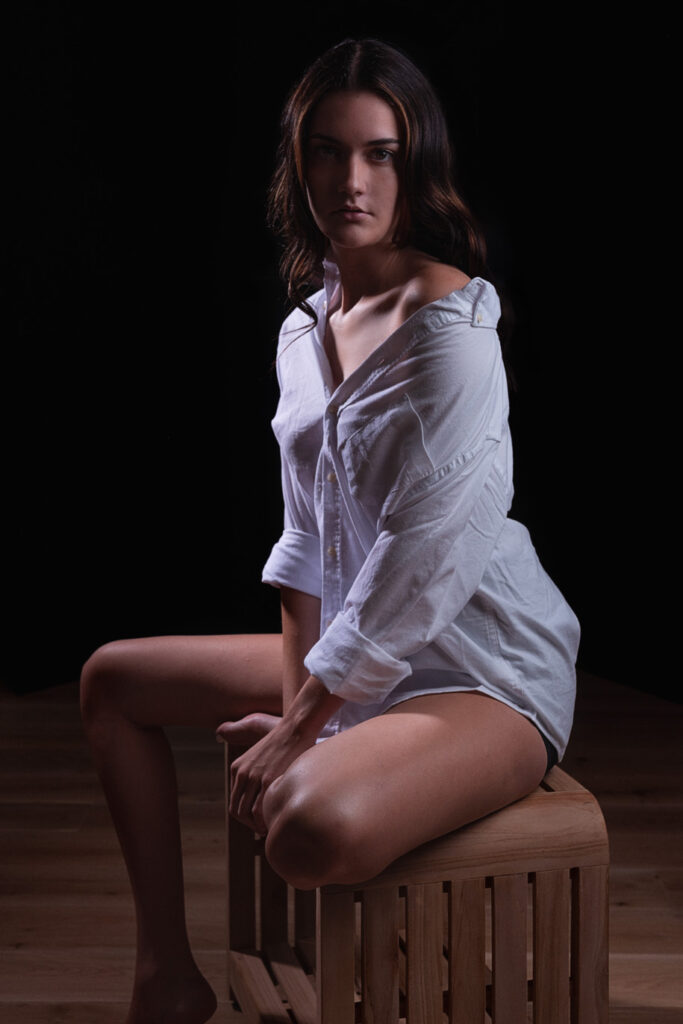
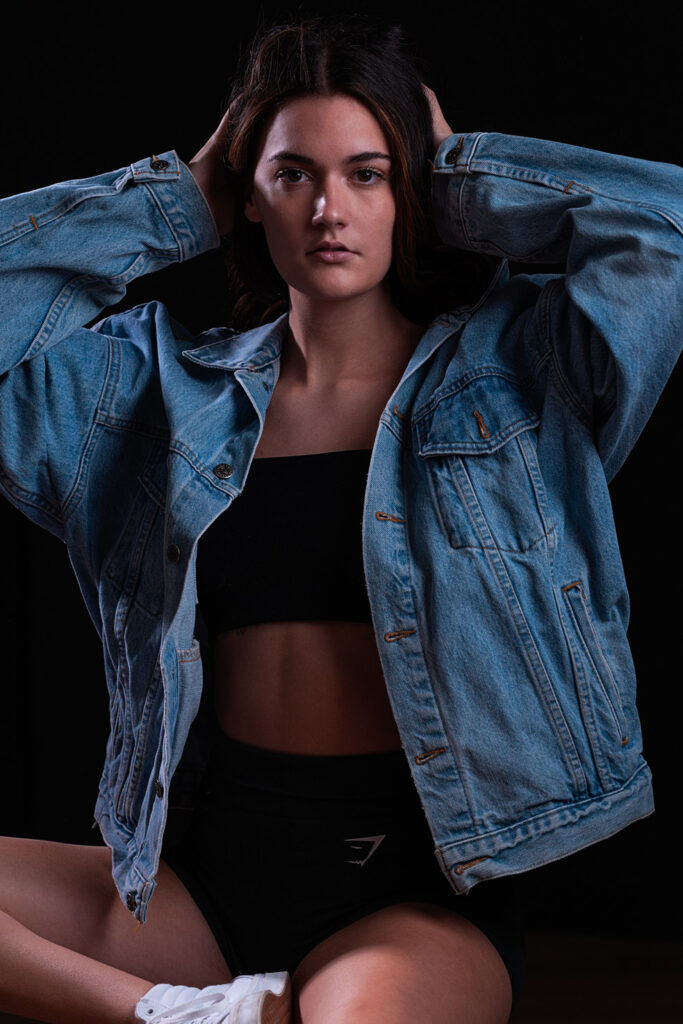
70-200mm Portraits – Gallery
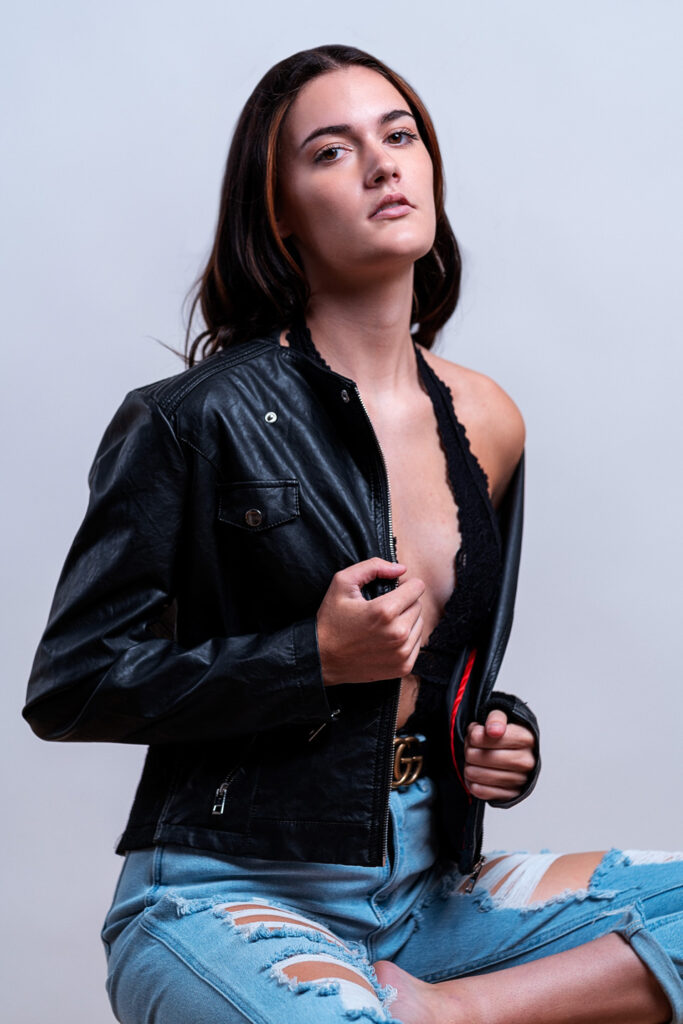
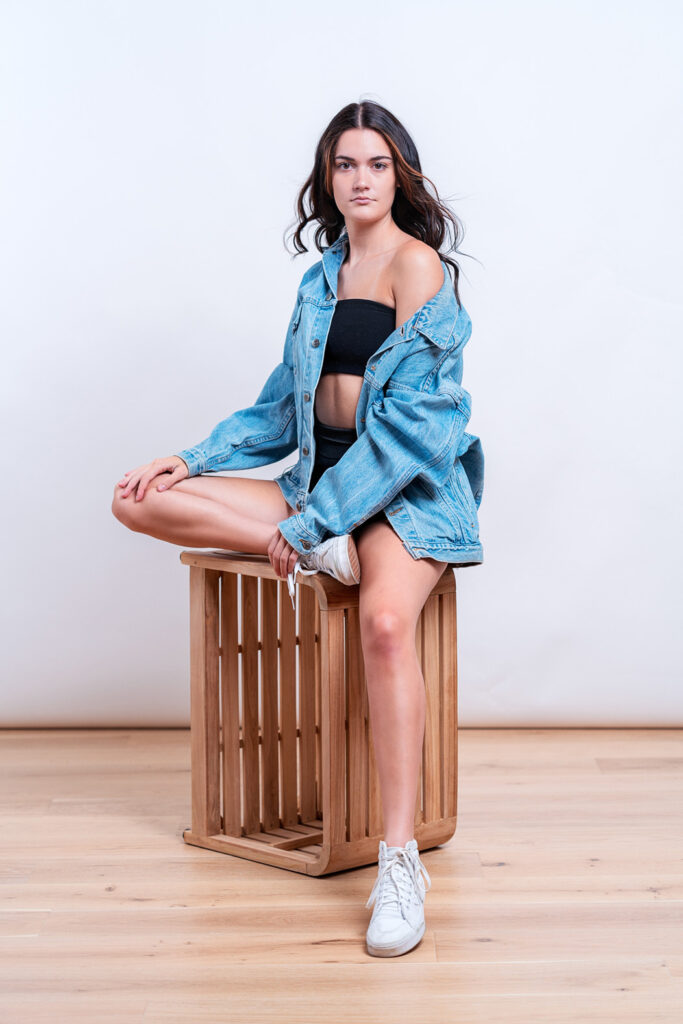
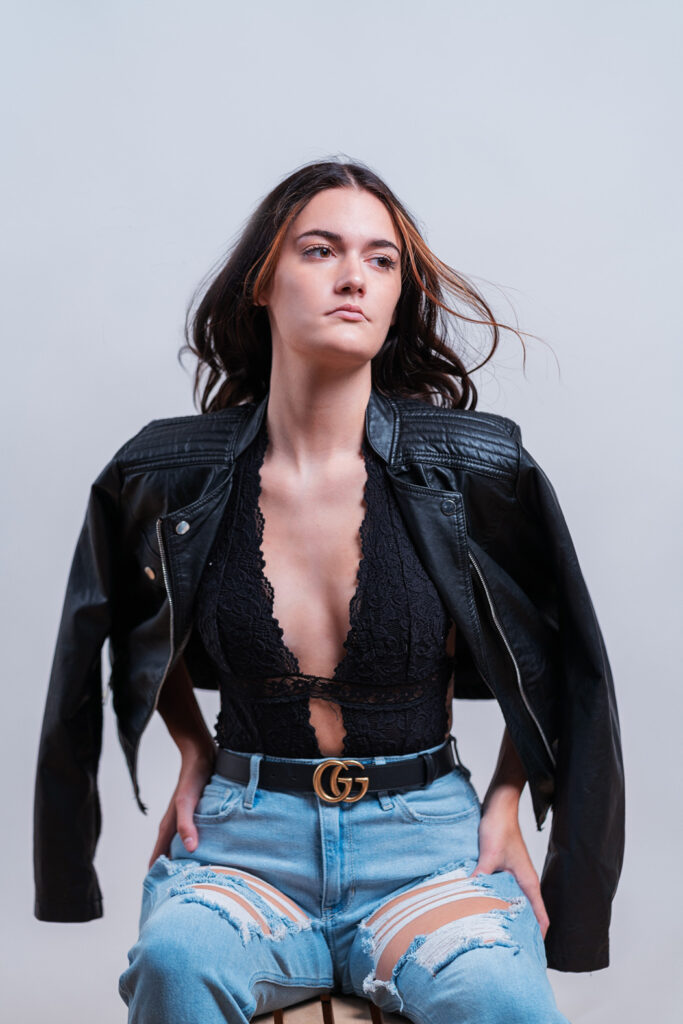
Using the 24-70mm In Studio
I’m pretty fond of using the 24-70mm for portrait shoots. In this case, I tried to stay closer to the model so I didn’t have to edit so much of the background.

For wider shots, I was getting the edge of the paper and also much of the light stands in the shots. I was able to edit out the light stands later in post production, but it took longer than expected for some of the shots.
The quality of the Sony 24-70mm f2.8 lens is great so there was nothing bad to say about the lens. I like shooting around the 50mm-60mm range and only went to 70mm a few times during the shoot.
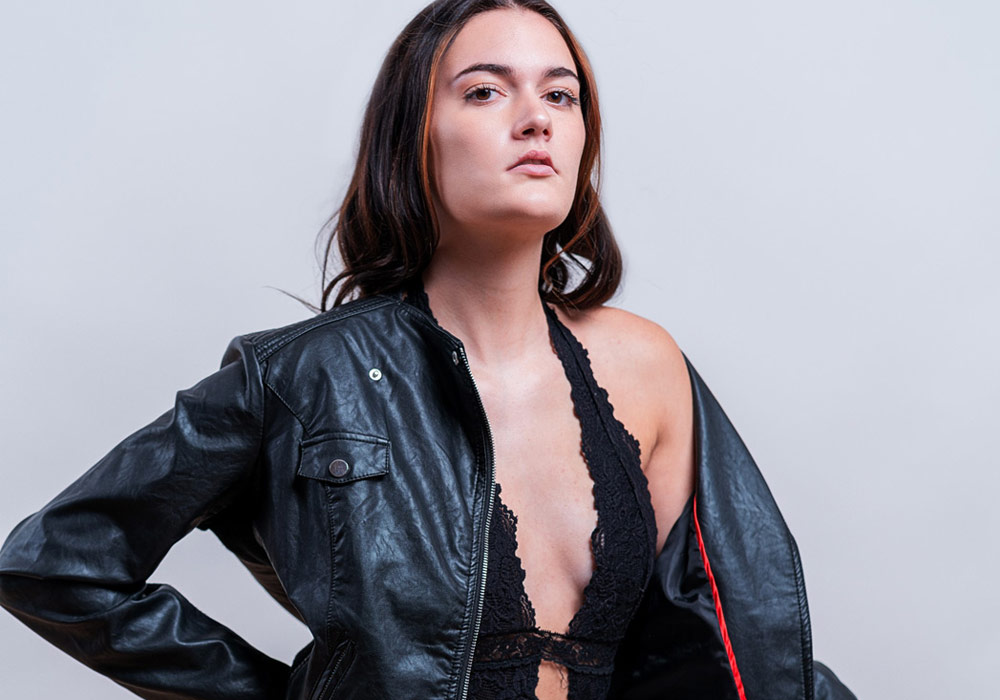
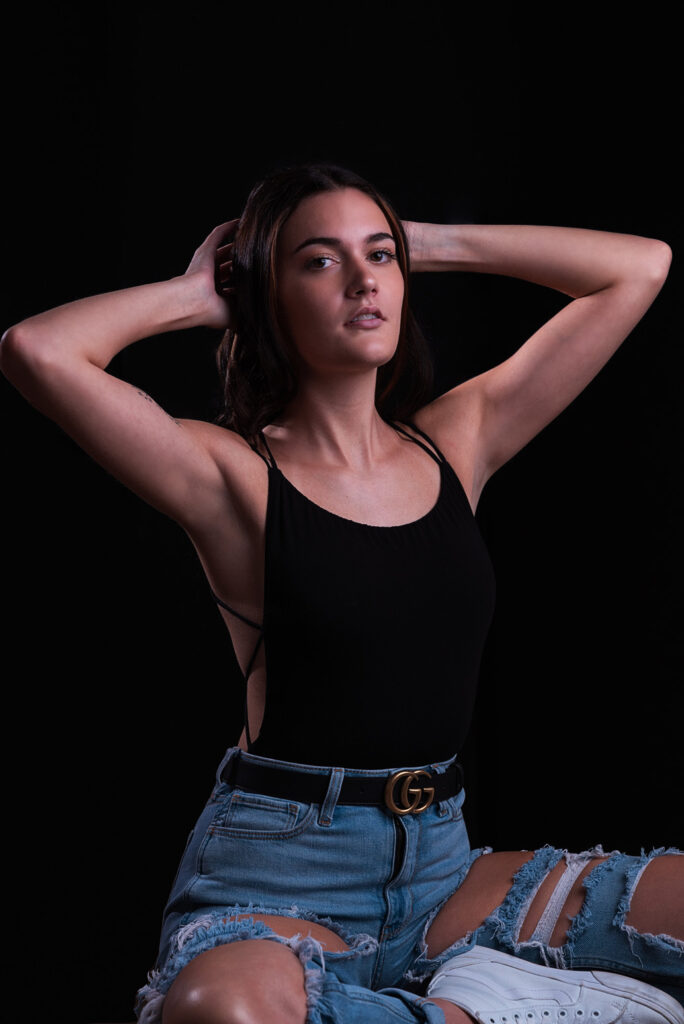
Using the 70-200mm In Studio
Thankfully I had enough room for the 70-200mm lens. I started much of the shoot around 70mm and it wasn’t until later that I started to get tighter shots.
I like being able to show more of the model. Most of my portfolio is comprised of 3/4 length shots and poses. With the 70-200mm I needed to rethink this strategy.
This lens is great for getting righter shots, so I needed to take full advantage of the zoom range for this session to get a diversity of images for my portfolio.
24-70mm vs 70-200mm Comparison
I enjoyed using both lenses for this shoot. Each lens offered its own unique advantages and disadvantages so it’s hard to decide on a winner.
The quality of both lenses was a good baseline for starting the comparison and it pretty much came down to focal lengths and how please I was with each set.
The 24-70mm is lighter and easier to carry when paired with my Sony a7riii. The lens is light weight and I was able to get a combination of wide and closeup shoots that match my portfolio more in style.
The 70-200mm was a bit different for my as I didn’t have much experience with the lens before this shoot. I kept the focal length around 70mm to 100mm because this felt more familiar to me and my shooting style.
The 70-200mm was also very heavy and took some energy to shoot with after awhile. I would almost recommend using a tripod for shooting with the 70-200mm lens.
Which Would I prefer
If I could do it all over again, I would definitely try tighter shots with the 70-200mm. I would also try getting those same closer shots with the 24-70mm so I could compare the differences in compression and quality.
In my opinion, I prefer the 24-70mm f2.8. It’s lighter and more comfortable for me. This doesn’t mean the 70-200mm was a bad lens.
I just prefer wider shots and I like capturing more of my model in my compositions.
Final Thoughts
Try it out for yourself. If you can’t afford these lenses, then consider renting them for a weekend to get a few shots for your portfolio. You can rent lenses and camera gear online and it’s the best way to try new gear if you don’t have the budget to buy new gear.
My studio was just big enough for the telephoto range of the 70-200mm, but I’m looking forward to trying more outdoor portrait shoots where space will not be an issue.
Try both lenses, and I will be curious which one you like the most.
Gear Mentioned In This Article
[wptb id=5526] [wptb id=5338] [wptb id=5350] [wptb id=5352][wptb id=3129]