Learning the most common portrait photography terms can help you on your way to becoming a better photographer.
Photography can feel complicated as a beginner, especially when technical terms get thrown around and you just don’t understand what they’re saying.
There are a few important terms that will help you better understand photography and the principles behind it, and I want to go over these in this article.
Most common portrait photography terms
I tried to create a simple explanation for each term but realize there will be some learning involved to understand more about how each works.
Take the time to read these introductions but also dive further into each to learn more about each term and how it applies to photography.
Shutter Speed
The length the time the camera takes to create an exposure. Many cameras can take long exposures, or they can also take very fast exposures to capture quick moving subjects.
This is measured in seconds and fractions of a second.
Most cameras have a mechanical shutter, and this opens and closes each time you take a photo. Mirrorless cameras do have electronic shutters that operate to give you the same results.
Here are the shutter speeds of a camera from fastest to slowest:
- 1/8000 – Fastest open and closing
- 1/4000
- 1/2000
- 1/1000
- 1/500
- 1/250 – Good for portraits in motion
- 1/125 – Good for subjects standing still
- 1/60
- 1/30
- 1/15
- 1/8
- 1/4
- 1/2
- 1 sec
- 2 sec
- 4 sec
- 8 sec
- 15 sec
- 30 sec
- 60 sec (1 min) – Slowest open and closing
The longer the shutter speed, the longer the shutter stays open.
The faster the shutter speed, the quicker the shutter opens and closes.
Cameras can vary but speeds can be as fast as 1/8000sec or stay open as long as 30secs to 60 secs.
Don't Miss This - Check It Out
Aperture (F-stop)
The aperture (f-stop) refers to the size of the opening in your lens and the amount of light that is let thru to the sensor. This is measured in F-stops for portrait photography.
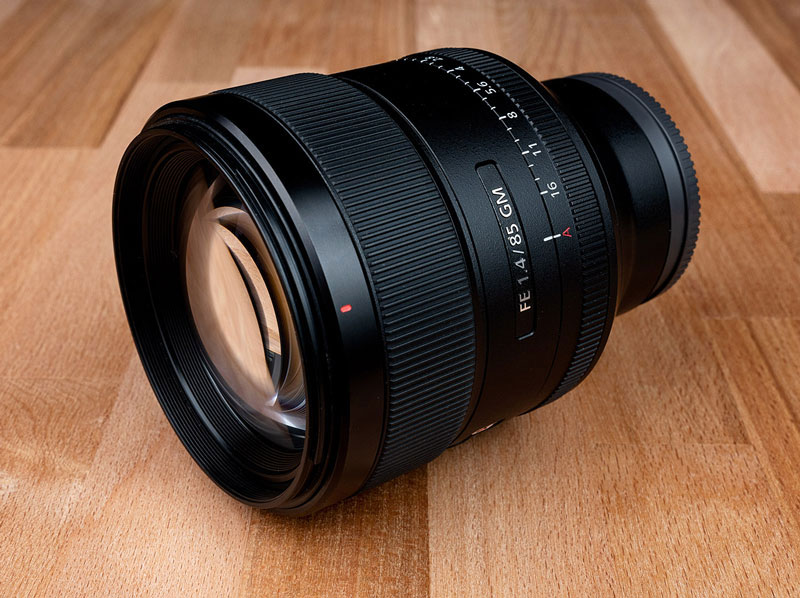
- Fast apertures are actually small numbers like f/1.4 or f/2.8.
- Slower apertures are higher numbers like f/18.0 or f/22.0
The larger the aperture the more depth of field and subject isolation you will get. The smaller the aperture, the more that will be in focus.
Here are sample apertures or f-stops going from widest to smallest
- f/1.2 – Widest opening – Great for background blur or bokeh
- f/1.4
- f/1.6
- f/1.8
- f/2.0
- f/2.8 – Standard for portraits
- f/4.0
- f/5.6
- f/8.0
- f/11.0
- f/16.0
- f/18.0
- f/20.0
- f/22.0 – Smallest opening
Depth of field
The depth of field in the image is the amount of the image that is in focus. The higher the aperture setting f/1.4 or f/1.8 the smaller area of the image being in focus.
For example, can take a portrait of a person facing directly towards the camera and have the tip of their nose in focus, but their eyes and ears will be blurry because of the shallow depth of field.
The lower the aperture setting like f/16 or f/22, the more you will have in focus in the image. Product photographers usually shoot with lower aperture settings to get more of the product in focus.
Portrait photographers will shoot wide open or at higher aperture settings (f/1.4 or f/1.8) to get subject separation and maximize smooth blurry backgrounds.
ISO
ISO is the sensitivity of your sensor and the amount of light you are allowing it to absorb.
In bright light situations like the middle of the day, you will want to set your ISO to lower sensitivity to numbers such as ISO 100 or ISO 200. This limits the amount of light you will let the sensor see.
On the opposite end, if you are in a very low light situation indoors or shooting at night, you will want to raise your ISO speed to a higher number like ISO 2500 or higher.
This can introduce noise or grain in the image depending on the camera sensor and the sensitivity to light.
When you’re shooting in low light conditions and can’t change the aperture any wider and don’t want the slow down the shutter speed, you can raise the ISO to get a better exposure.
Many cameras are getting better and better with higher ISO performance, so it makes it a lot easier to shoot in darker scenes.
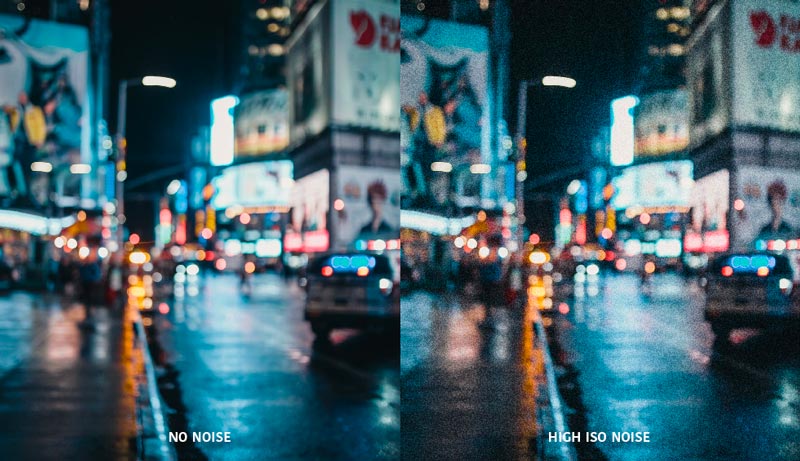
Noise or Grain
Noise is also known as grain and can be more prominent with higher ISO ranges in low light situations.
This is something brought over from the film days, and some people love adding this in post-production to mimic film editing.
When you are shooting with limited light and need to raise your ISO setting in your camera, the sensor becomes more sensitive to light. With limited light, noise is introduced at higher ISO ranges.
It is most commonly seen as the small dots covering a photo. It can reduce sharpness but also add a unique effect to the photos. In order to reduce grain in your images, you will need to shoot at lower ISO settings.
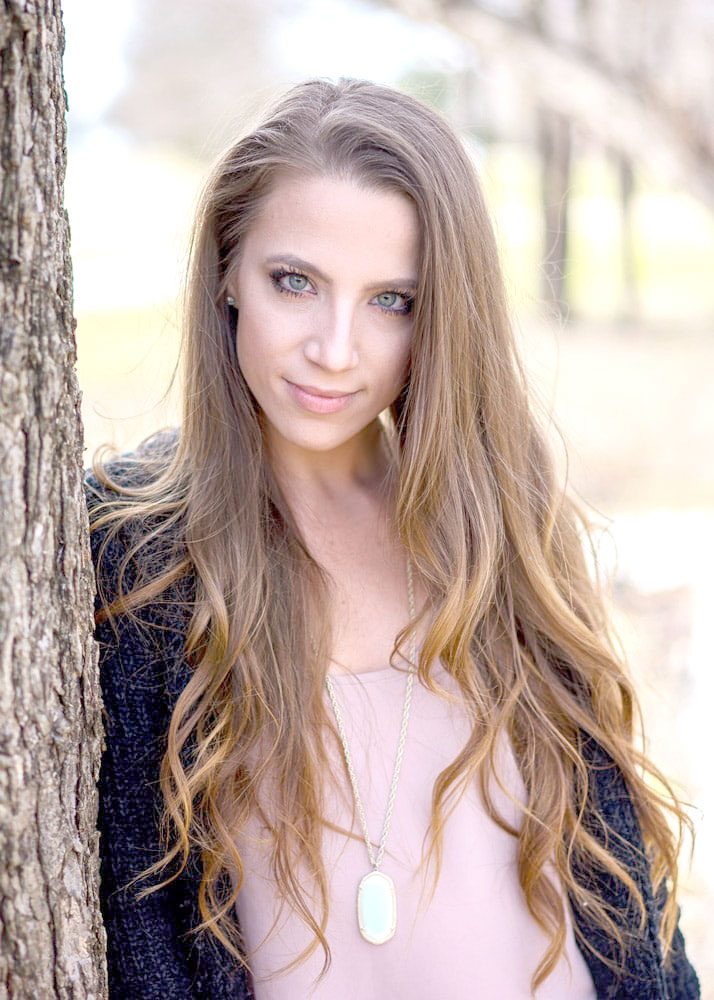
Bokeh (background blur)
Bokeh refers to the out of focus background blur within a photo. This is more prominent when shooting with fast apertures such as f/1.4, f/1.8 or even f/2.8.
The word has a Japanese origin referring to out of focus balls of light.

Bokeh balls are created when your subject is in front of small lights or highlights, and your lens is focusing on the subject with a small depth of field.
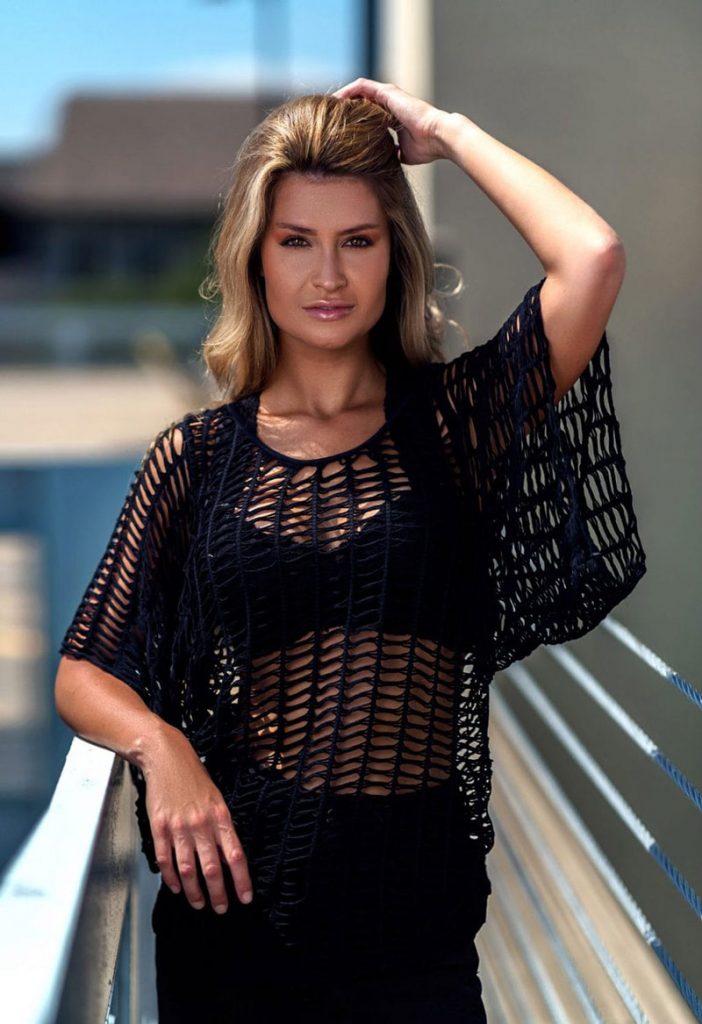
Same thing happens when you place your hand in front of your face and focus on your fingers. The background behind your hand gets blurry and out of focus.
You can also achieve this effect with smaller apertures such as f/4.0 or f/5.6. Just make sure your subject is clearly moved away from the background.
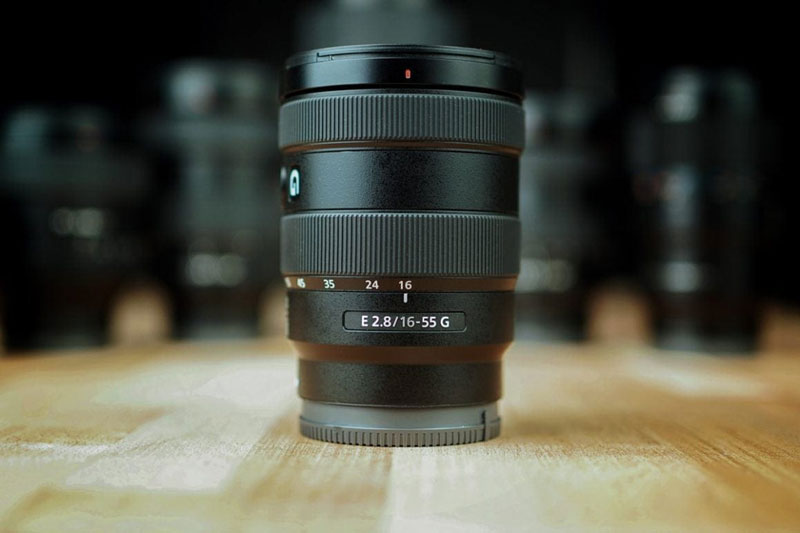
Focal Length
The easiest way to think about focal length is to think angle of view.
Focal length is measured in “mm” and describes the angle of view that a particular lens will provide.
Wide focal lengths are considered around 12mm, 16mm and even 24mm. This is great for landscape shots, or really wide photography.
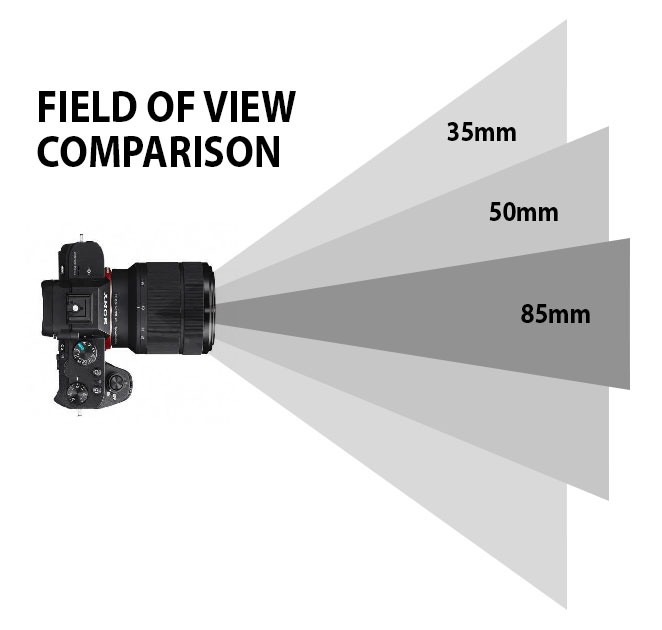
Short focal lengths can be considered the 35mm, 40mm and 50mm. These are great for street photography and everyday walk around photography.
Longer focal lengths can be 85mm, 135mm and 200mm. These lengths are great for portraits and events like weddings or graduations. You need to zoom into a subject but can’t get too close.
Each focal length offers advantages and disadvantages depending on your shooting style. It is not uncommon for photographers to have many focal lengths for different use cases.
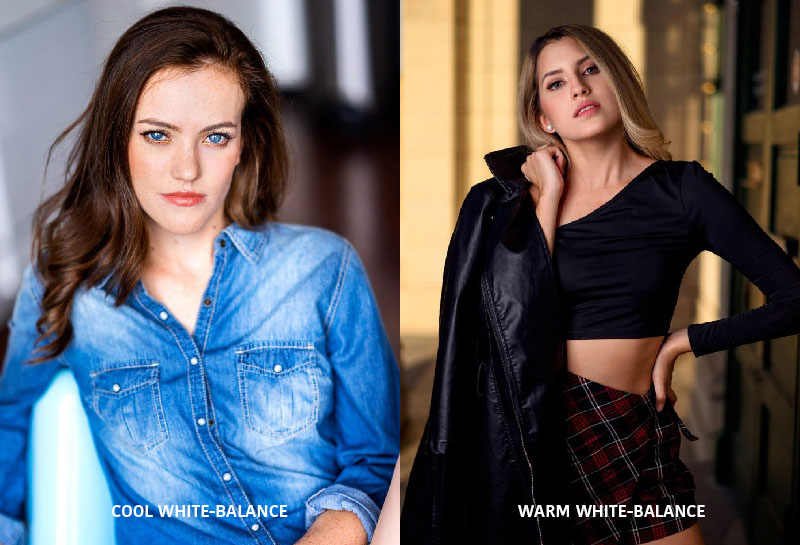
White Balance
White balance refers to the color of light casting on a subject. This is measured in the color temperature of the “white” colors in the image.
The best visual example for you is sunset. The warm glow of the sun creates a very yellowish-orange light in your photos. In contrast, cold cloudy days have more of a cool (blue) color cast.
Your camera can take this into account with white balance settings and helps you render colors in a more natural manner.
Metering
Metering refers to your cameras ability to scan a scene and create a proper exposure.
Highlights and darks are taken into account and an average is created so your camera can take a properly exposed photo.
There are different metering modes to learn but these can come in handy when trying to create a properly balanced exposure or getting creative with lighting.
RAW and JPG
A RAW file is a final high resolution image file saved to your memory card when you take a photo. Not all cameras shoot in RAW, but I recommend shooting in this format for the best quality photos.
Another type of image file is JPG. When shooting RAW, your camera is creating a file with more digital information that can be processed in image processing software.
The biggest thing to know about RAW files are they tend to be much larger than JPG (compressed) files and are better for final editing.
Don't Miss This

Exposure
Exposure is a balance of lights and darks within an image that your camera meters. Without getting too technical, you want to find a good balance of highlights and darks within an image to take a proper shot.


Many photographers like to under-expose an image so they can retail details in the highlights. Over-exposing lets photographers create more bright and airy photos by bringing up the darks areas of an image.
There is three camera settings that make up a basic exposure and these make up the exposure triangle. Aperture (f-stop), Shutter speed and ISO.
Adjusting each setting in manual mode gives you the most control over your exposure.
Why you should learn these terms
When your jumping head-first into photography, you will want to get some basic understanding of common photography terms. These will make asking questions and reading answers a bit easier to understand.
Like all creative industries, there will be terms that get thrown around by creative professionals, and these will be the most common for photography.
How can you learn more in depth about each term
I am a big proponent of online learning. If you are looking for FREE sources, then check out YouTube. There are thousands of videos on each term.
If you want a more structured learning program, I would check out Creativelive.com for online classes by professional photographers. This way you can learn at your own pace and keep track of your progress.
Either way, continued education and practice is a good way to learn these and more.
Don’t let technical terms scare you
All fields of learning require some technical terms that we need to understand. Don’t let these scare you or make you feel like you won’t learn how to shoot photos.
We all learn at our own pace so be patient with yourself and give it some time to learn these terms and put them into practice.
*Affiliate Disclaimer - I am a proud partner of the various affiliate programs including the Amazon.com Affiliate Program. When you click on my links and make a purchase I make a commision which goes to helping me support this blog. Thanks! |