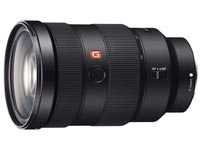
There’s one lens that I’ve been wanting to try for portraits and that’s the Sony 16-35mm f2.8 G Master lens.
I know this isn’t a standard focal length for portrait photography, but I knew it would get me out of my comfort zone. I wanted to get wide, get creative and have some fun.
Sony 16-35mm f2.8 Wide Angle Portraits
In this portrait shoot walkthrough, we’ll check out my final images from my model test shoot and meetup in Downtown Dallas, Tx.
I’ll go over the good and the bad of using the Sony 16-35mm f2.8 lens for portraits, and help you decide if this would be a good fit for you and your photography.
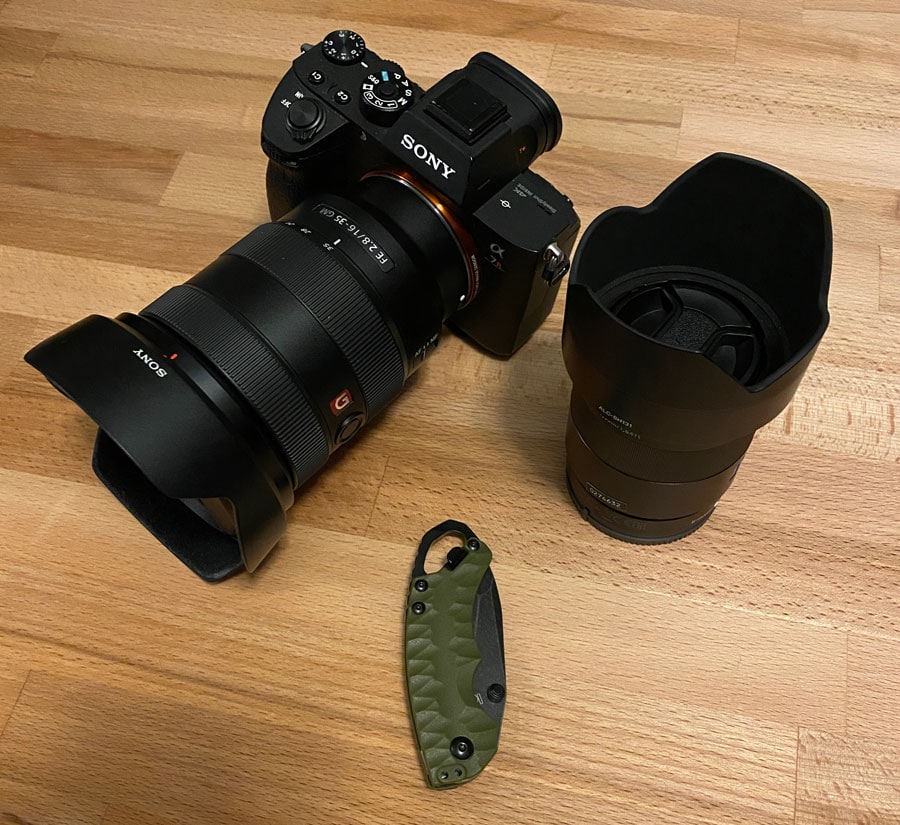
Sony a7riii with Sony 16-35mm f2.8 G Master Lens
For this shoot, I used my Sony a7riii paired with the Sony 16-35mm f2.8 G Master lens. I’ve used the 16-35mm f2.8 for events and weddings but never specifically for portrait shoots.
 | Sony 16-35mm F2.8 Lens |
 | Sony a7riii Mirrorless Camera |
I’ve read many reviews from photographers using the lens for landscape photography and video work but not for portraits, so I figured I’d give you my own experience with this lens.
My goal was to get creative and use the wide angles to my advantage while shooting in the downtown Dallas area.

Model test shoot with Sony 16-35mm f2.8 G Master
This particular shoot was put together by a traveling photographer. We had local DFW models Dominique, Maddison, and Olivia join us.
They’re all fairly new to modeling, but they took direction really well and we all had a blast.
The shoot was a TFP model test shoot. No money exchanged hands, and all finalized photos were delivered to the models within 7 days after the shoot.
TFP shoots are a great way to build your portfolio and I highly recommend all beginners take part in these types of shoots if you can.
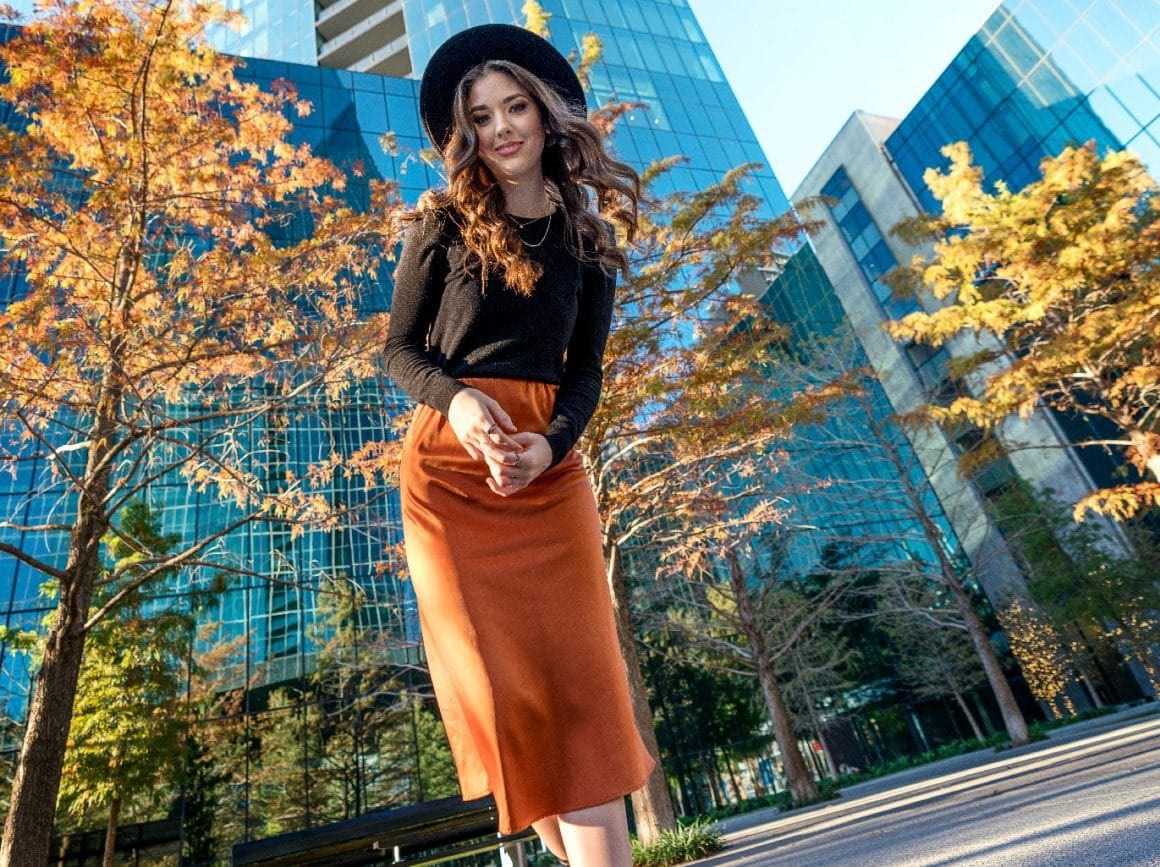
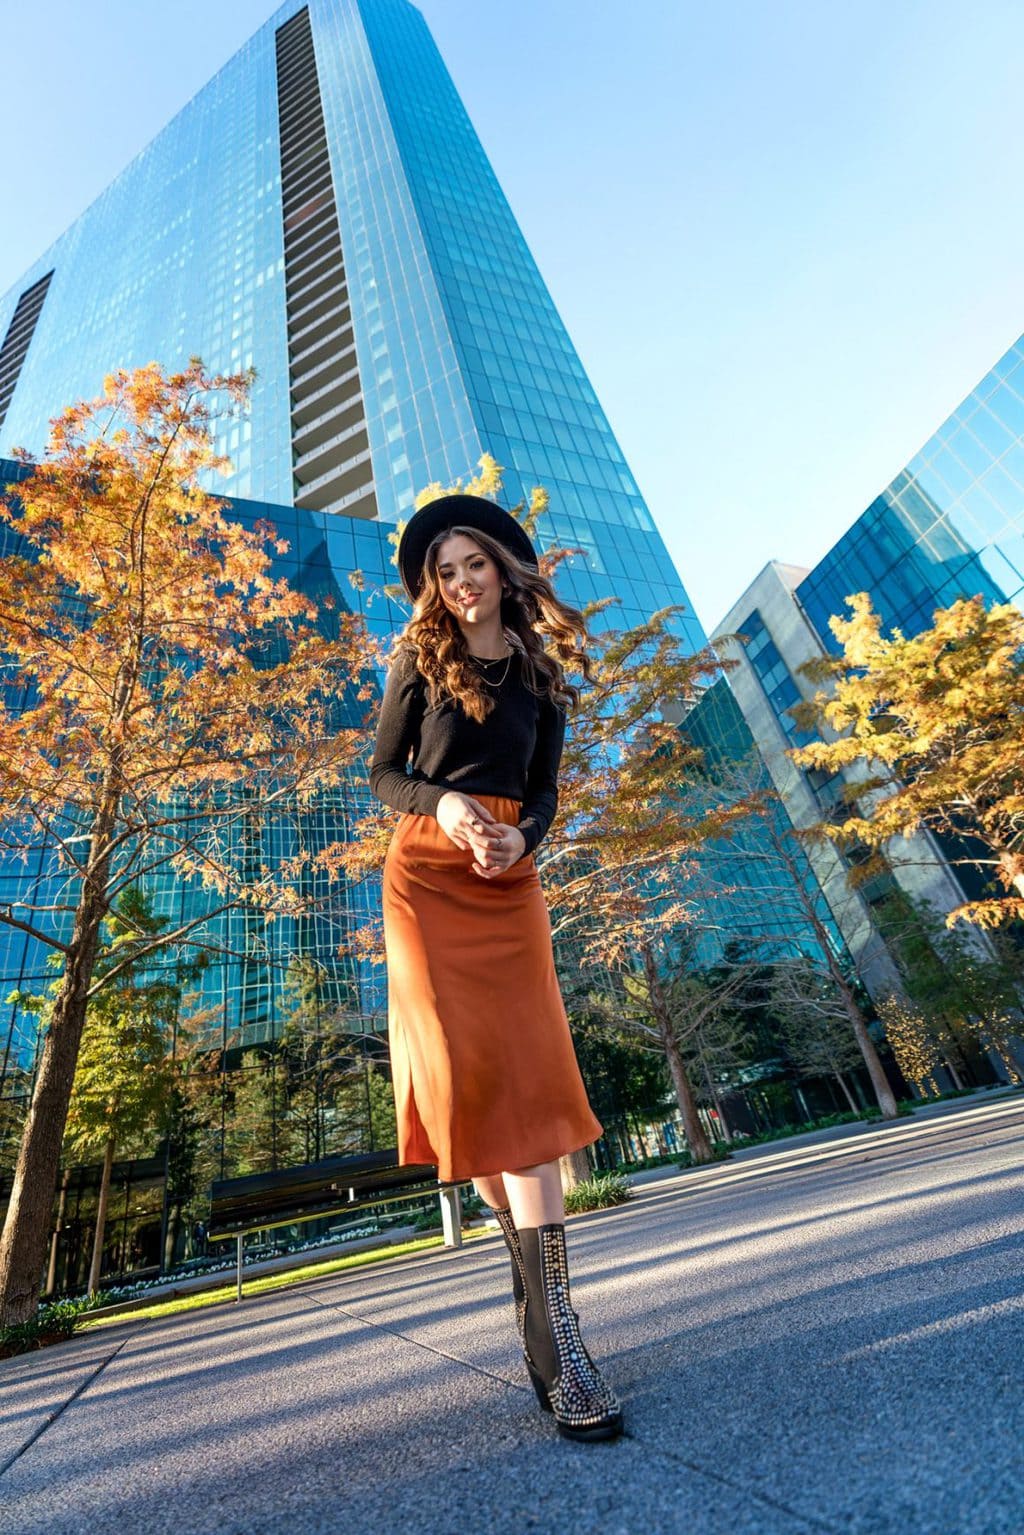
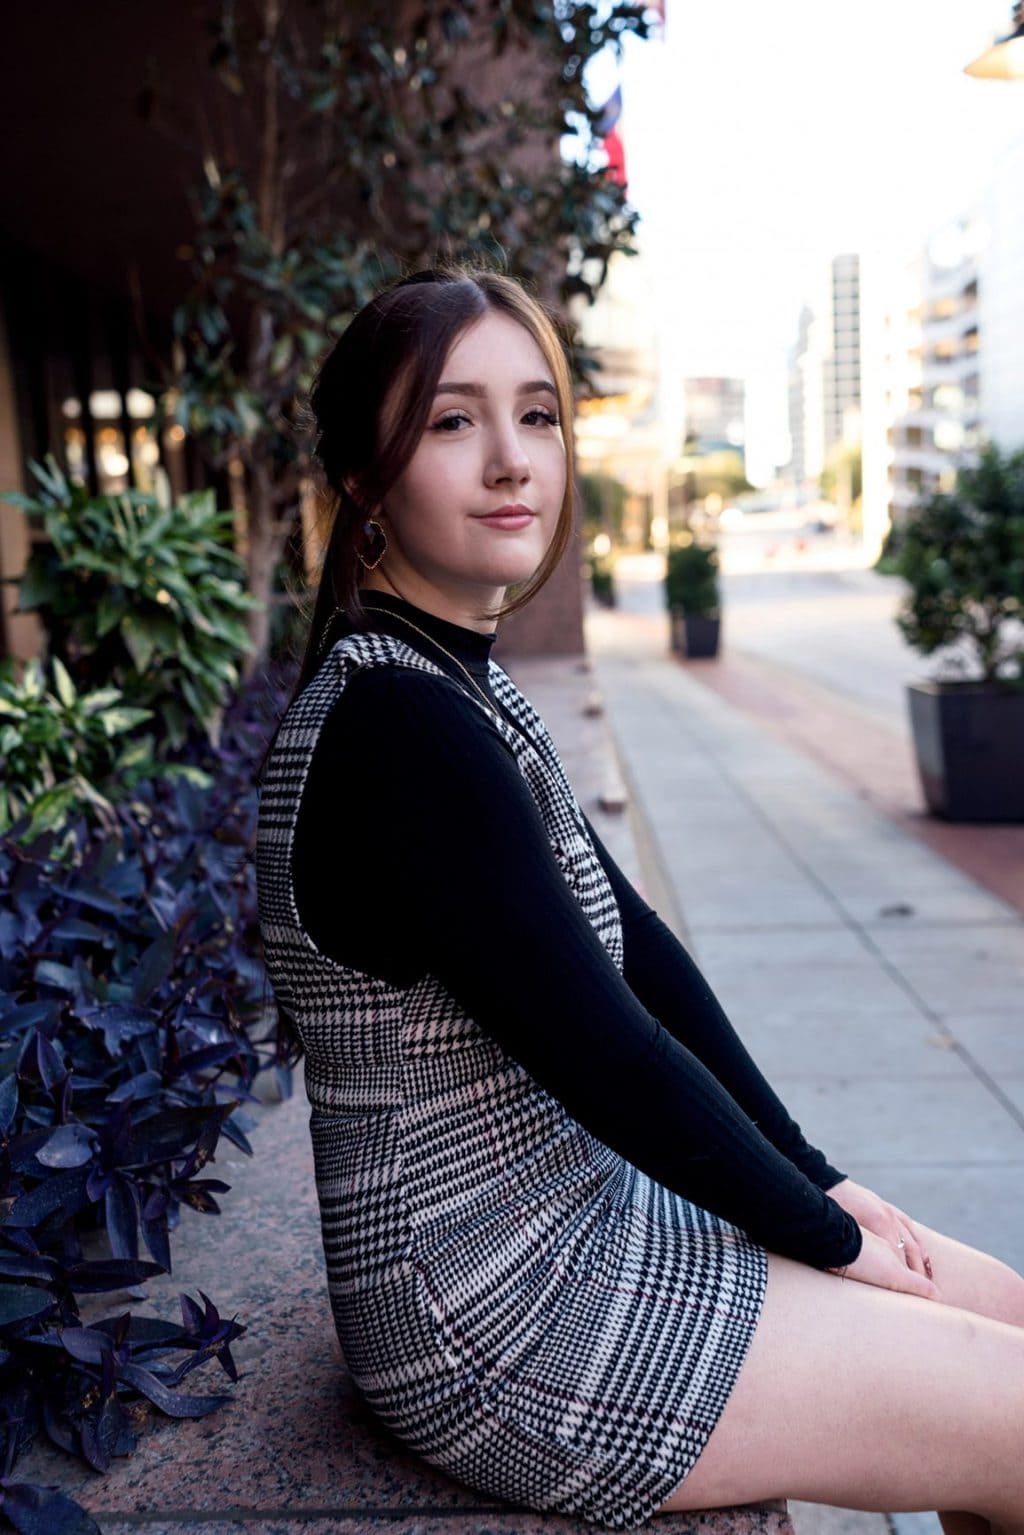
Discovering the urban photoshoot location
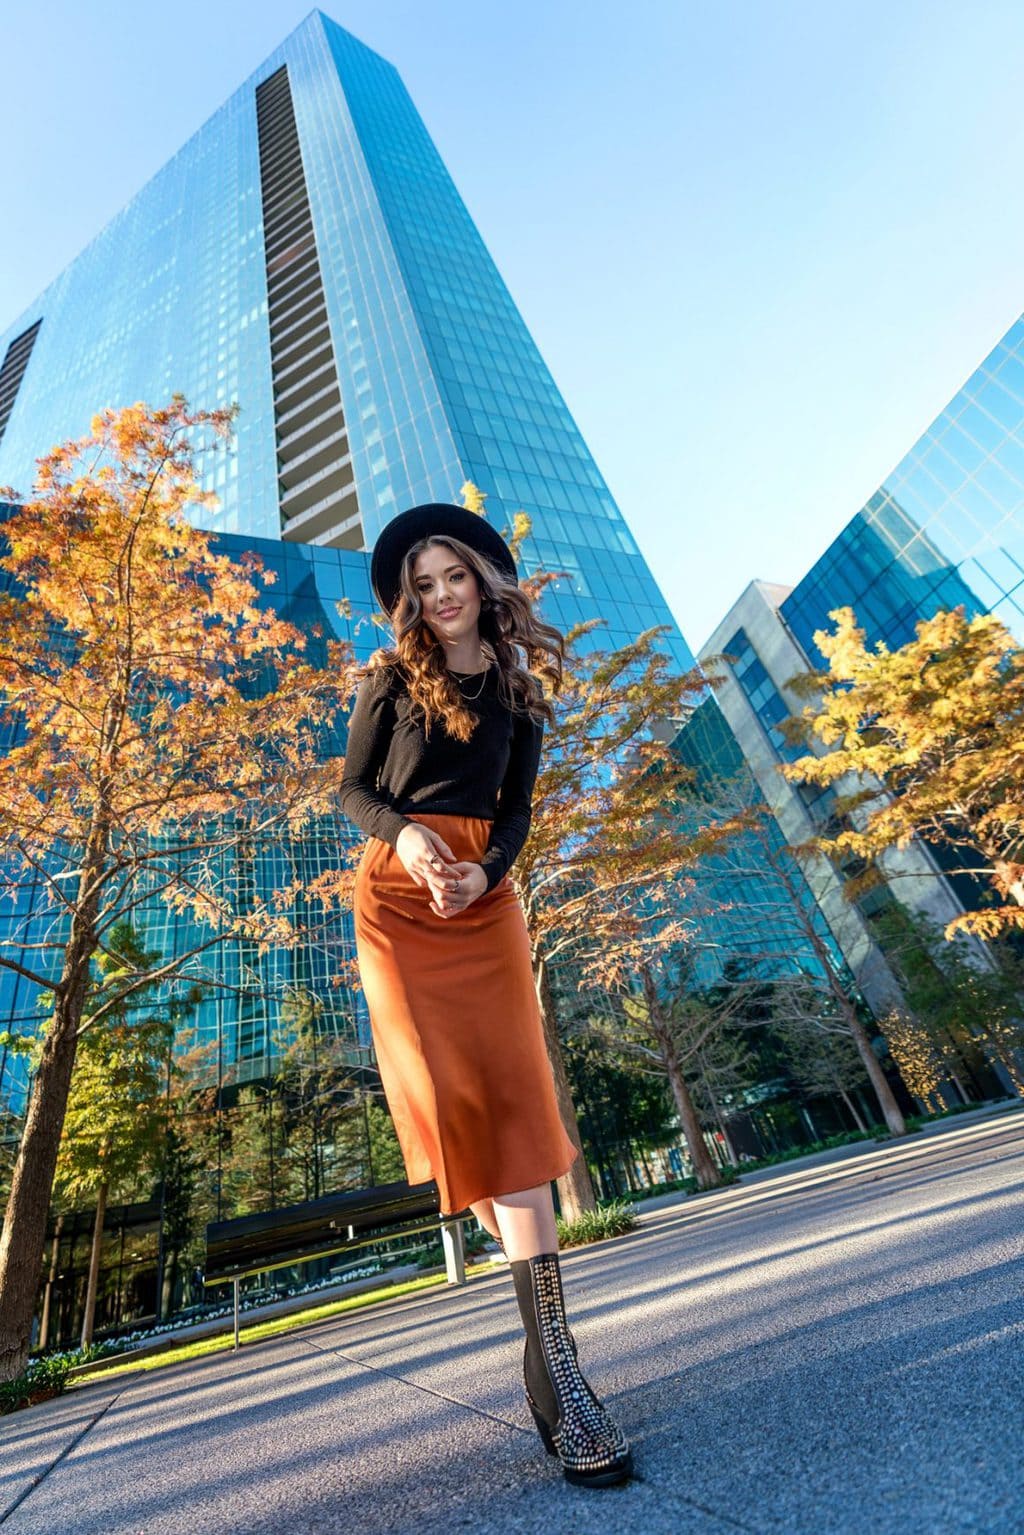
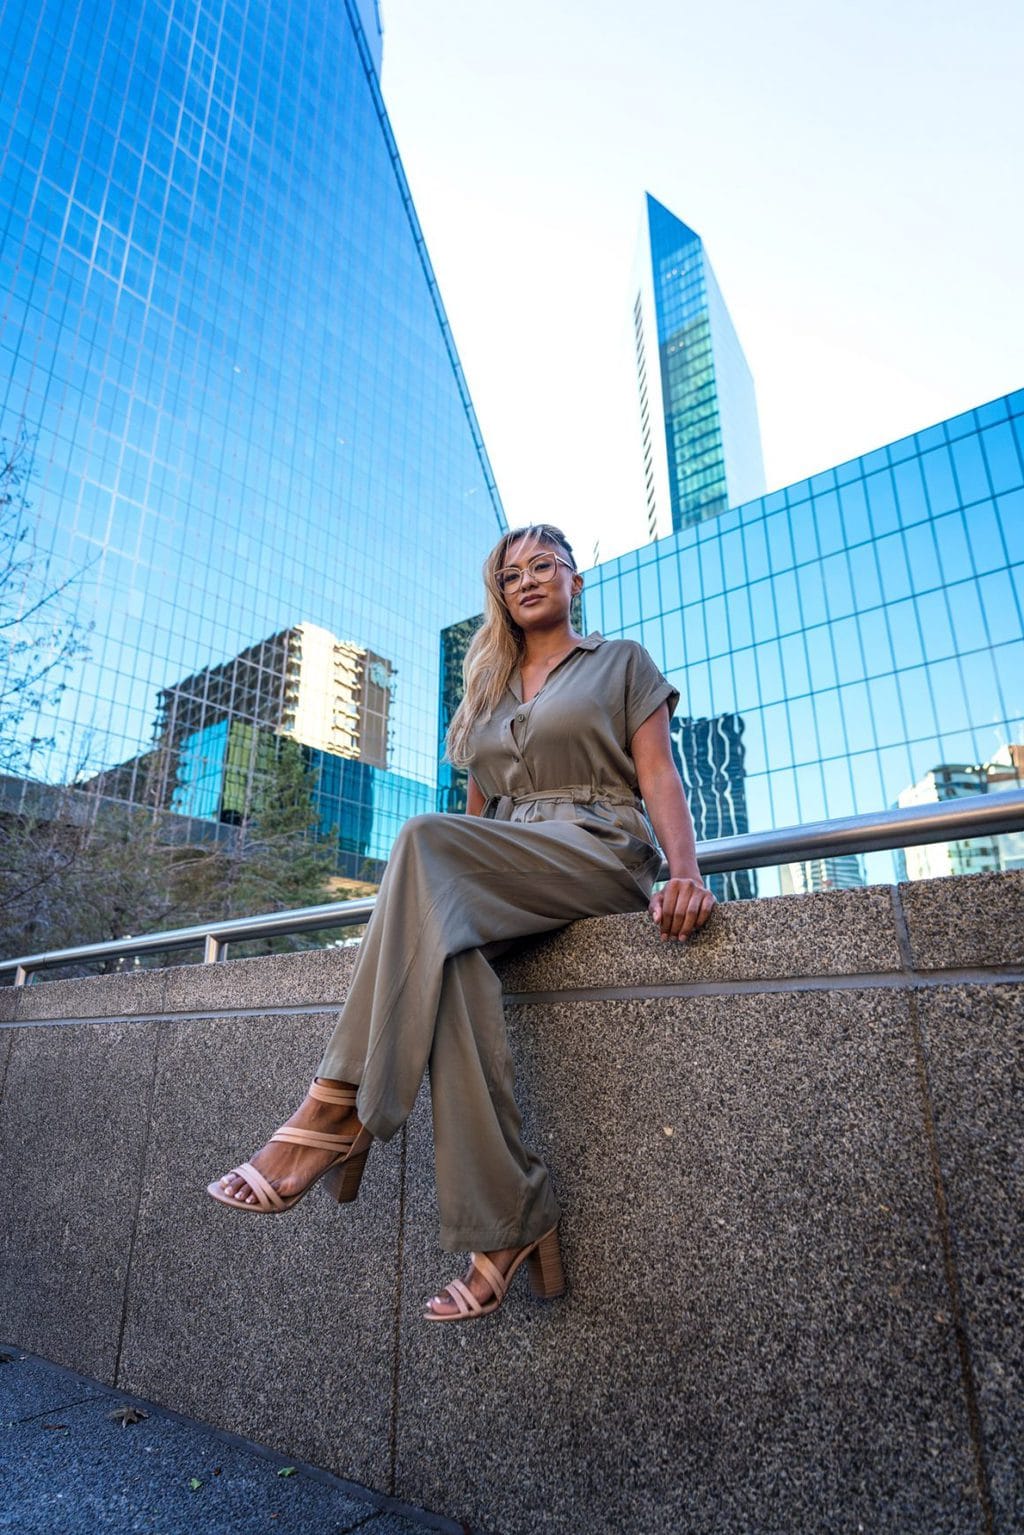
The Downtown Dallas area is full of skyscrapers and beautiful architecture. From modern buildings to old historic gems, it really has something for everyone.
We started the shoot right across the highway north of downtown and slowly worked our way into the main downtown area.
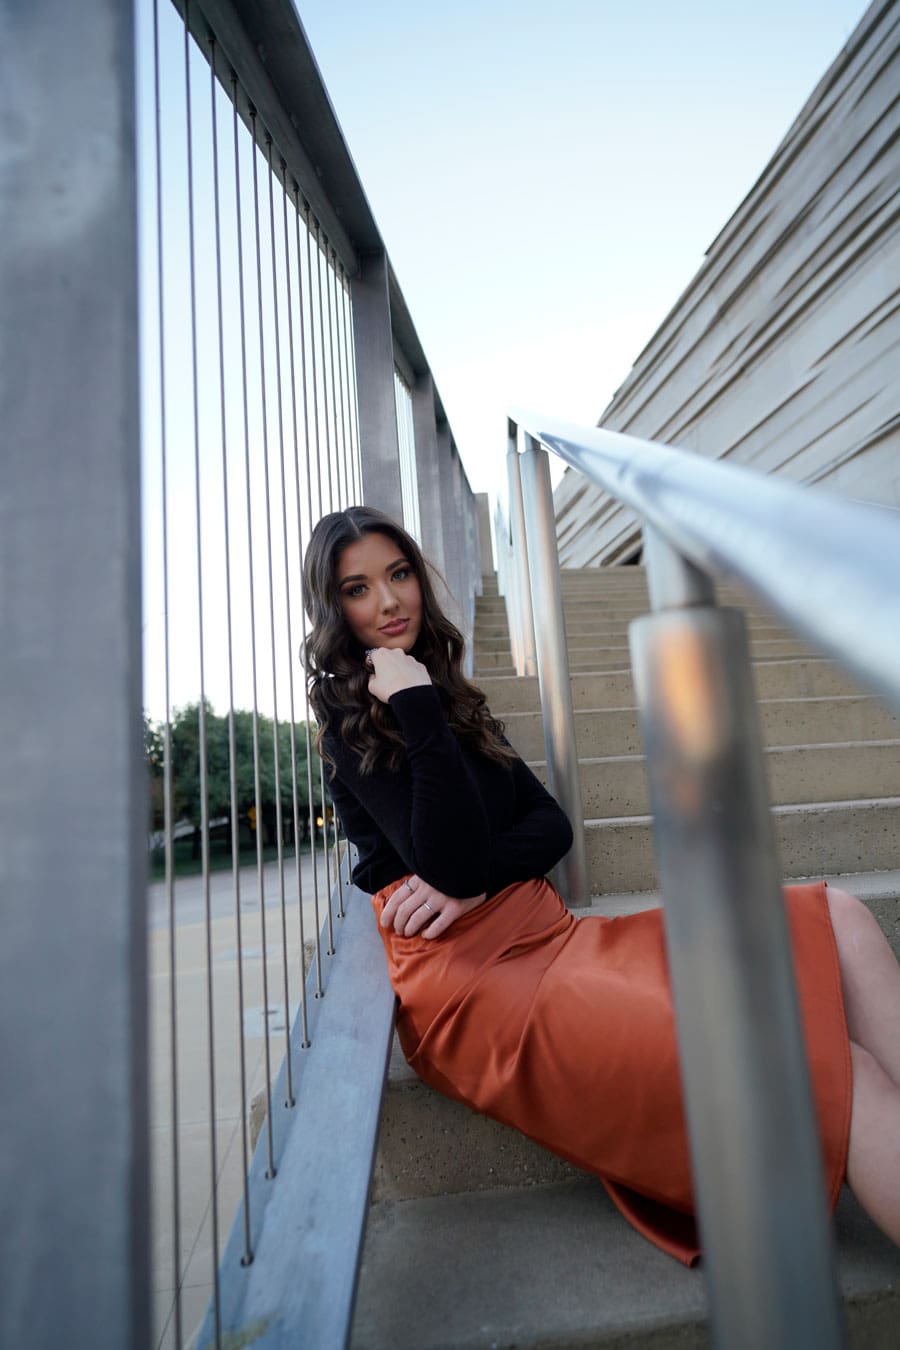
As we walked the city streets, we stopped in certain areas as a group to get some shoots. We had a variety of lighting scenarios and textures to work with every step of the way.
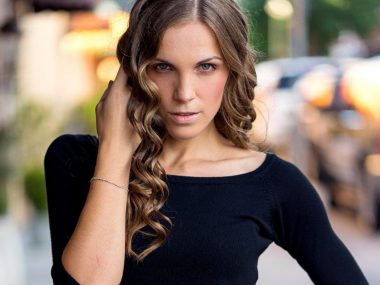
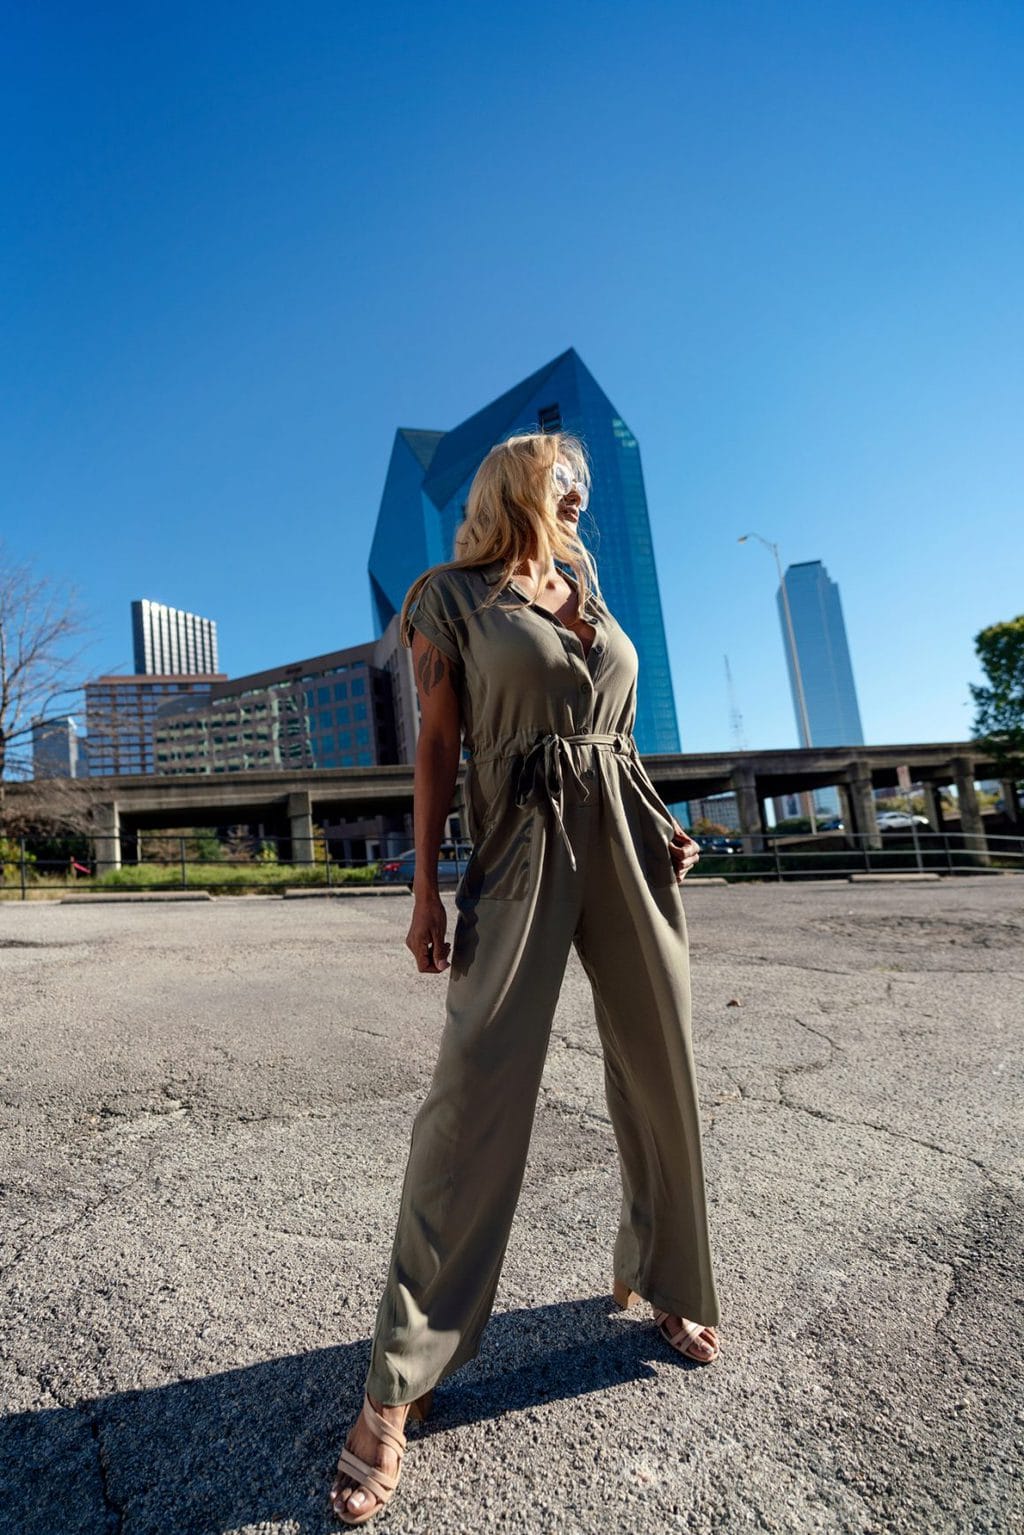
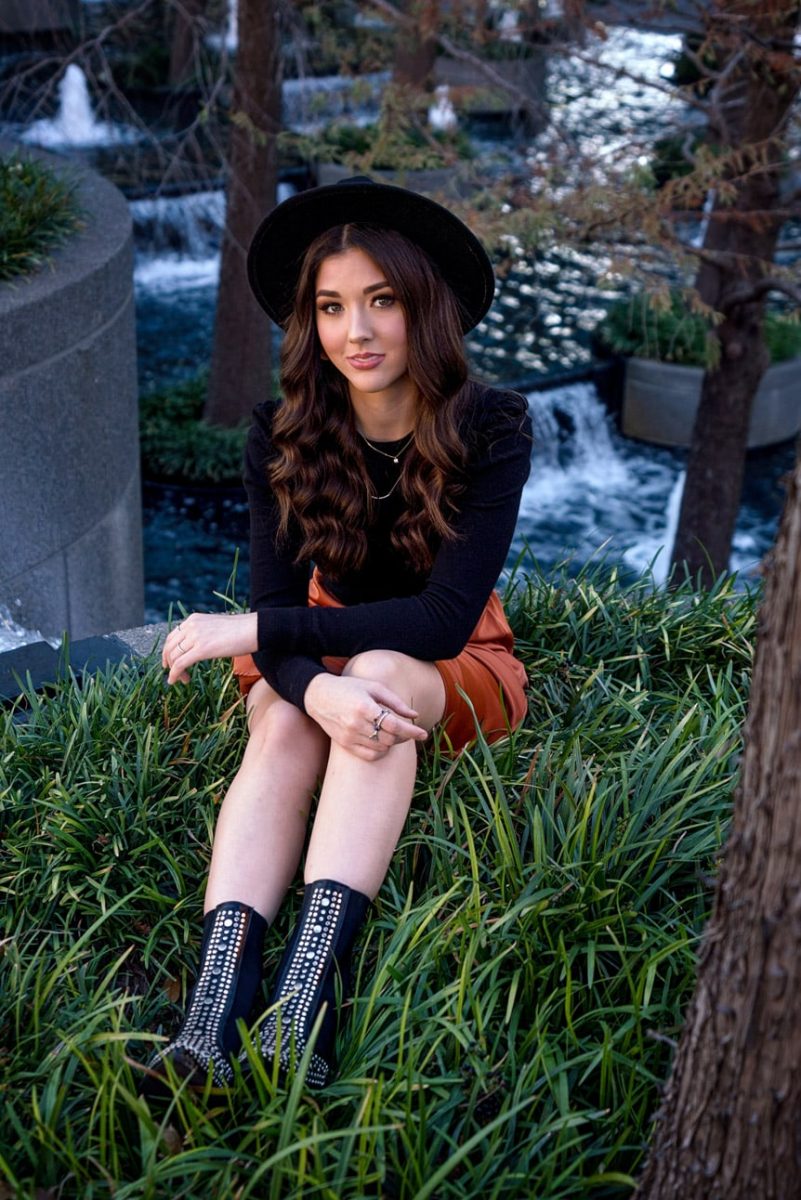
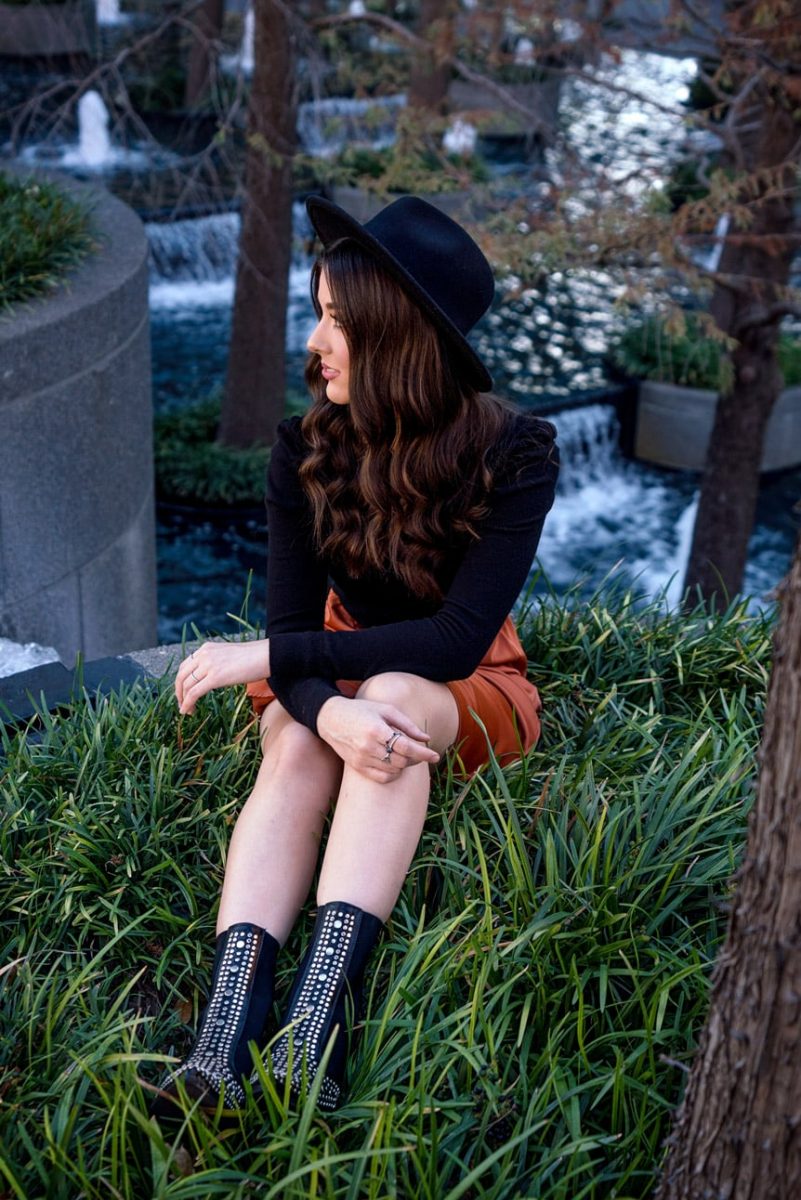
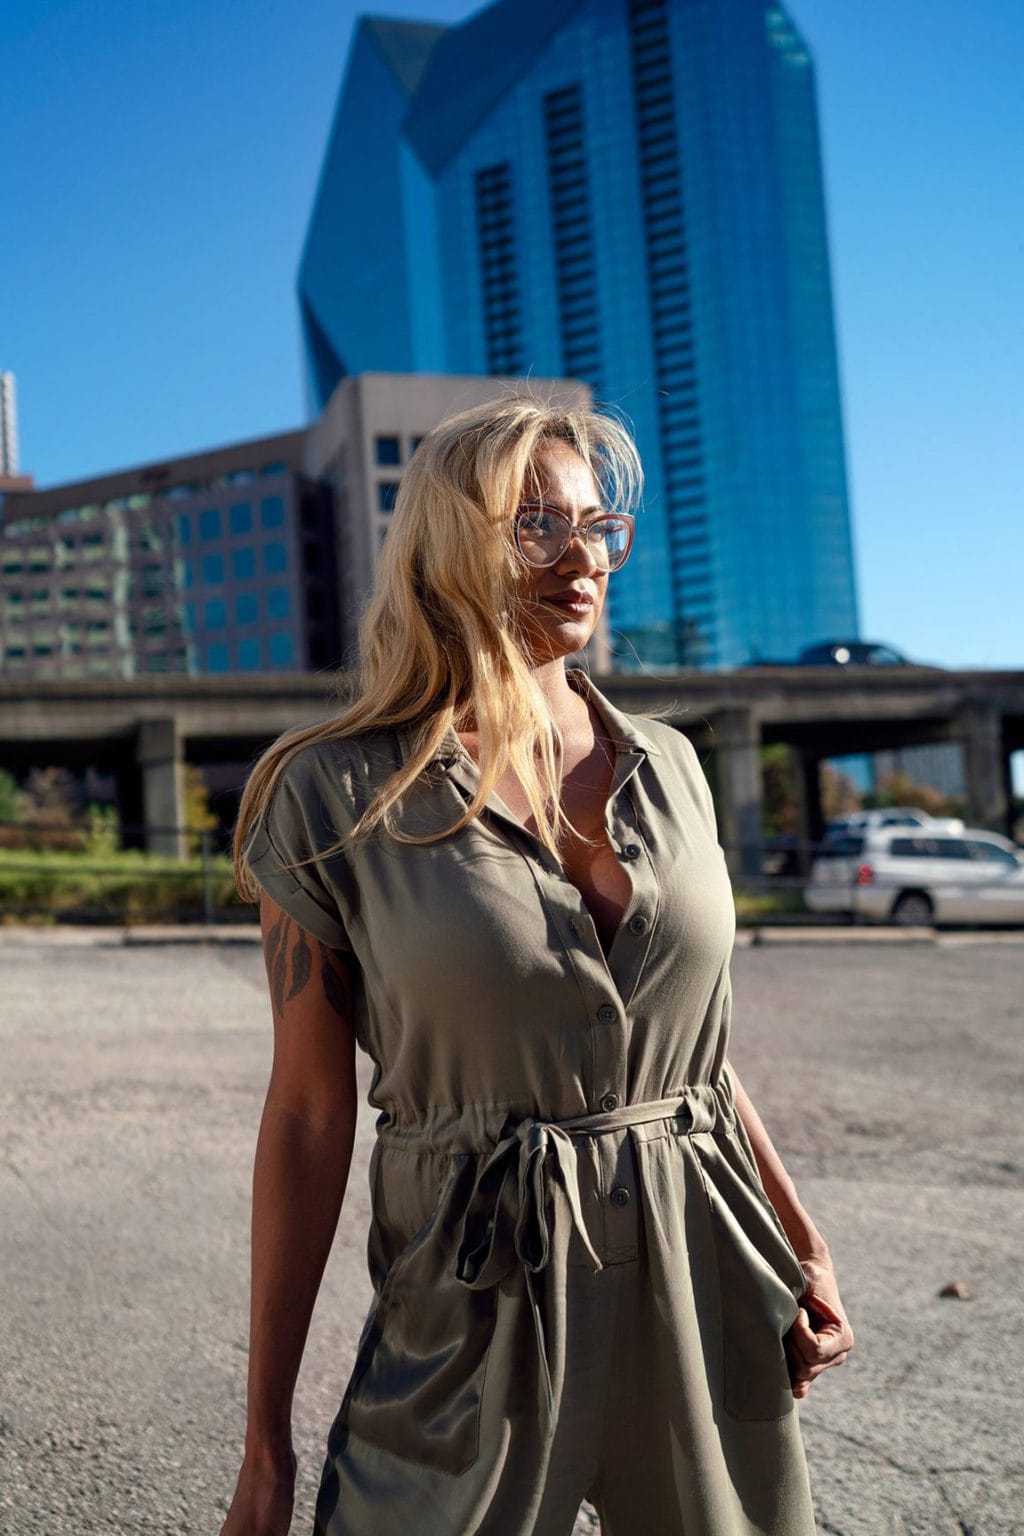
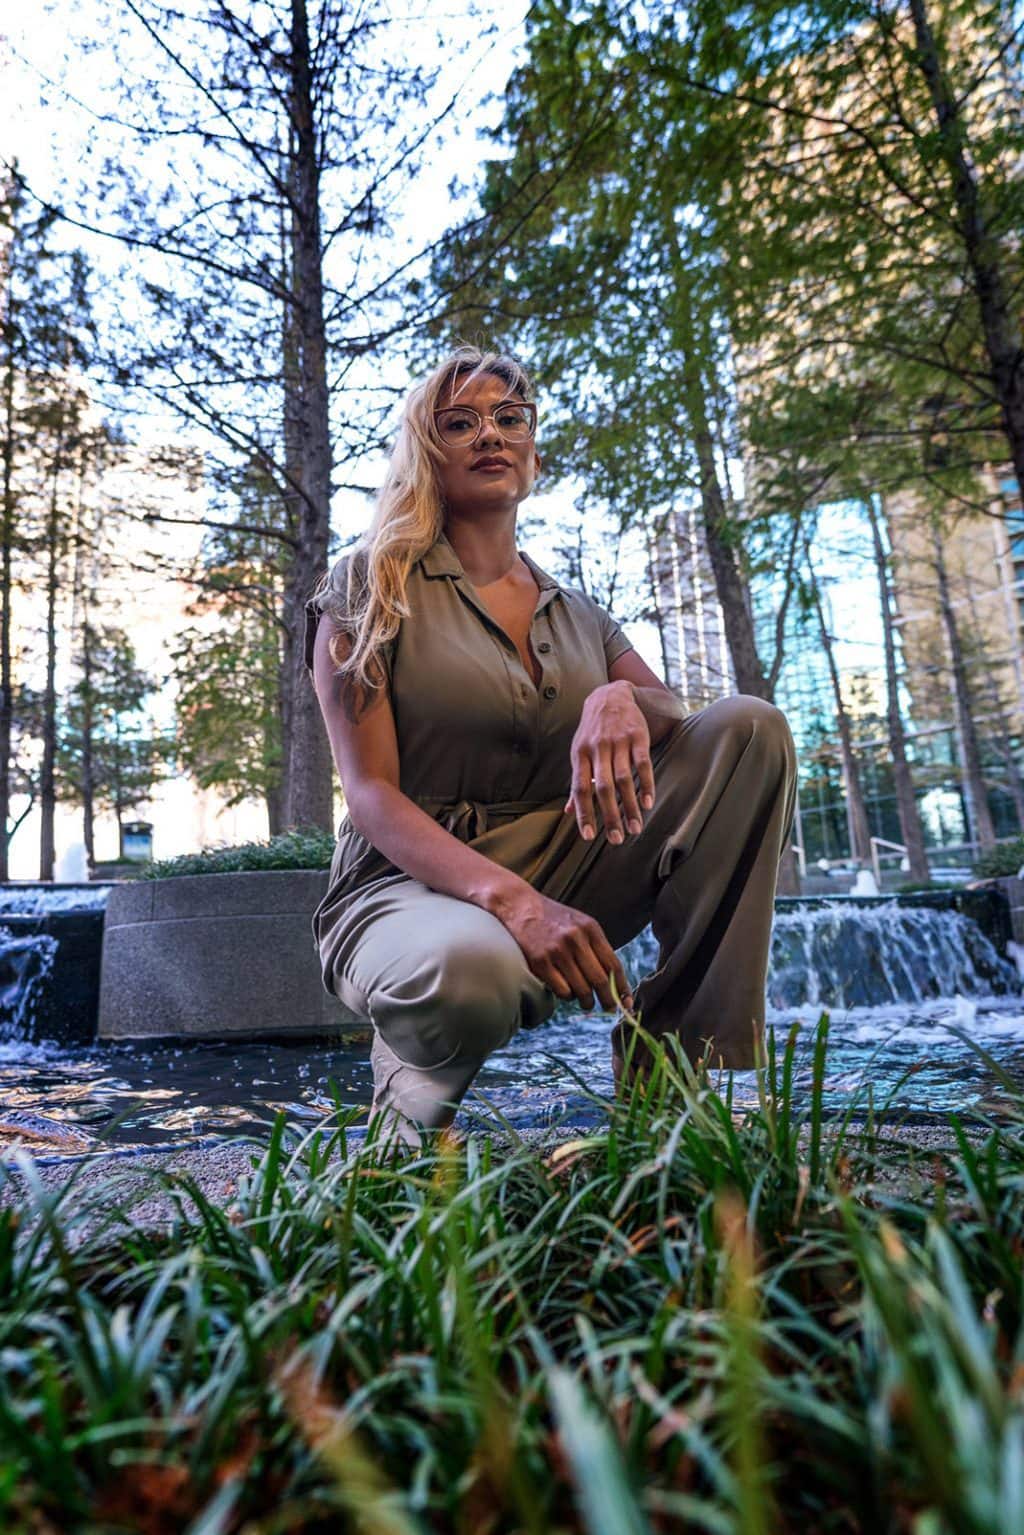
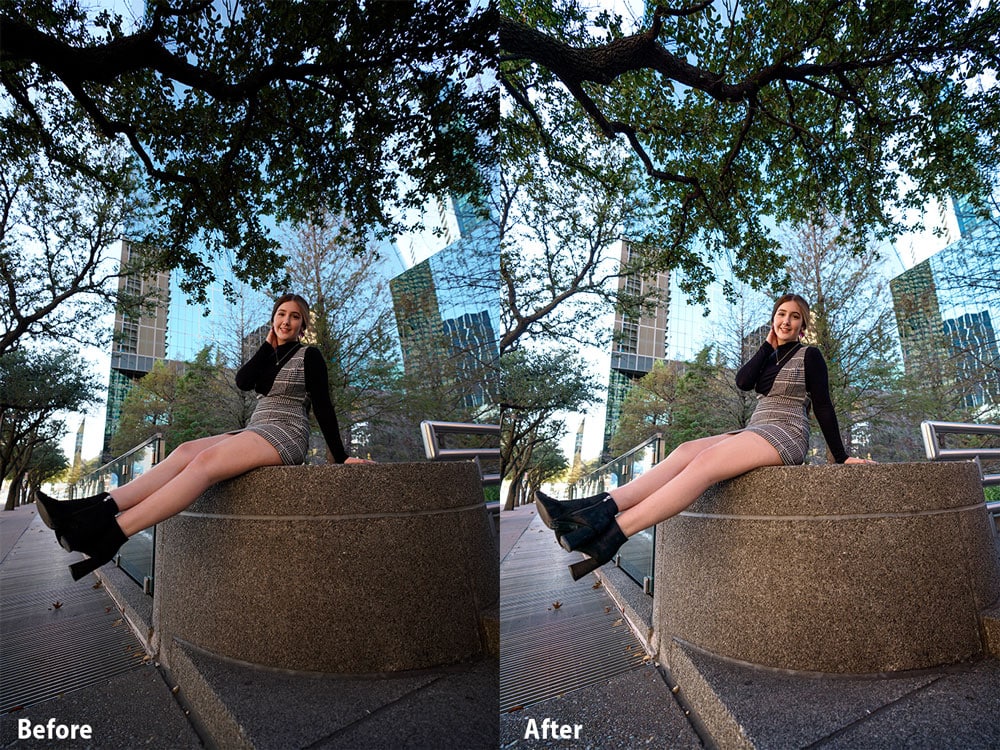
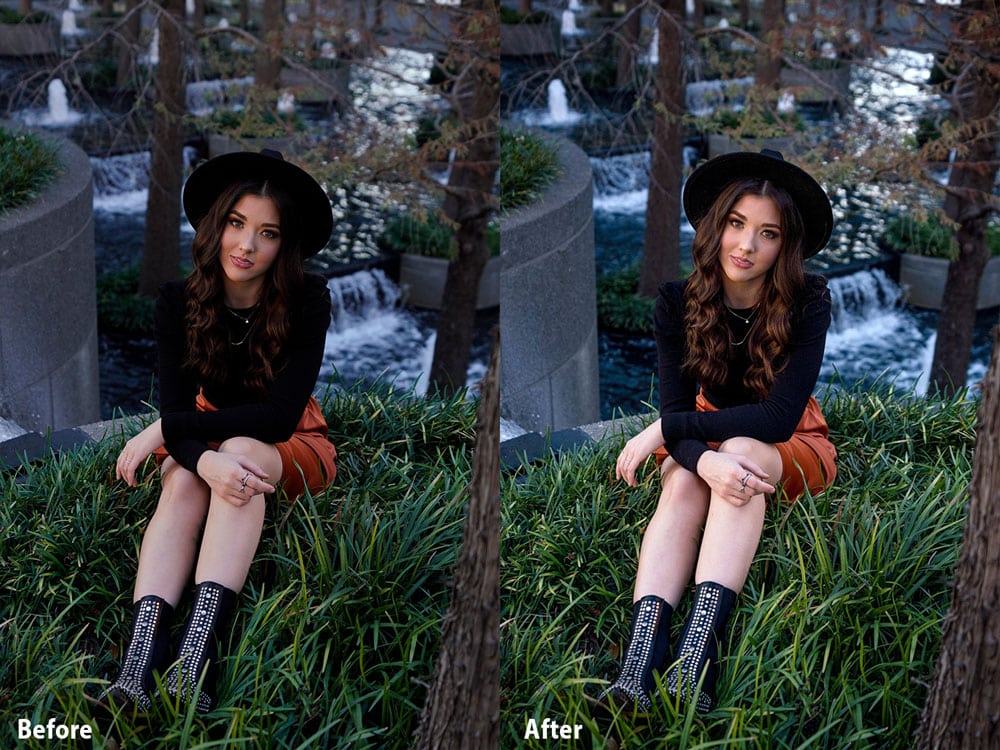
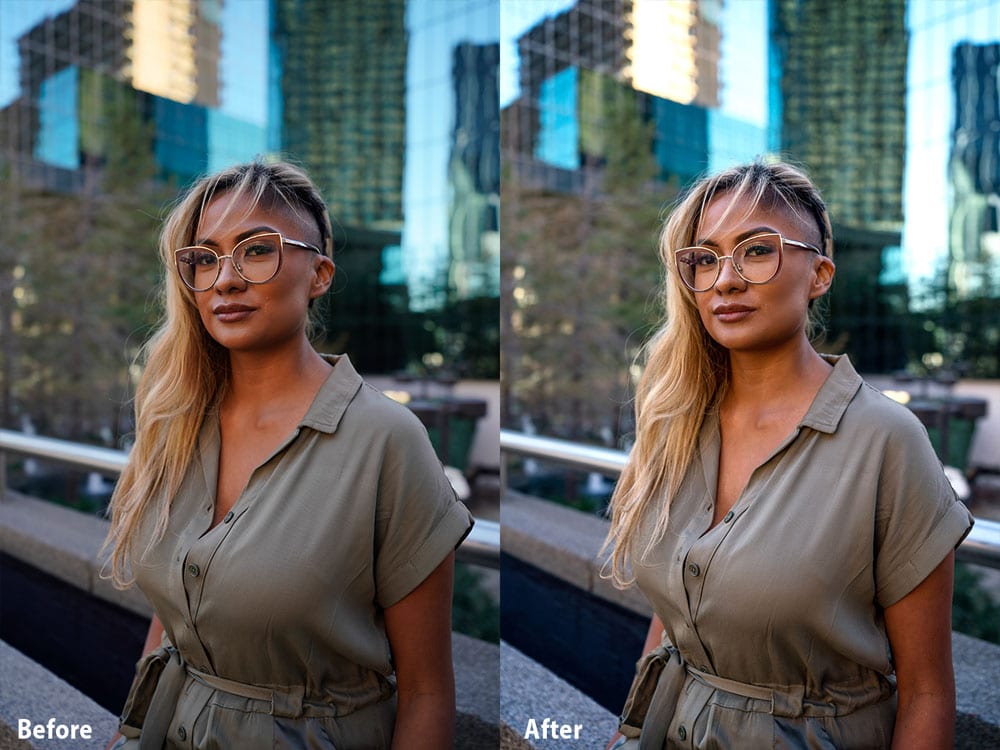
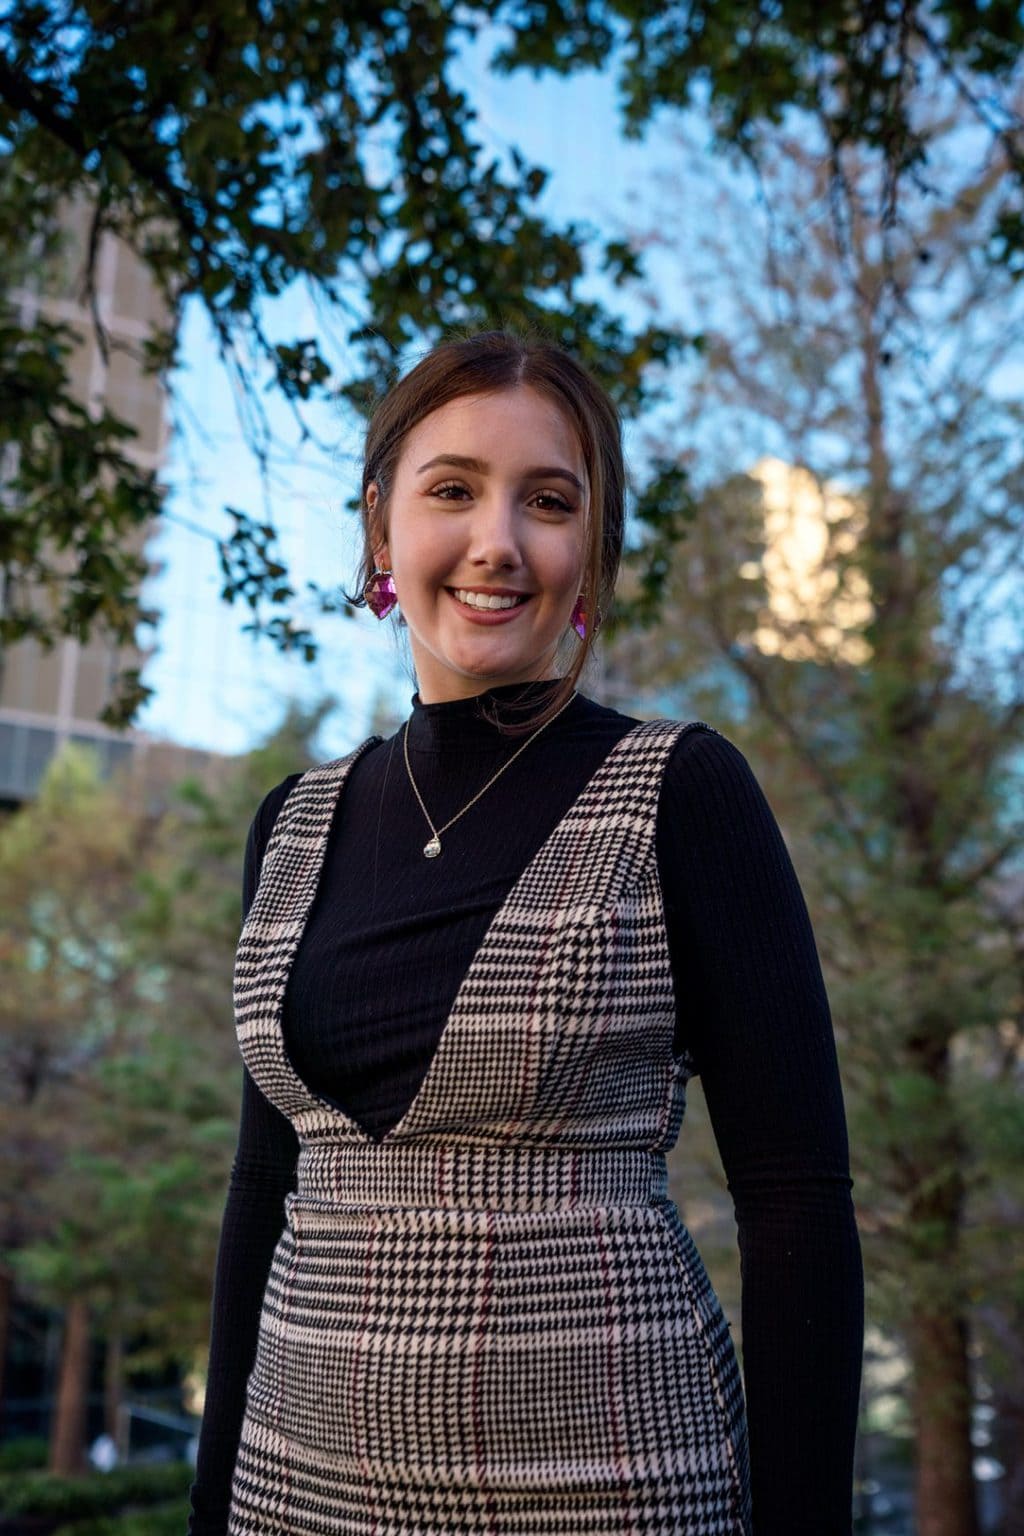
Wide Angle Portrait Photography
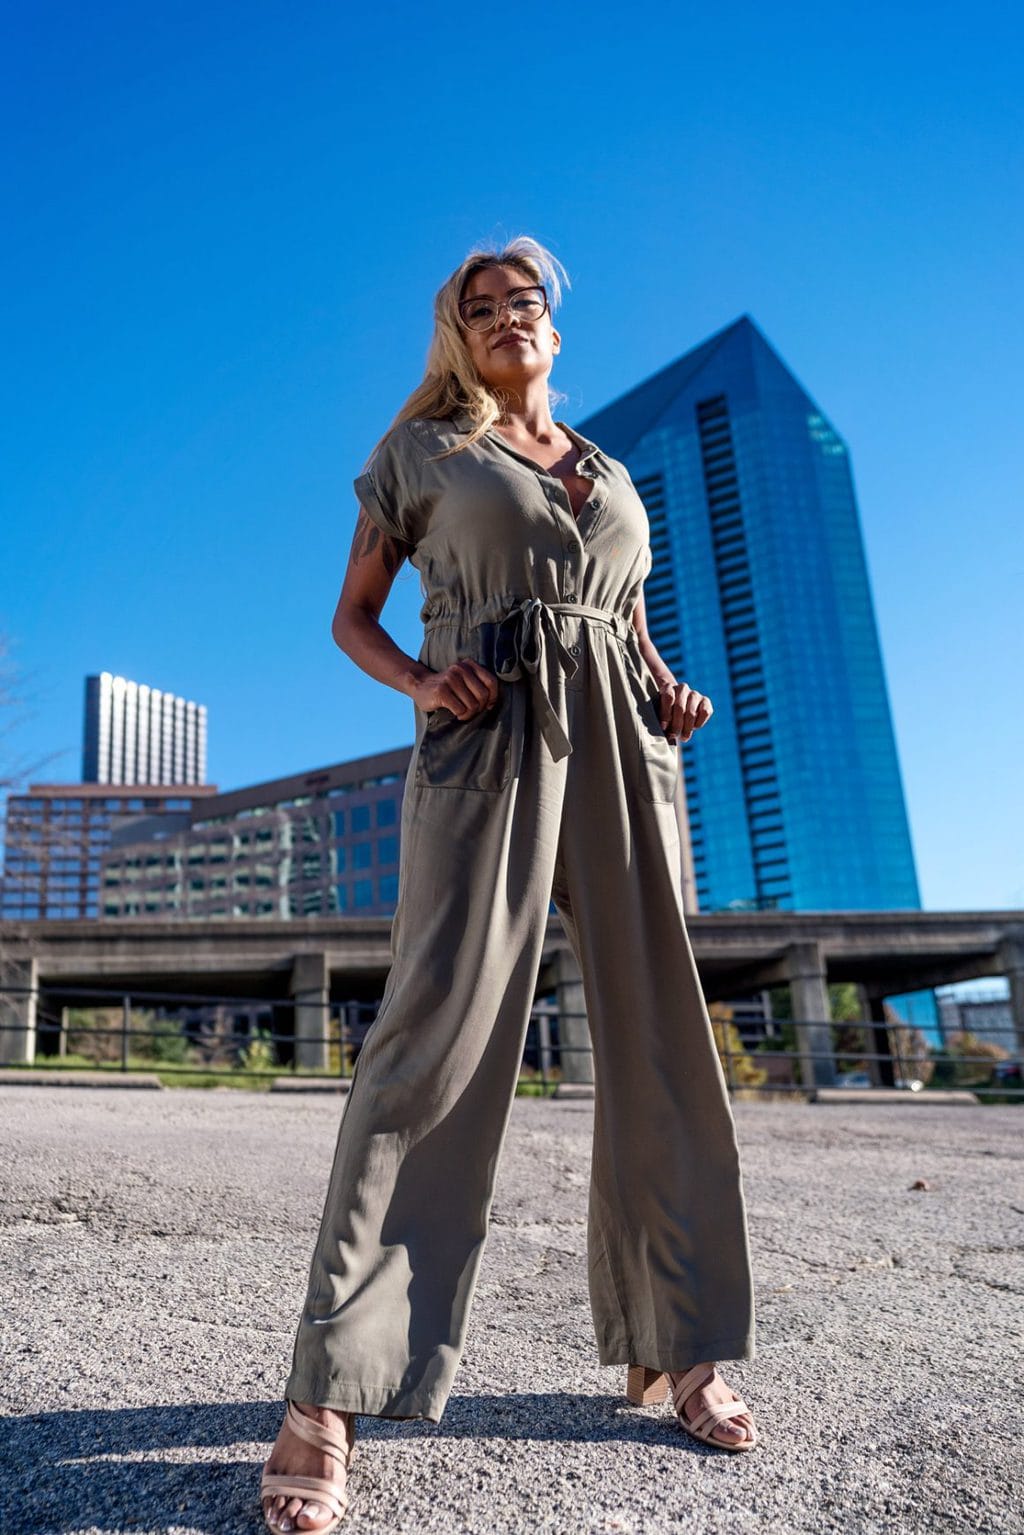
The buildings offered me a chance to show the scale of the environment while shooting with the wide-angle lens.
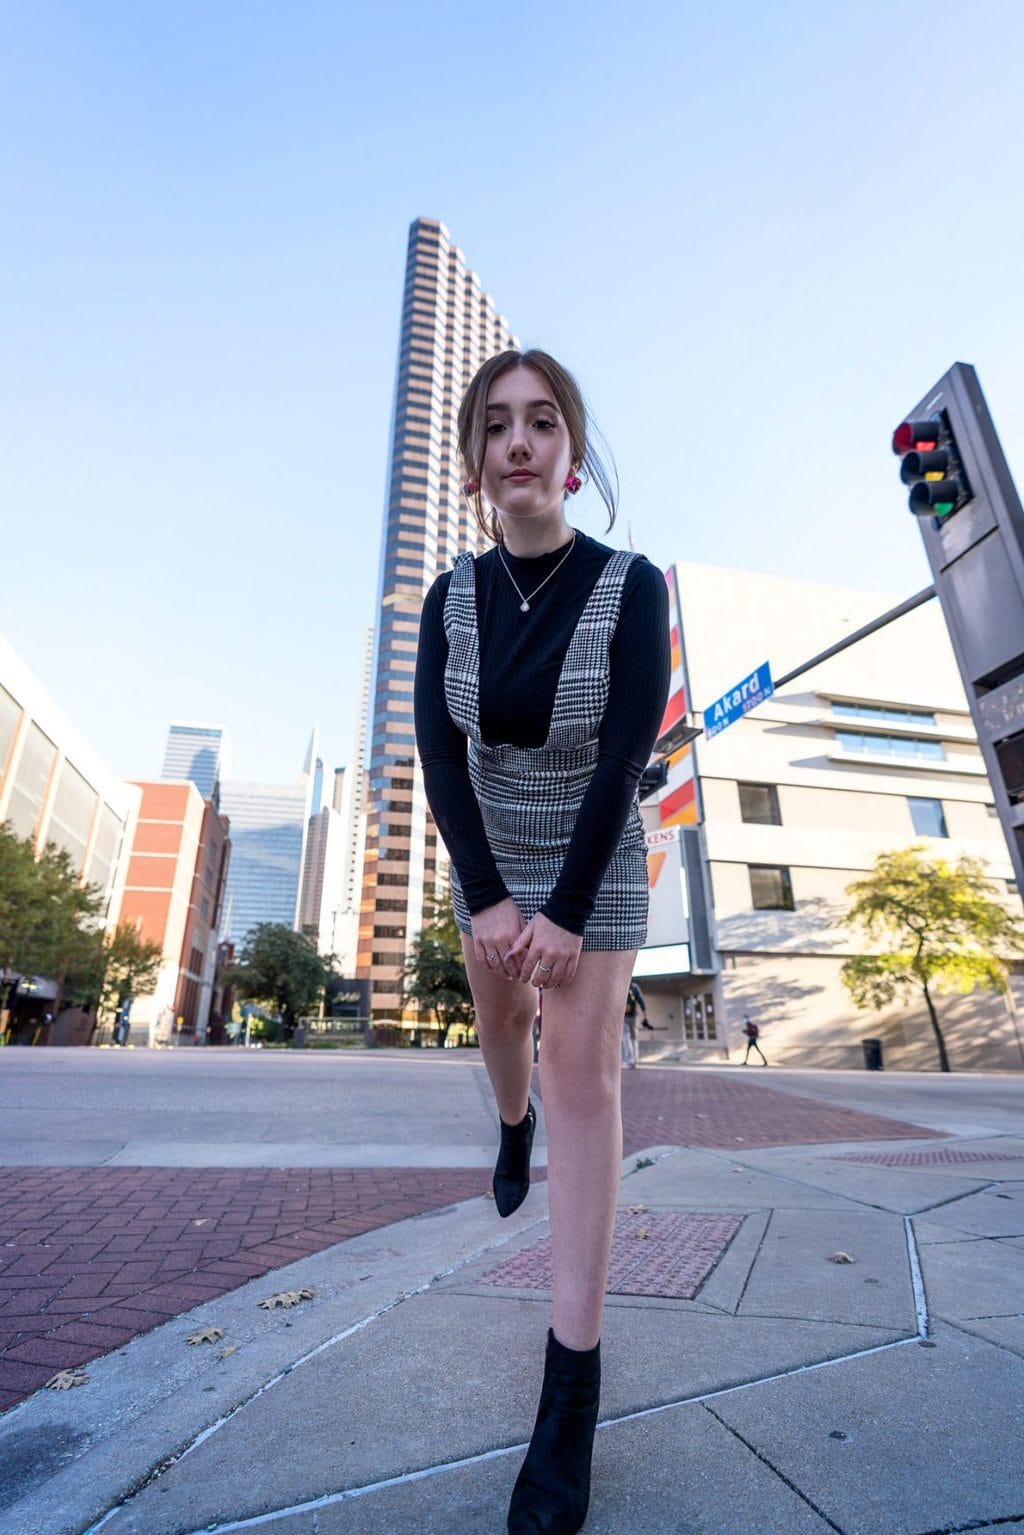
I used a low angle perspective to my advantage. This made my models look taller and also made the environment look more epic in the shots.
I tried my best to keep my models in the middle of the frame because I knew the distortion would be very pronounced the closer you get to the edge of the frame.
Since I was shooting with a 42mp camera, I also knew I could crop my images in post without losing too much quality. Normally I would not crop too much in post, but this time I gave myself a little bit of leeway.
Sony 16-35mm f2.8 Portraits – Gallery

Don't Miss This


Shooting wide open with Sony 16-35mm f2.8
The entire shoot was done with only available natural light. The wide f2.8 aperture allowed me to shoot with normal shutter speeds around 1/200sec and low ISO settings.
This especially came in handy when shooting in the shadows of most of the larger buildings.
I found myself shooting at f2.8 the majority of the time. I didn’t need to stop down any further since I was staying a good distance from my subjects.
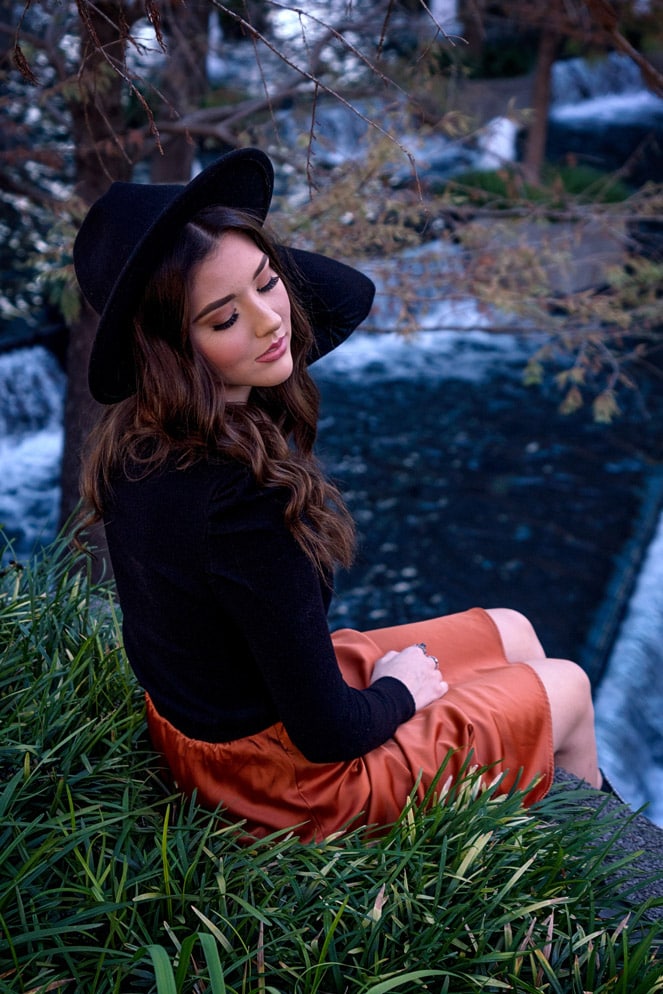
Natural light portrait shoot with 16-35mm f2.8
As a beginner photographer, I learned portrait photography using only natural light. I knew the sun would be blocked by the large buildings, but I looked for areas that bounced the light back into the street or sidewalks.
I didn’t bring any external flashes or strobes with me as I knew we would be moving around quite a bit and I wouldn’t have much time with each model to shoot.
Natural light is a great way to get started with shooting portraits, but you need to be conscious of the lighting of the surrounding areas.
Sunset or golden hour is a great time to shoot, but the available light goes away very quickly when you’re shooting at different locations.
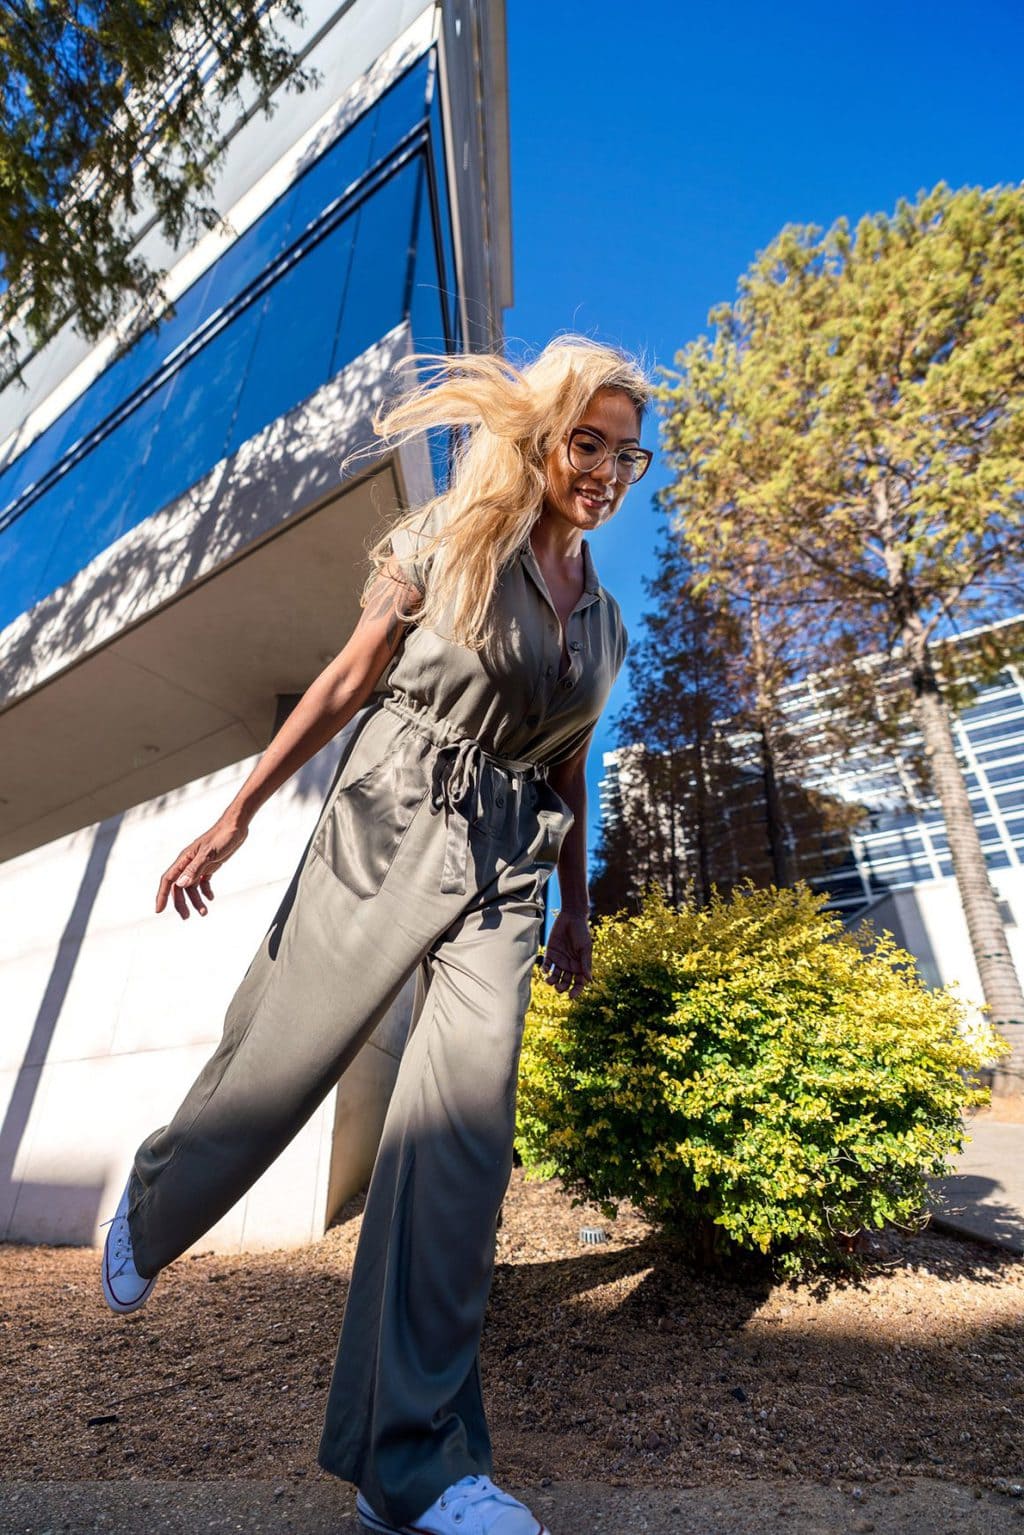
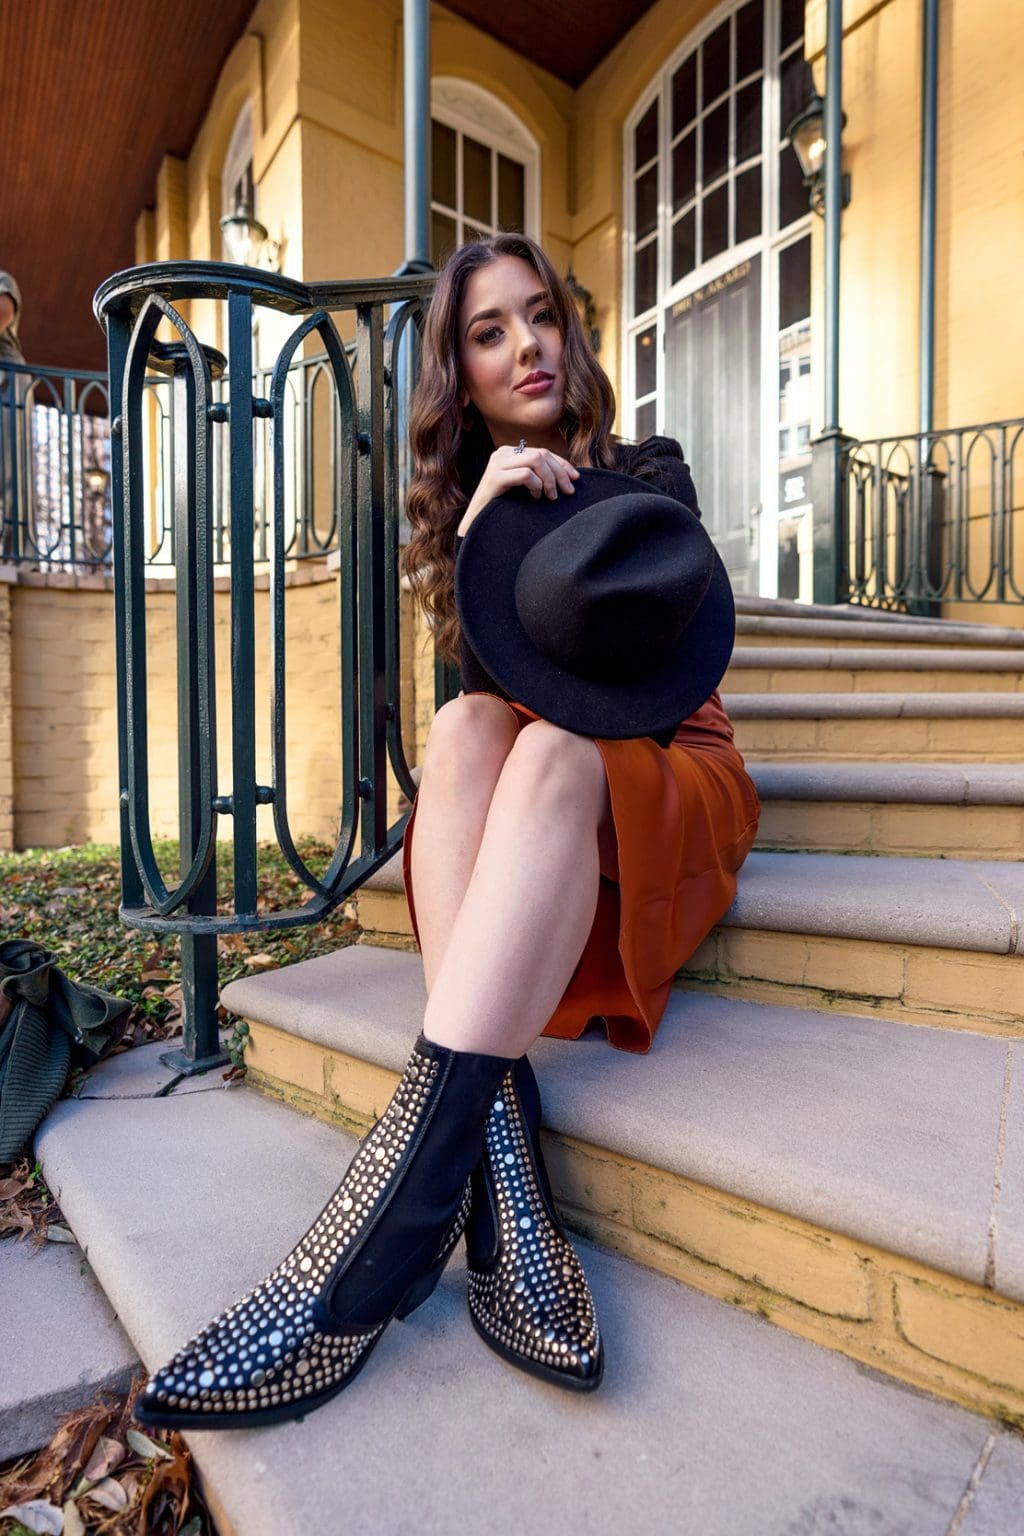
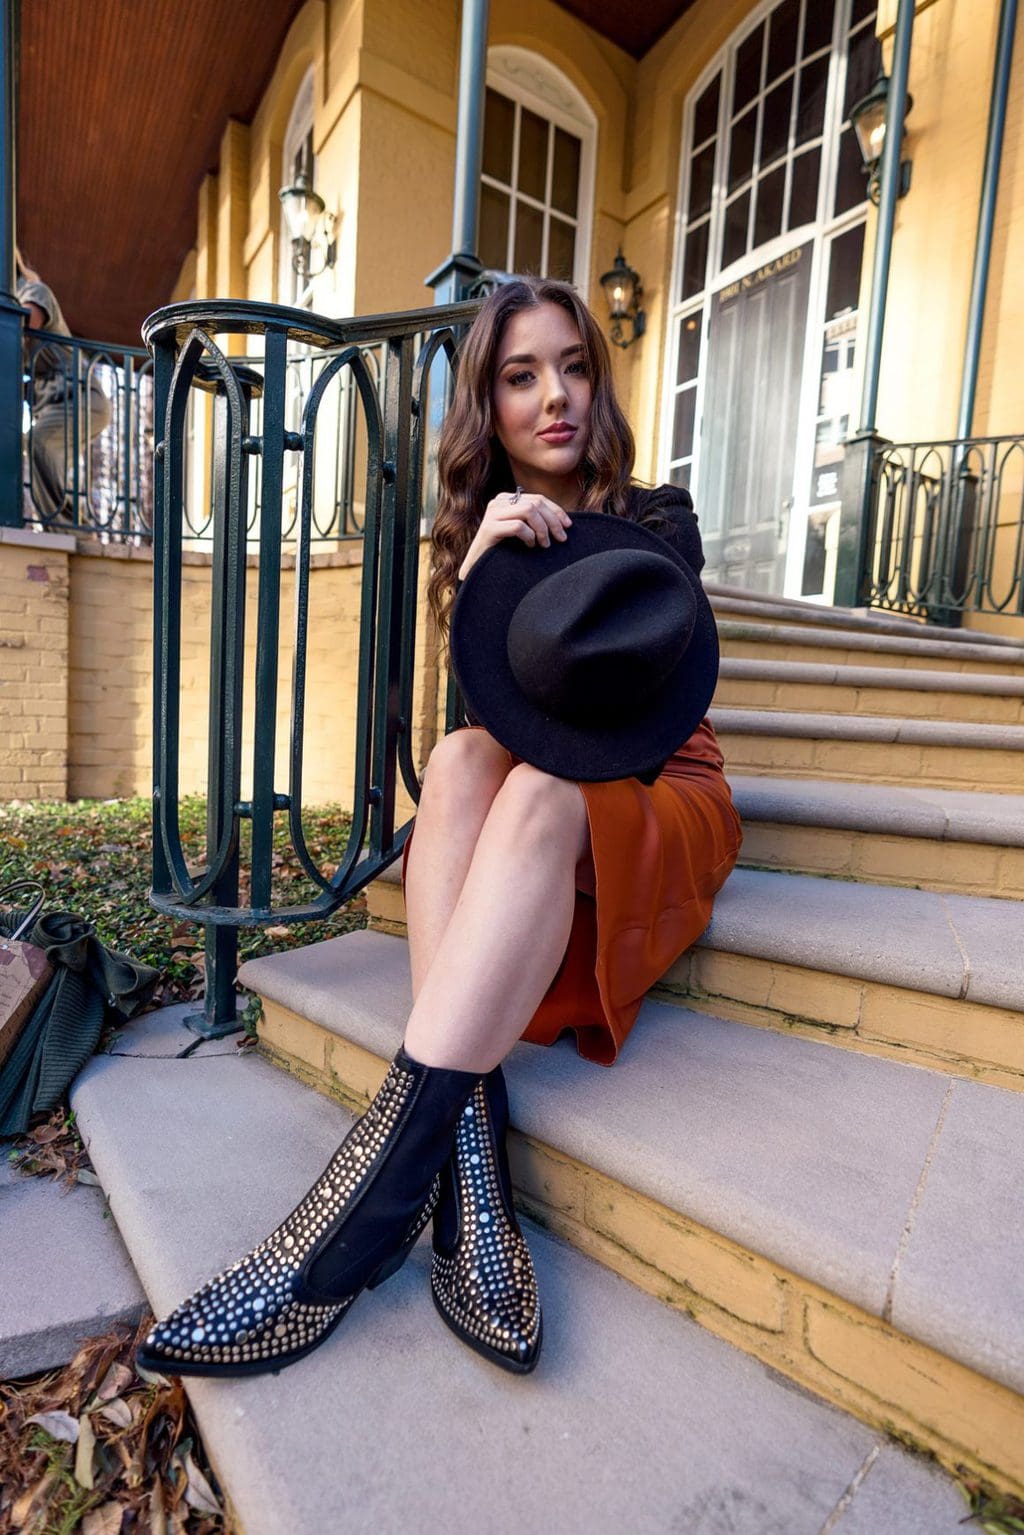
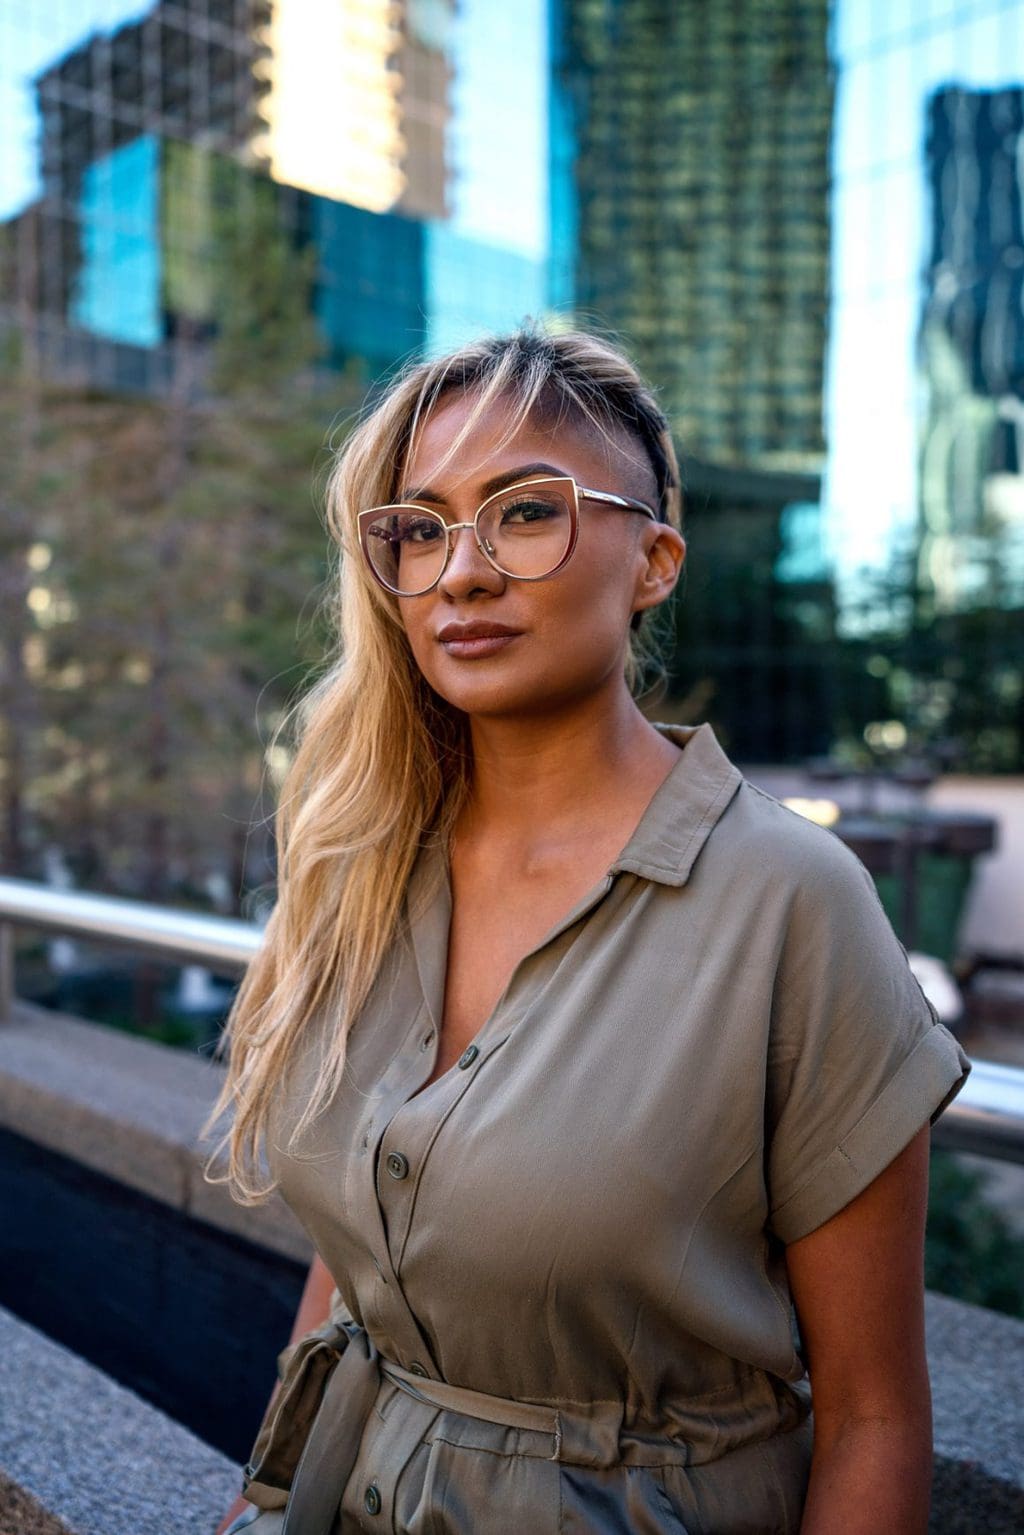
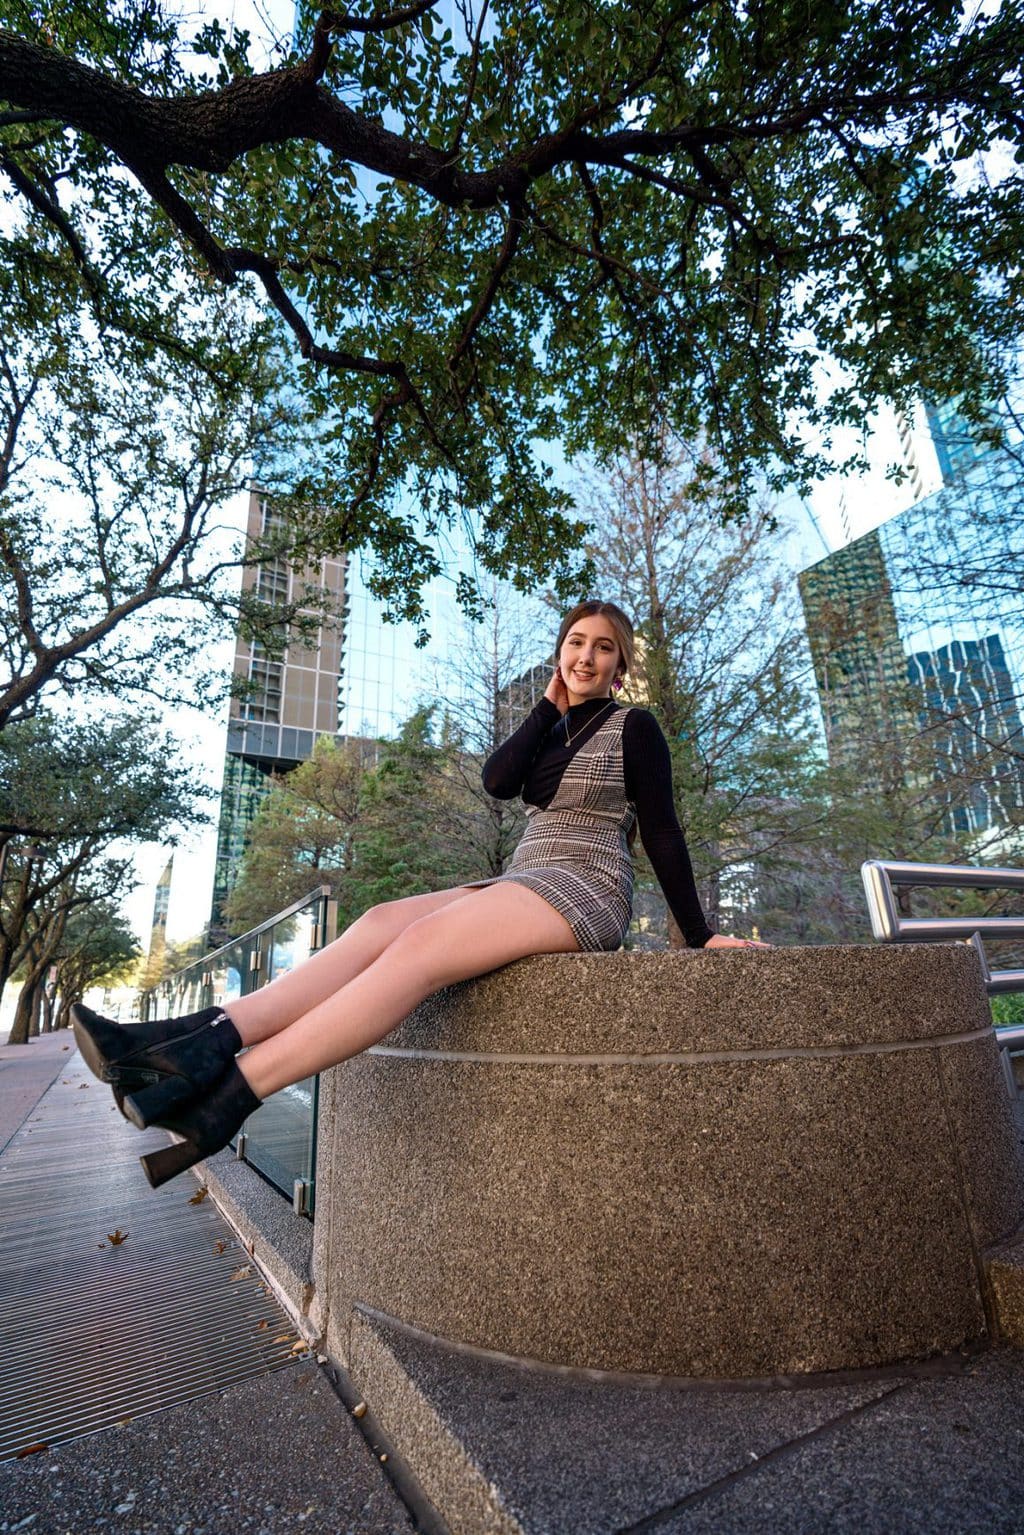
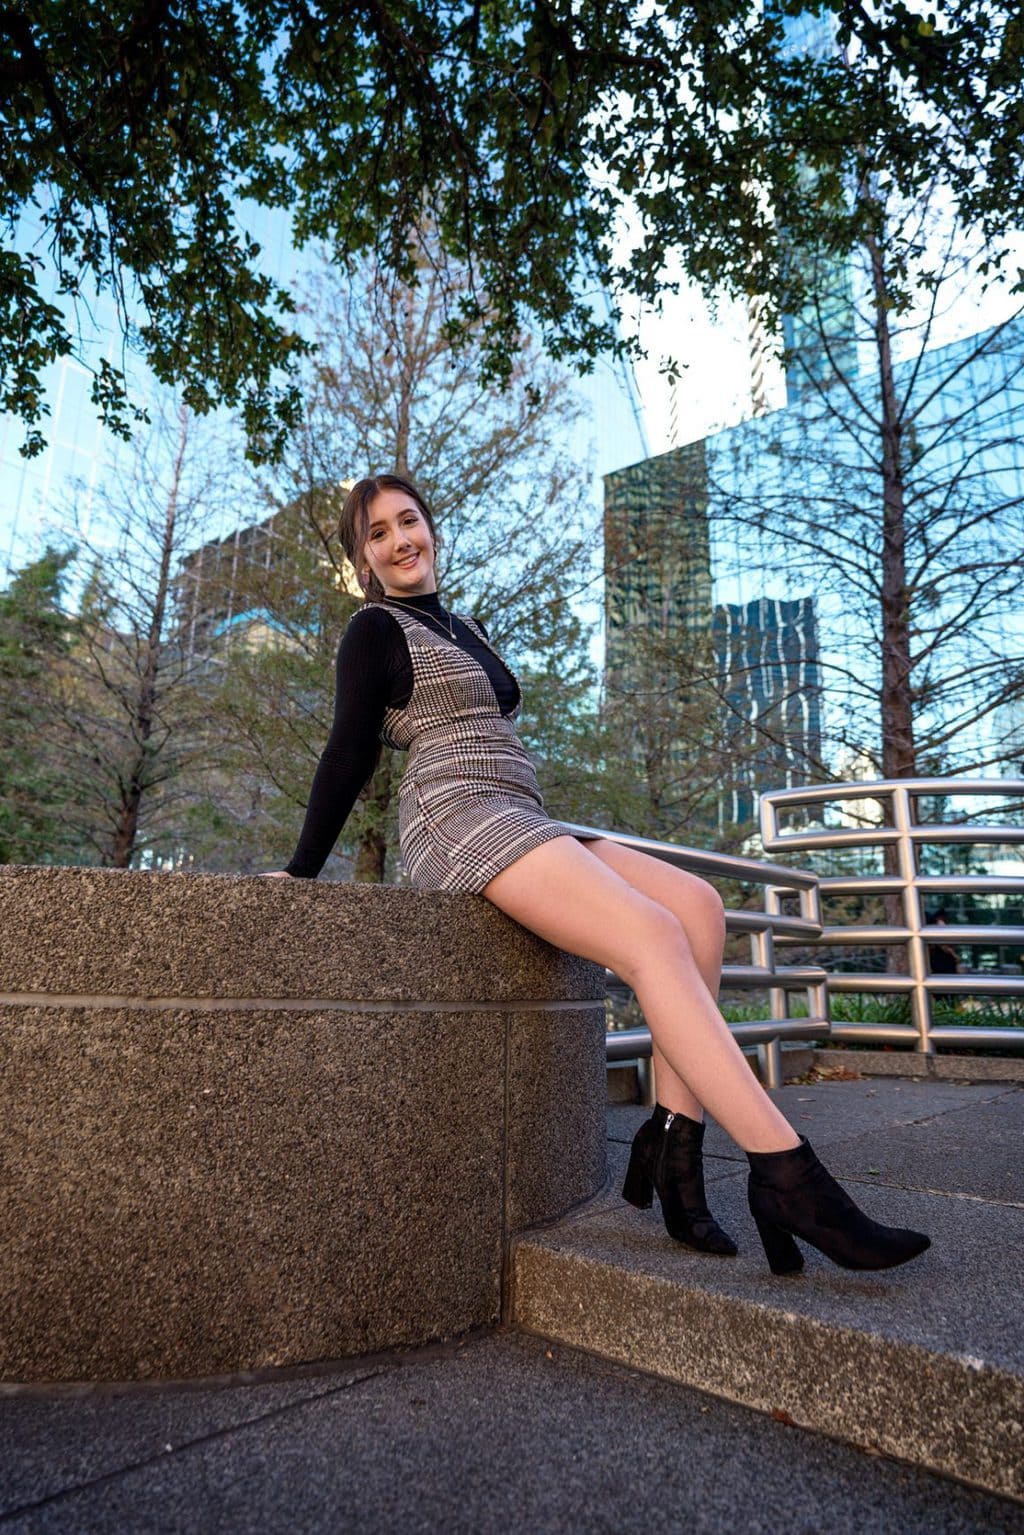
Model Posing and Direction
For this shoot, we walked along the sidewalk next to the large buildings, so I tried to catch my subjects in action.
There are a few shots that I have the models posing and standing still so I could frame up my shots to match the compositions of the backgrounds.
I had the models do micro movements and I provided small direction during the shoot. They didn’t have much experience, but in the end this wasn’t an issue at all.
For these wide-angle portraits, I asked the models to keep their hands and arms close to their bodies so no distortion would take place at the edge of the composition.
Problems shooting wide-angle portraits
Shooting with a wide-angle lens produces its own unique challenges.
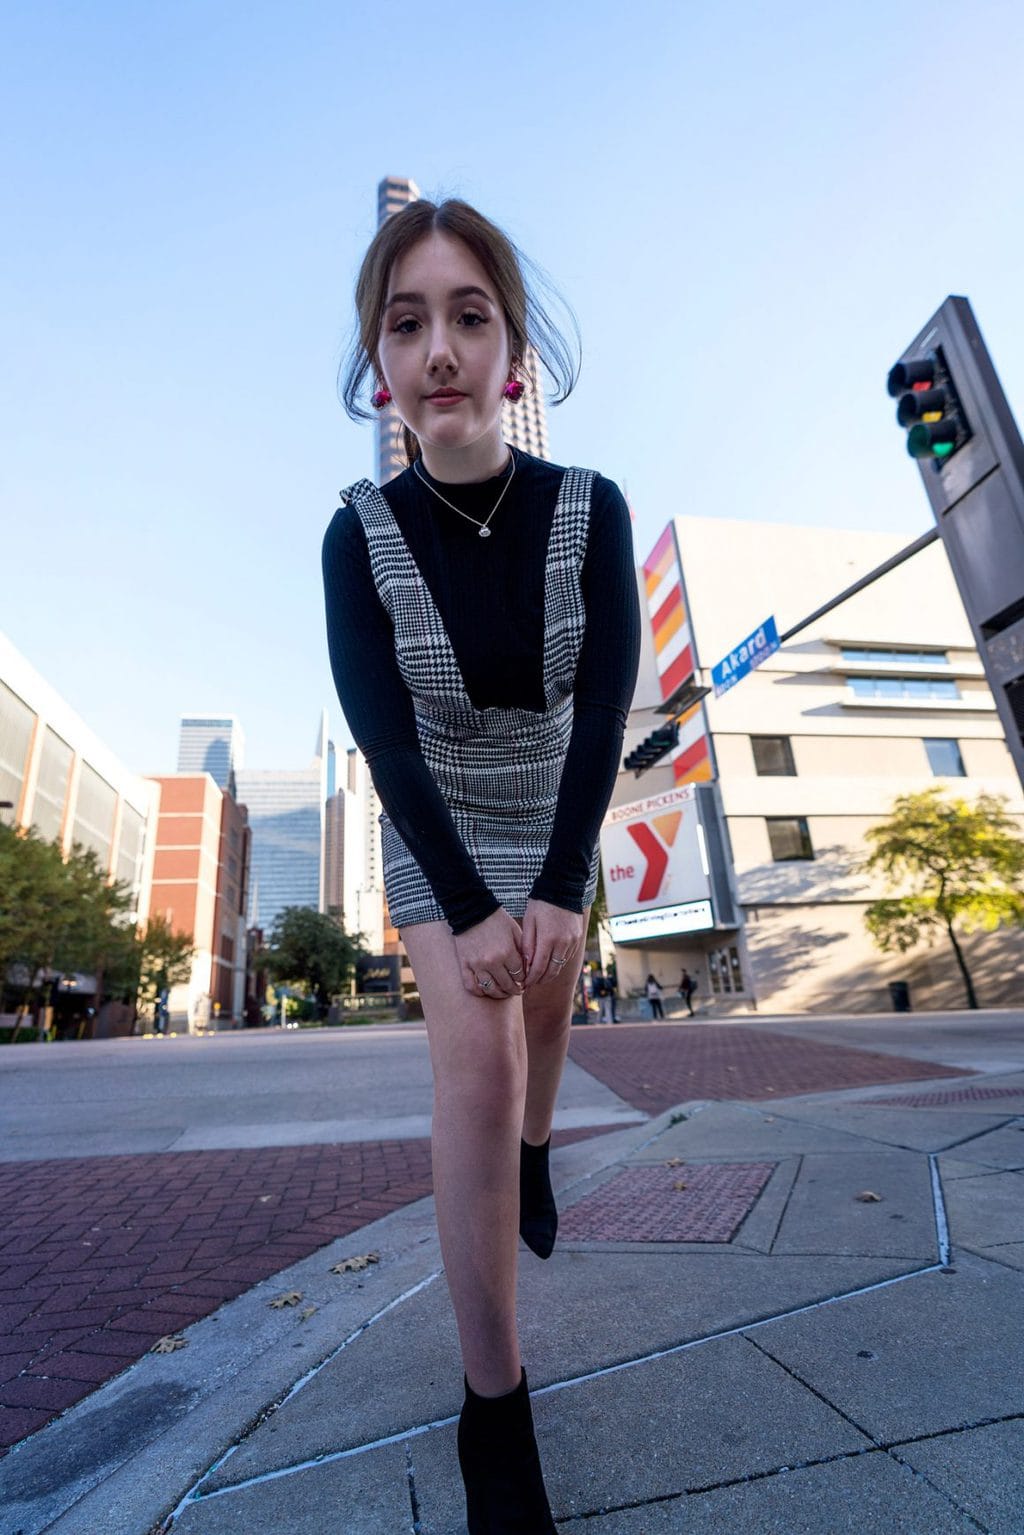
Wide angle lenses will have a large degree of distortion (the wider you go), so you’ll need to keep your subject in the middle of the composition if possible.
Parts of the body that are close to the edge of the frame will appear longer and distorted. This can be good or bad depending on the look you are trying to achieve.
Take for example this portrait shot of Maddison. Her head and torso were close to the middle of the frame and appear normal, but her legs appear longer due to being closer to the edge.
The other issue I was running into was the eye autofocus when shooting at the wide end of the focal range.
The eye is very small on my subject and the face detection was kicking in but was not exact.
Some of the images where the model was walking or moving, the eye auto-focus could not track the eye and the face was also not found.
I ended up focusing on the body or the legs if they were closer to the camera.
I’d be curious to see how many other photographers had this same issue when shooting wide angle portraits.
The 16-35mm gives you an opportunity to create unique perspectives and showcase the environment around your subject but keep in mind that you can’t stand too close to your subject.
Create emotions with angles and use the location around you to frame your subject and lead the viewers eye to the center of the frame.
Post-Production Editing of 16-35mm f2.8 Portraits
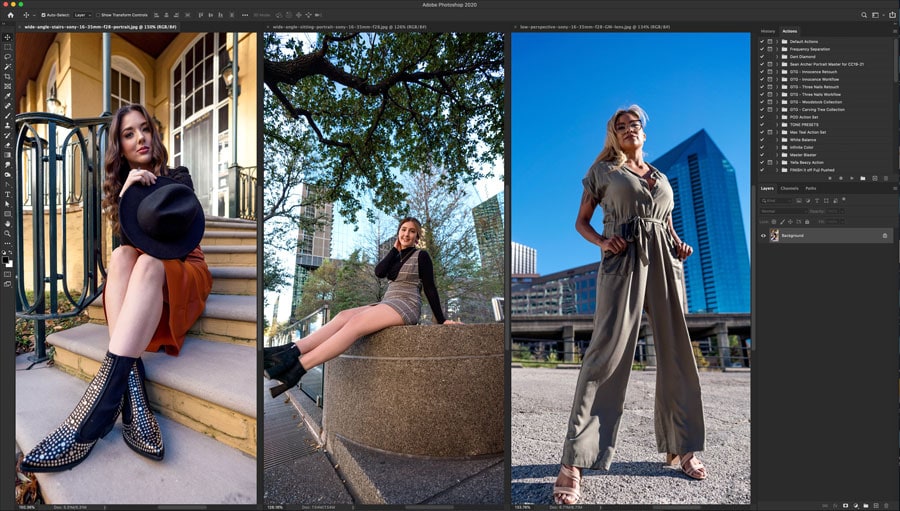
After the shoot, the post-processing workflow started. My current post-processing workflow is to load all my photographs onto my external hard-drives and then start the culling process.
Once culling is completed, and all photos are marked, and I bring them into Adobe RAW (inside Photoshop) for processing.
I use my custom presets as a starting point and then I get into all the small corrections. After this I bring all my photos into Photoshop for final skin and color retouching using saved actions and frequency separation.
If you’re interested in learning more about my entire workflow, make sure to check out my article here.
It’s a very detailed breakdown from start to finish on working with models, shooting portraits, photo editing and final delivery.
Here are the general steps I follow for my post processing of photos:
- Load images from SD card to hard drive
- Cull images and color tag favorites
- Bring photos into Adobe RAW (within Photoshop) to make small corrections
- Move all RAW files to photoshop for final skin retouch and editing
- Export all photos as high-resolution JPG files and save all PSD files to directory
The process is pretty simple, and all my images are processed the same way. I use the same presets on most of the images as I tend to shoot the same way for all portraits.
The only thing that changes is the exposure due to the changing light outdoors.

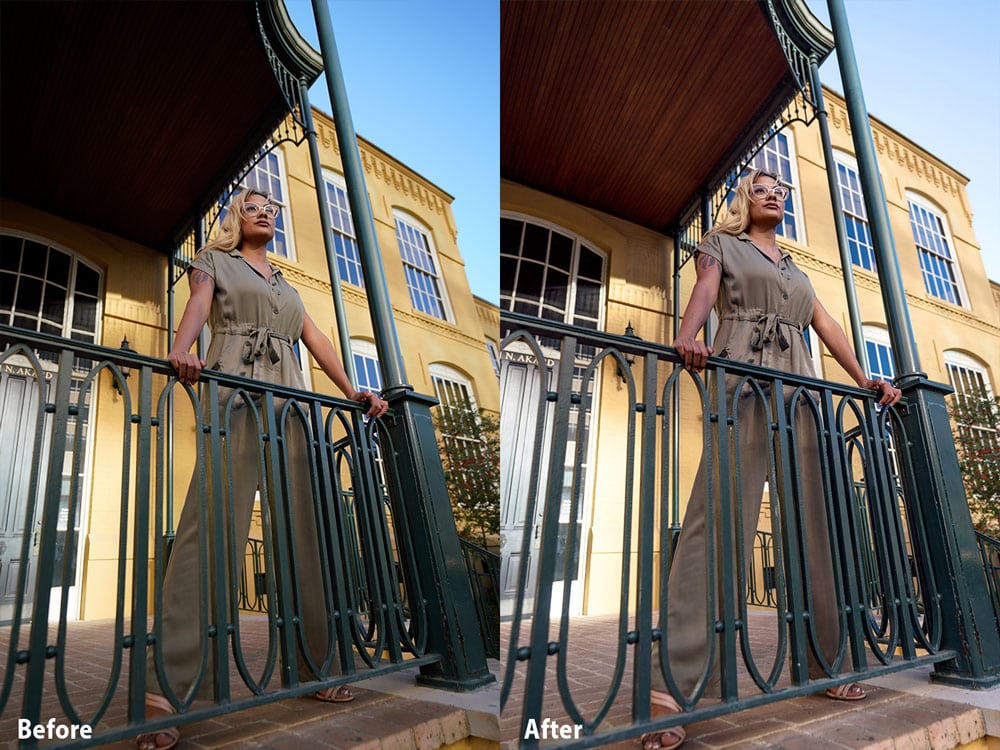
Unedited vs edited gallery samples of Sony 16-35mm f2.8
I wanted to make sure to show some of the before and after files from my photoshoot with the Sony 16-35mm f2.8.
The quality of the lens was great and many of the photos came out super sharp, but I did have many blurry images.
The eye auto-focus on the Sony a7riii is good but when shooting at wider focal lengths, but the camera doesn’t easily find the eye of the subject when you are further away.

Final Photo Delivery
Once all photos were finished, I loaded the images to Dropbox for final delivery. I load the photos into individual folders and then send each model a link to download the images.
This workflow has worked well for me and is a great option for photographers looking to send images to models or clients.
Would I recommend the Sony 16-35mm f2.8 for portrait photography?
This lens is very unique in general, but I would find it difficult to recommend to beginner photographers for a few reasons.
First, the distortion will make for creative portraits, but you need to make sure you are making it work in your composition.
Beginners may find it difficult to use the wider end of the focal range when shooting, but with practice you can make it work to your advantage.
The second issue is the price. The current price of the Sony 16-35mm f2.8 G Master is $2,199.00 (US dollars). This is a big investment when you consider it is a single lens with a limited focal range.
I would recommend trying the Sony 24-70 f2.8 as it is slightly cheaper but can be more effective for portraits. The range of the 24-70 covers your main portrait focal ranges such as 35mm, 50mm and 70mm.
Shooting any wider than 24mm gives you a larger amount of distortion, and I recommend staying above this focal range when shooting portraits specifically.
Every photographer is different, so you’ll have to try it for yourself to see if it worked for you.
Sony 16-35mm f2.8 G Master Weight – 680g / 24oz
The Sony 16-35mm f2.8 weights 24oz or 680g. This is close to 1.499 pounds. The lens weight might not be an issue for short shoots, but you will start to feel the weight when shooting for longer periods of time.
We shot for around 2 hours and I did start to feel the weight of the lens as we were walking long distances. This is something to keep in mind as this is a large lens to add to any collection.
Sony 16-35mm f2.8 G Master Price – $2,198.00
The Sony 16-35mm f2.8 G Master is priced at $2,198.00. You can find used copies of this lens on the secondhand market for around $1,700.00 so I would try to save some money if you can.
This particular lens may be out of reach for most beginners or hobbyists, but you do have other options to consider that offer a wide focal range.
Alternatives to the Sony 16-35mm f2.8 G Master lens
I can see how the Sony 16-35mm f2.8 is a great lens for landscape photographers. I can see how it is also a great lens for events and weddings as you might be capturing large groups in small places.
As for portraits, I would recommend the Sony 24-70mm f2.8 G Master if you have the budget. If that lens is out of your budget, consider the Sony 35mm f1.8 prime lens.
 | Sony 24-70mm f2.8 GMaster Lens |
I would also consider the 24-105mm f4.0 G lens from Sony. This has a wider focal range and lets you get some beautiful bokeh even at f4.0.
 | Sony 24-105mm f4.0 Lens |
Here is a quick comparison chart of the alternatives for you to consider:
Sony 16-35mm | Sony 16-35mm | Sony FE OSS | Sony 24-70mm |
Price: | Price: | Price: | Price: |
Weight: | Weight: | Weight: | Weight: |
Size: | Size: | Size: | Size: |
Min Focus | Min Focus | Min Focus | Min Focus |
Filter Size: | Filter Size: | Filter Size: | Filter Size: |
Image | Image | Image | Image |
I don’t think I will keep shooting wide angled portrait as a normal part to my portfolio, but it’s a great way to get out of your comfort zone and shoot something different.
What I learned from this portrait shoot
Shooting wide open at a really wide focal range can be challenging, even for an experienced photographer. But with that said, I had a great time experimenting with this lens.
I stayed close to the ground for many shots to capture the ground-up perspective that are in so many of these images.
I used the background as a big part of the image to help frame my subject and create more interesting compositions.
What I would change for next time
I kept my models away from the buildings so I could get more of the environments, but I wish I had tried more variety in my shots.
I would try to use more foreground elements in my shots to create a more visual composition. Maybe more high, downward angles.
Coming from portrait photography with the Sony 55mm f1.8 and the Sony 85mm f1.4 as my main lenses, I noticed I kept getting on eye level with my subjects and I couldn’t break the habit easily.
With the Sony 16-35mm I kept going low or eye level with my shots, but I rarely tried a higher perspective. I think I would try this more on my next portrait shoot for sure.
Conclusion of the Sony 16-35mm f2.8 lens
My overall experience with this lens was positive and fun. I loved the crazy distortion and how the images from this shoot came out.
The Sony 16-35mm f2.8 G Master is easy to use and focused very quickly especially when using it on the Sony a7riii mirrorless camera for most of my shots.
If you’re interested in giving it a try, you might want to check out renting the lens online first before buying it if you are strictly a portrait photographer. You can check out my article on online lens rentals here for more information.
Whatever you decide to do, best of luck and happy shooting!
Gear Mentioned In This Article
| | Sony 16-35mm F2.8 Lens |
| | Sony 24-105mm f4.0 Lens |
| | Sony 24-70mm f2.8 GMaster Lens |
 | Sony 24-70mm f4.0 Lens |
| | Sony a7riii Mirrorless Camera |
*Affiliate Disclaimer - I am a proud partner of the various affiliate programs including the Amazon.com Affiliate Program. When you click on my links and make a purchase I make a commision which goes to helping me support this blog. Thanks! |