
I’m lucky that I meet new models all the time on social media.
I network constantly and setup collaborations almost weekly, but I didn’t always know how to setup a portrait photoshoot as a beginner photographer.
Learn how to setup a portrait photoshoot
First, create a mood board or theme for your shoot. This is so you have a style or concept in mind to explain or show to the models. Second, decide on a location and preferred time. Last, with all the details figured out contact a few models or friends to see if anyone would be interested in collaborating with you. Send all the details so they have a good idea of what to expect.
I know it sounds easy when I break it down into three simple steps, but the reality is there are details many beginner photographers miss. Don’t make it complicated and keep it simple to build your portfolio.
In this article, I’ll break down my process of collaborating on a portrait photoshoot with Adrian and help you learn step by step how I got the shots and how I setup this photoshoot.
Portrait photoshoot how-to – Start with your ideas
The biggest step in portrait photoshoots is getting your ideas down so you can explain them to other people.
Nobody can read your mind, so you’ll need to gather ideas such as images or screenshots to share with potential models.
A mood board should be created and sent in advance in order to help others get more ideas for the shoot.
Concepts can be simple or complex, but I recommend sticking to this style once you start searching for models for your shoot.
If a MUA is required for the shoot, then make sure to give them samples ahead of time so they know what to do onsite.
Communication is always key to getting in right on site.
Decide on the location for the portrait photoshoot
This portrait shoot was at a small studio downtown McKinney, TX.
The studio is located on the second floor above a local restaurant and was easy to access. On the weekends the studio is pretty busy, so I was lucky to get the booking for this shoot.
There is one main wall of large windows that faces north and provided plenty of natural light for the portraits.
We also shot in the streets and alleys behind the studio for the outdoor session.
I’ve used this studio before so I knew what to expect. If your new to the studio or area make sure to scout the location first so you have some ideas of where you want to get your shots.
Take a few pics if you can ask well to send to your models. This will help them decide on wardrobe for the shoot.
Pick the style for the portrait photoshoot
The concept for this portrait photoshoot was simple. Capture indoor and outdoor portraits using natural light all with a lifestyle feel.
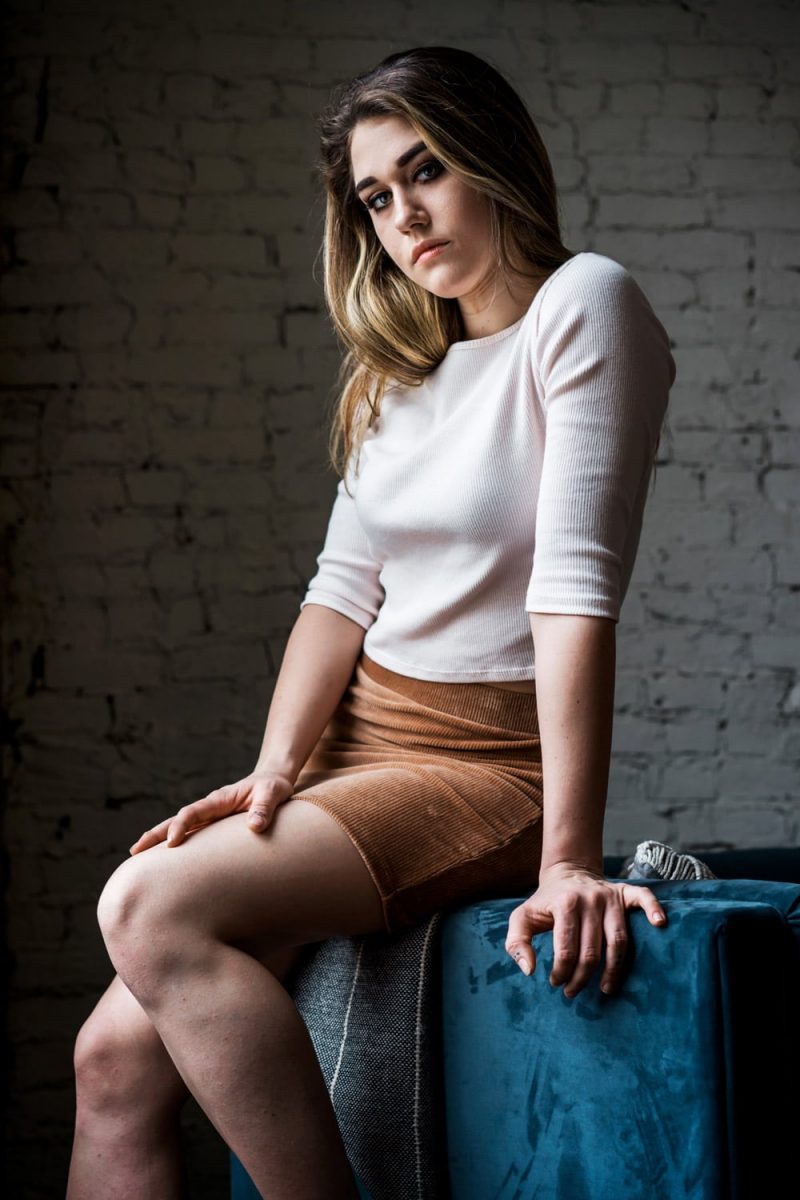
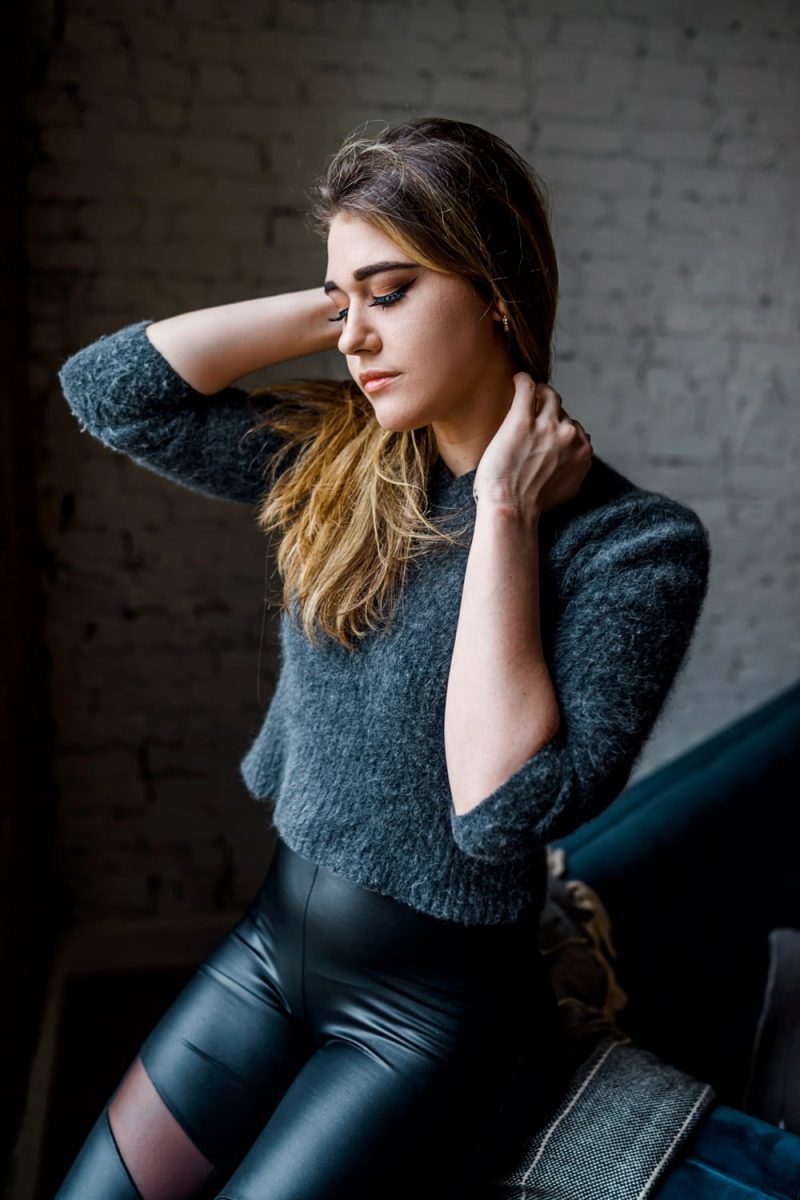
Wardrobe was model’s choice, but I did ask her to keep the clothing simple and neutral in color. No patterns or crazy colors.
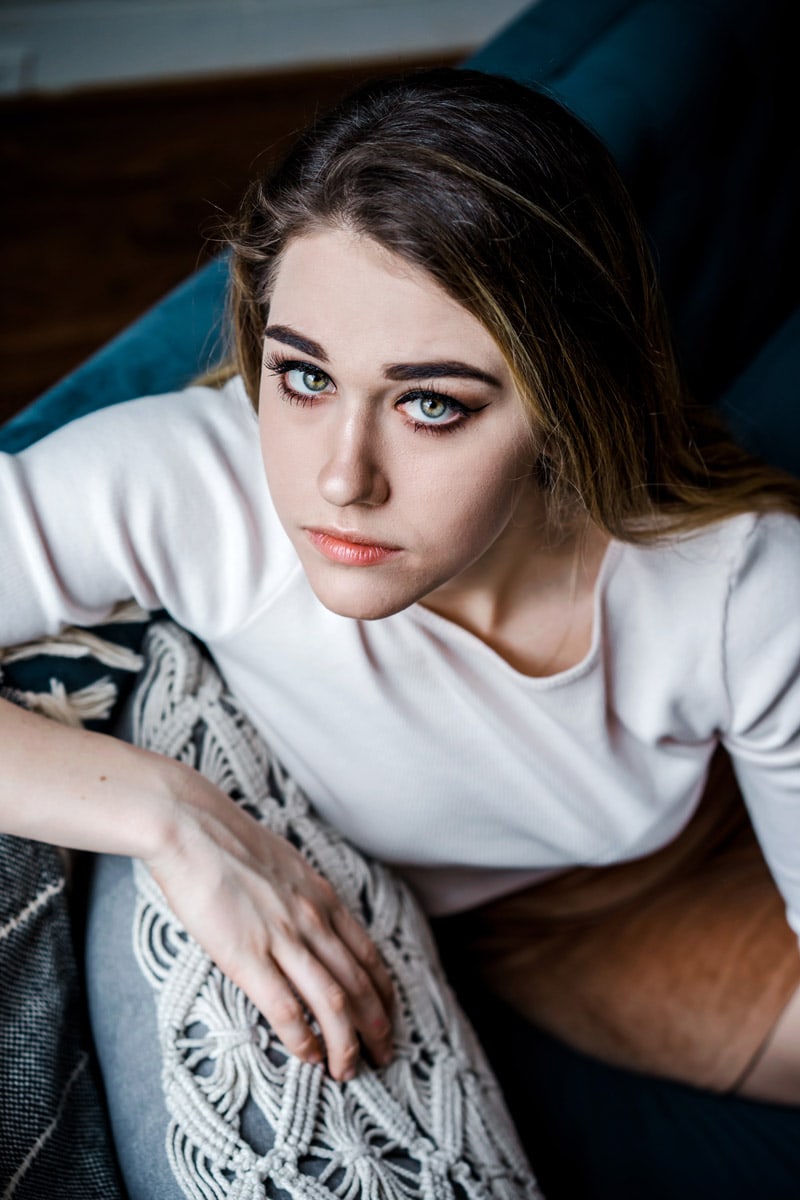
She wore two contrasting outfits that fit both locations very well. Adrian kept her make-up natural with some slight accents that helped her eyes stand out.
It’s very important to communicate and agree ahead of time on the make-up and outfit selection. It’s common to ask for pictures of the outfits before the shoot so that photographers can get ideas.
Communicating all details before the photoshoot
Once all details were decided on, I sent my model an email with all the information and sample pics and mood boards.
This was ideal so she could keep a record of everything we agreed on before the shoot took place.
Portrait Photoshoot with the Sony a7ii mirrorless camera
I shot this portrait photoshoot with the Sony a7ii mirrorless camera.
I started with the original Sony a7 camera back in 2016, but I wanted something with in-body stabilization, so I made the upgrade to the Sony a7ii.
I knew this would help me shoot with slightly slower shutter speeds in low light and still get sharp photos because of the IBIS (in-body stabilization)
The Sony 7ii is a great full-frame camera and eventually became my backup camera for all my portrait photoshoots.
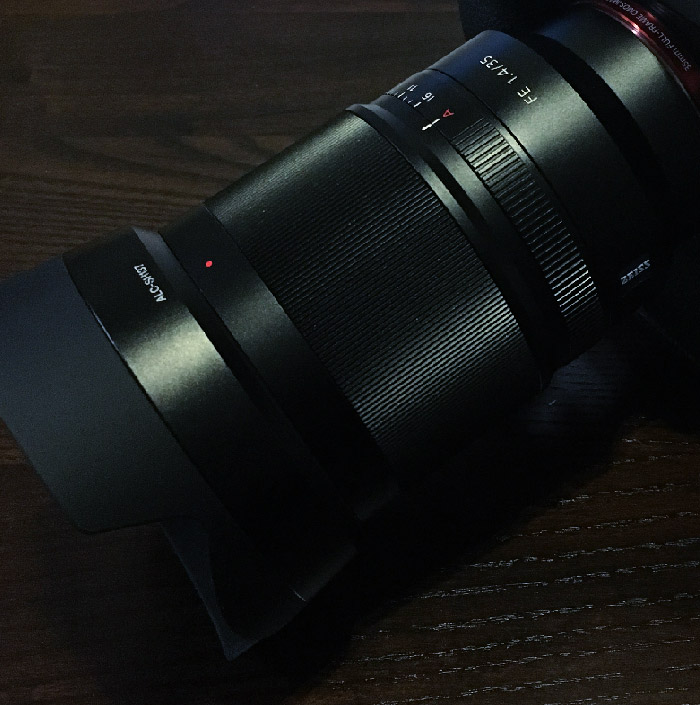
Shooting with the Sony 35mm f1.4 and Sony 55mm f1.8
For this portrait shoot I used the Sony 35mm f1.4 Zeiss lens. The Sony 35mm f1.4 Zeiss lens was a recent addition to my lens collection.
I wanted to see what it would be like shooting wide open at f1.4 for this portrait shoot and I knew the space in the studio was limited so I needed a lens that would allow me to stay close to the model while capturing some of the background as well.
I did have to keep in mind that the wider 35mm was going to add a small bit of distortion to the images, so I made sure to keep the model closer to the middle of the frame.
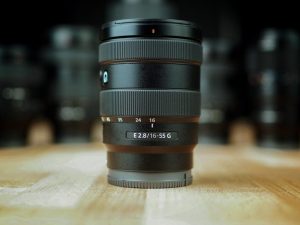
My other lens for this portrait shoot was the Sony 55mm f.8 lens.
The Sony 55mm is super sharp and lightweight so it was very easy to carry around so I could get some closer portraits without the distortion like the 35mm.
Choosing Your Camera Gear
When choosing your camera gear, you don’t need to have every lens you own with you.
Keep your options open but don’t overwhelm yourself with too many options.
I would recommend only having a single zoom lens or maybe 1-2 prime lenses like I did for this shoot.
Consider the shots you’re wanting before hand so you can travel as light as possible. If your testing new gear like lenses, then it’s a good idea to have a backup lens just in case.
Meeting on location for the portrait photoshoot
Once the day arrived for the shoot, we met on location. I always recommend models bring a friend or family member with them to photoshoots.
This is good practice that I highly recommend to all photographers and models.
Adrian laid out her wardrobe selection and we decided on which one to start with. She got ready and we got to shooting.
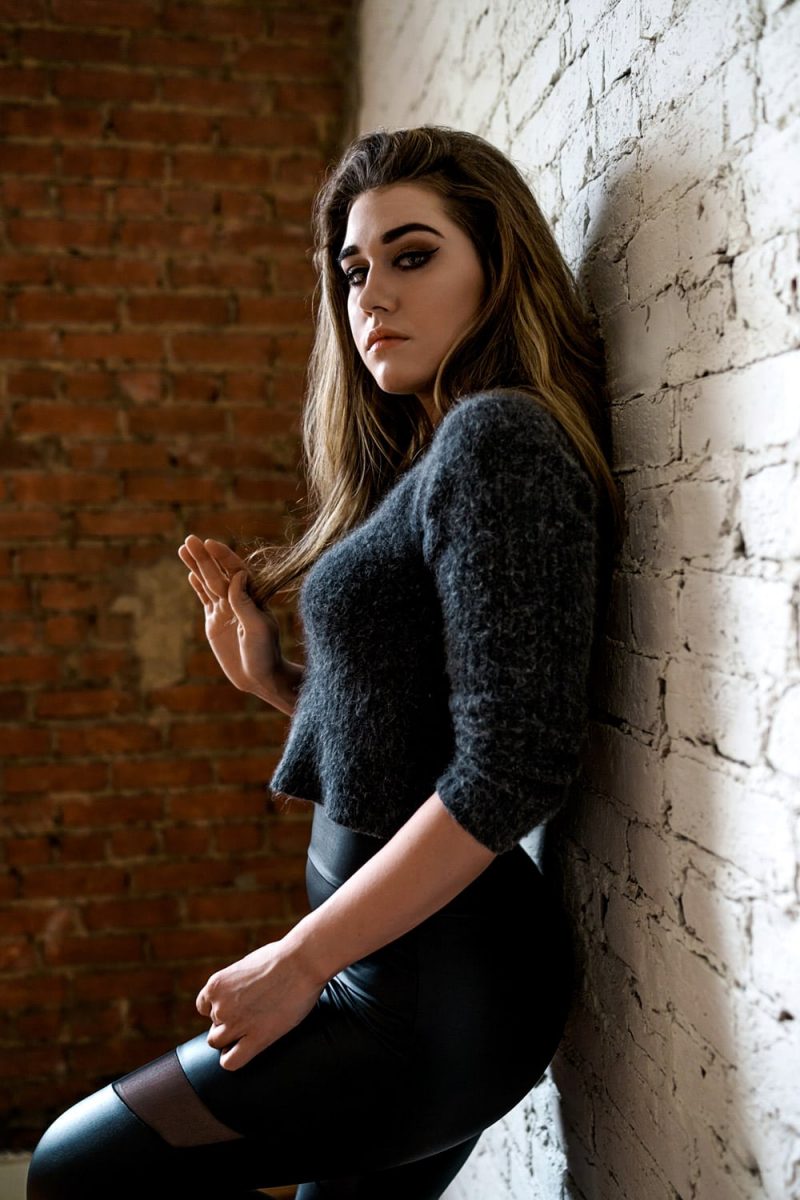
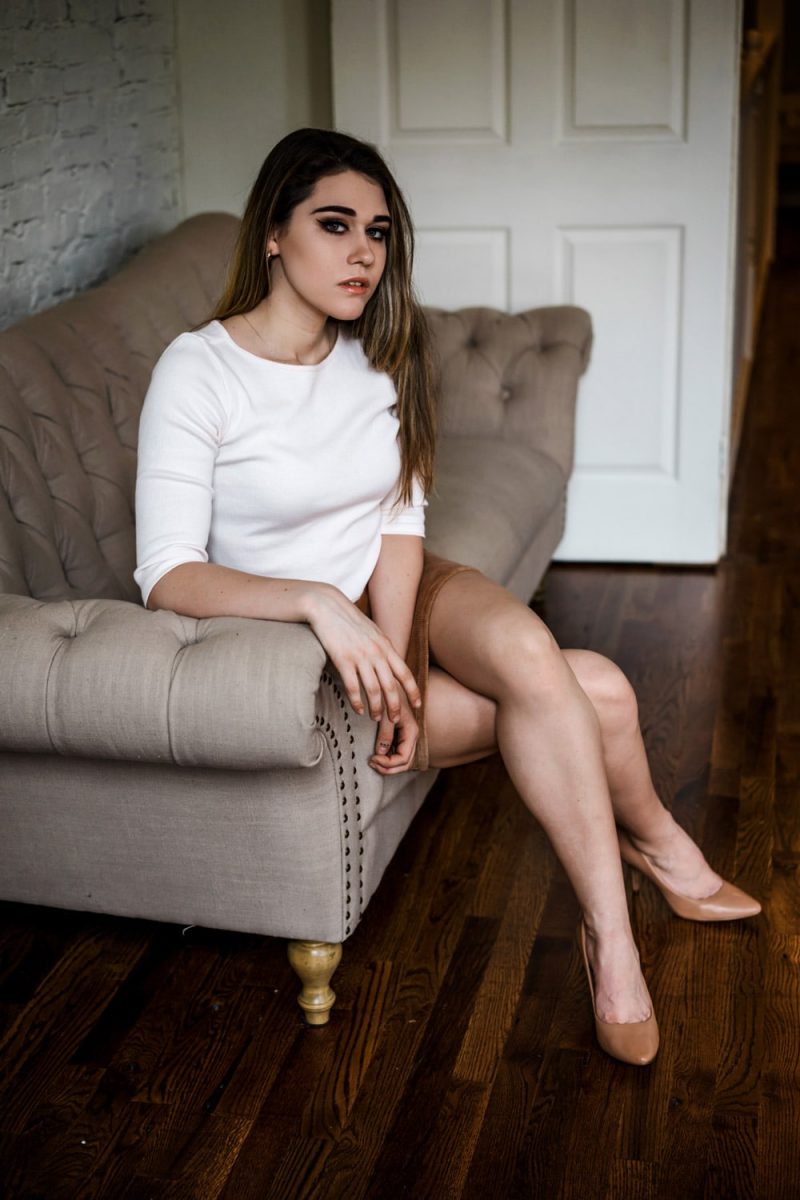
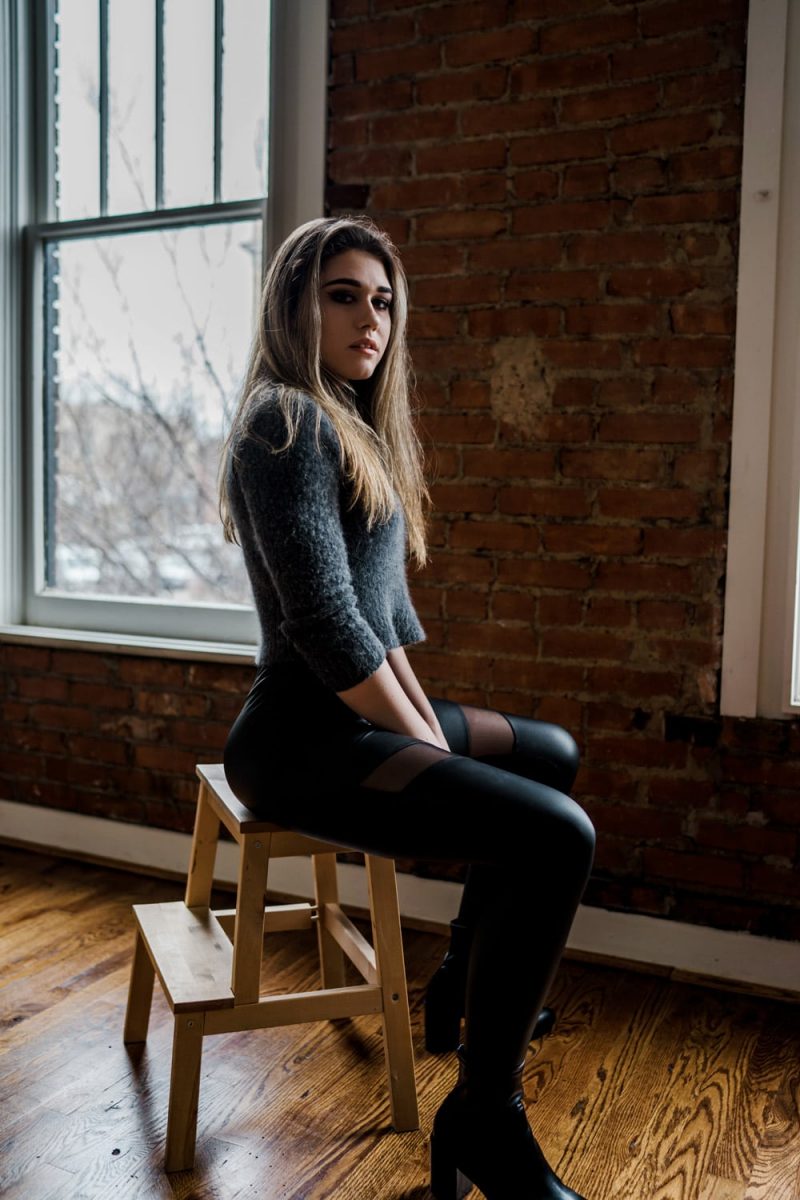
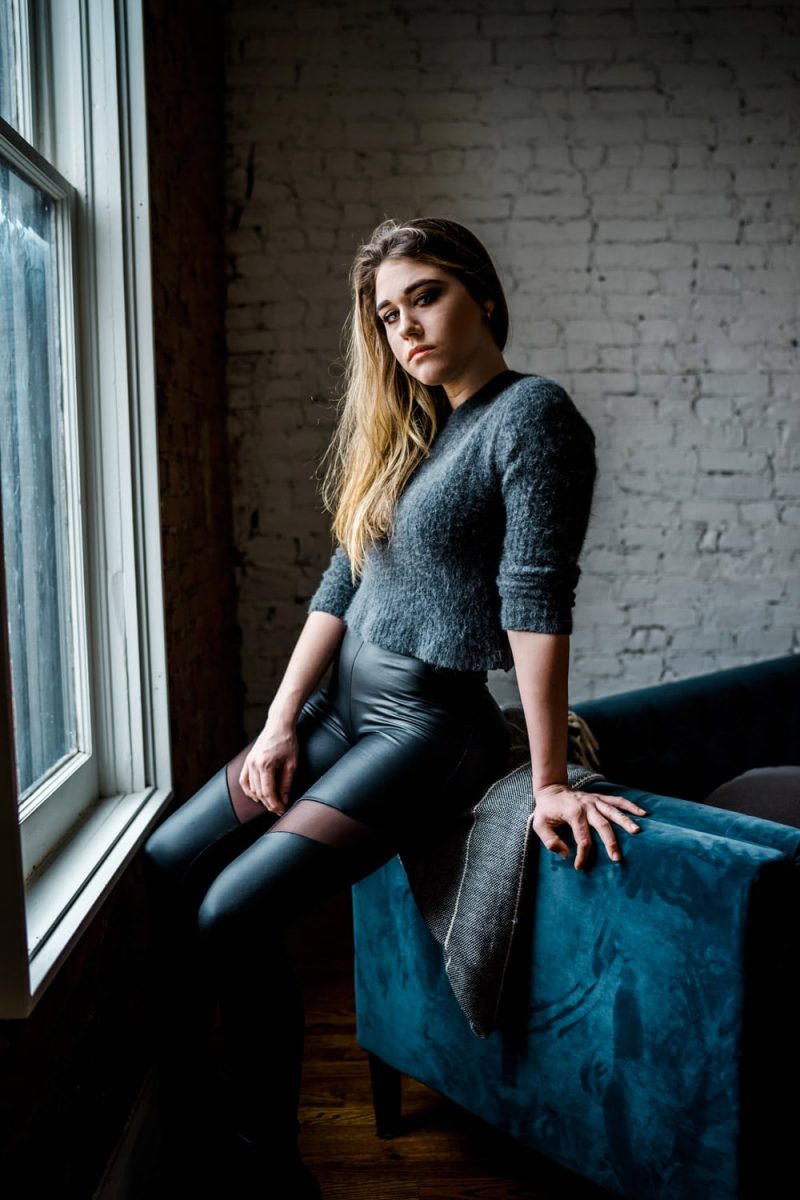
Shooting indoor portraits
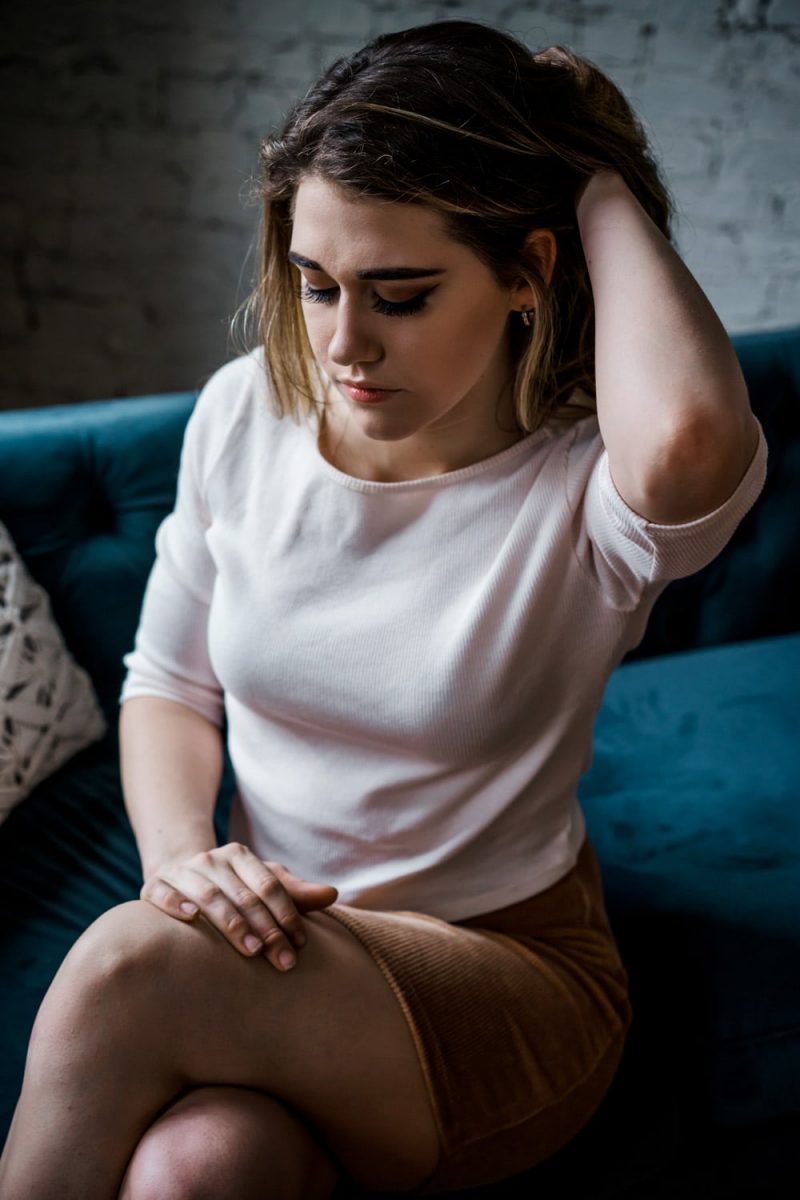
The small studio was filled with small chairs and 2 large couches.
These are great additions for the model to use and pose with. I moved the chairs around and got them closer to the large windows.
This way I could maximize the light coming into the studio and hitting the model.
The large windows provided beautiful soft light. It was also cloudy and overcast outside and this added to the soft light effect.
Challenges with Indoor portrait shoots
There are a few challenges when shooting indoors. One of the biggest challenges is changing light.
If your camera is set to auto white balance, any shift in natural light can cause your camera to adjust your colors.
You can set the white balance with a grey card before the shoot starts as a way to get around this issue. Just remember to adjust when moving to different locations.
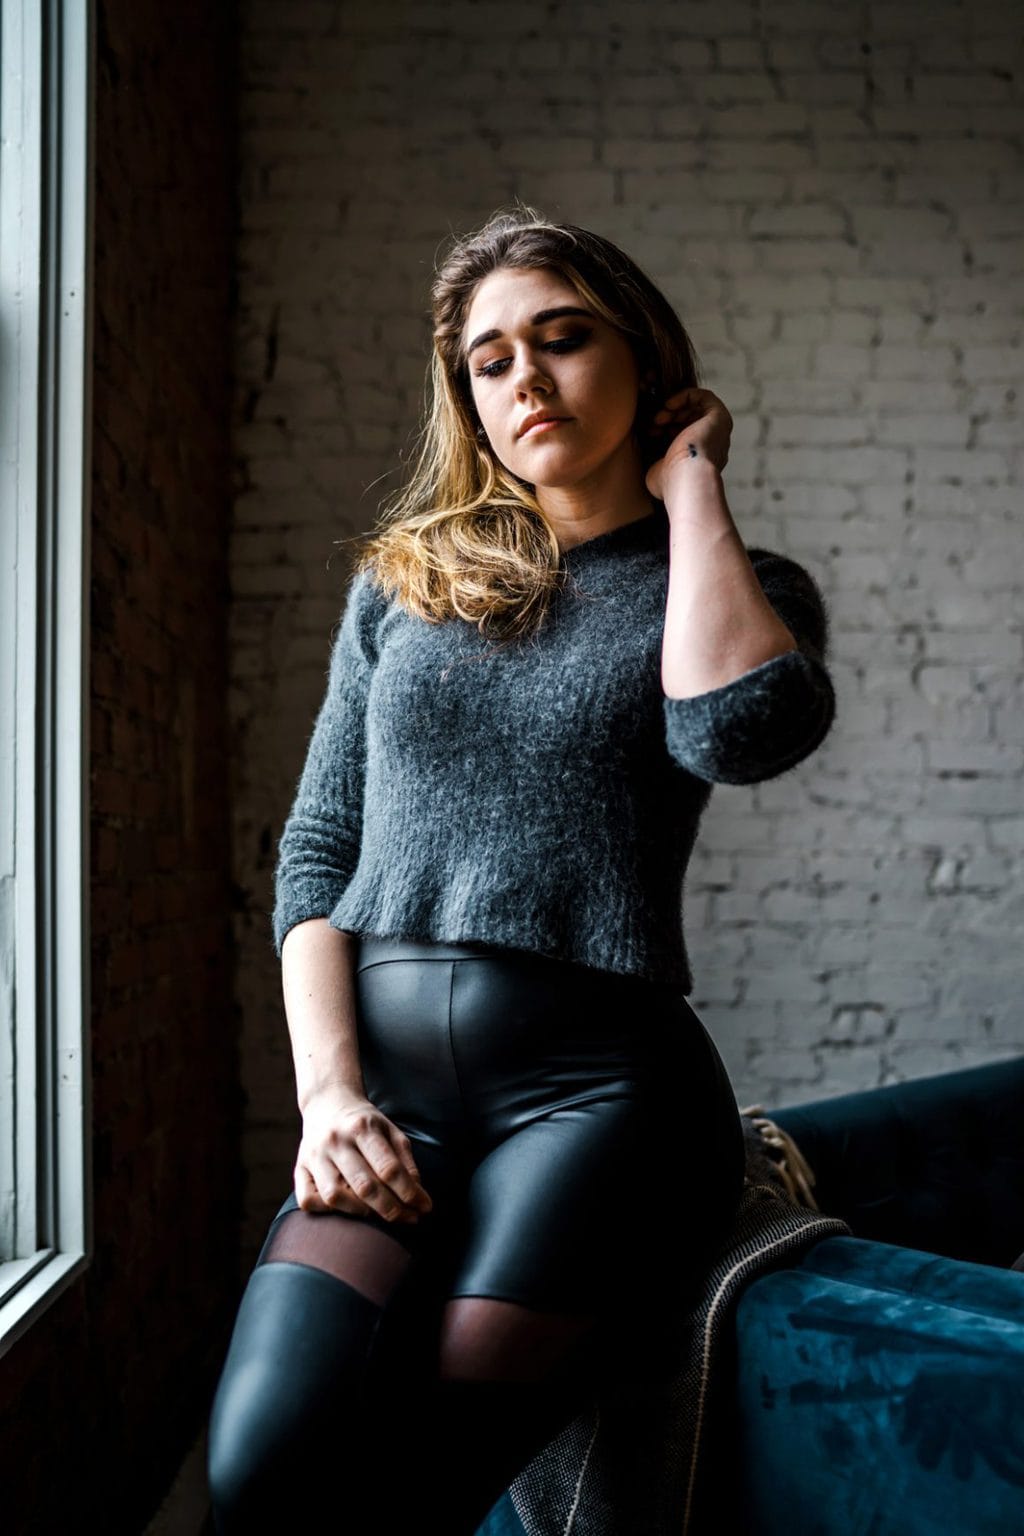
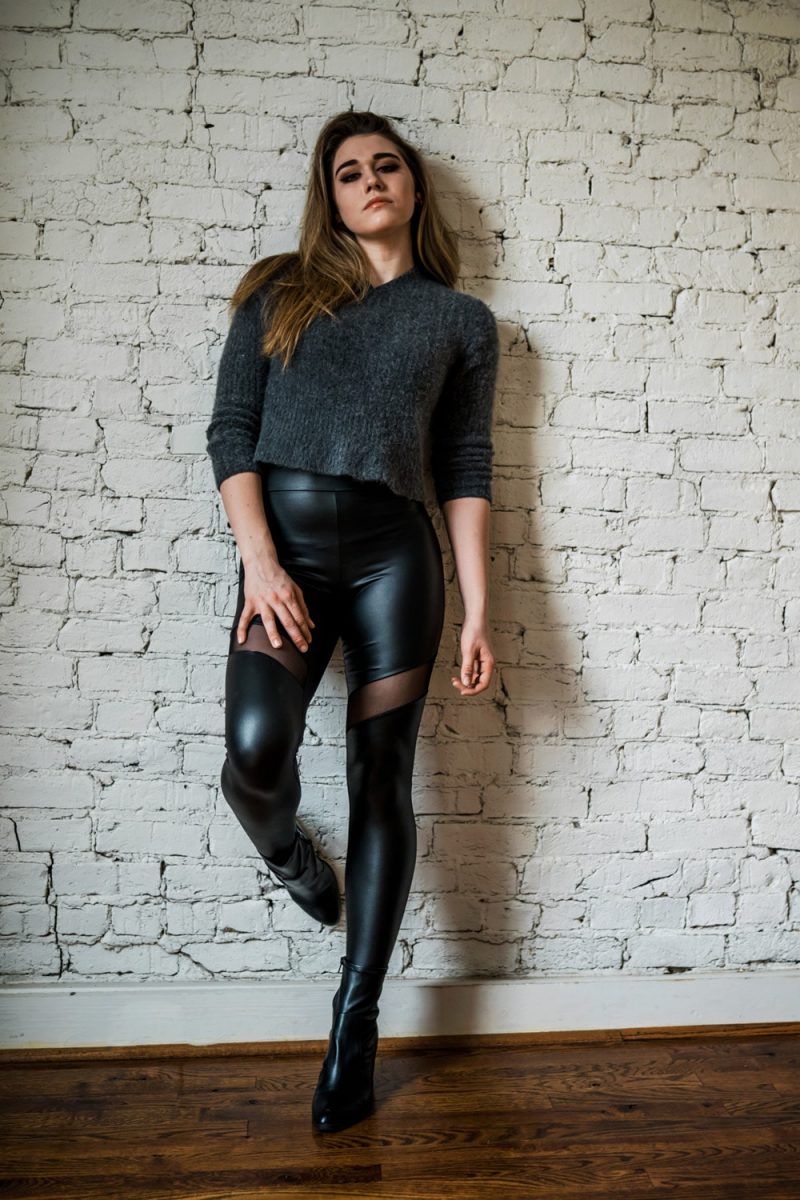
Along with lighting, if there are colored walls in the studio or space then you might get small color casts on your model.
I was fortunate that most of the studio had white brick walls, so this was not a major issue for me.
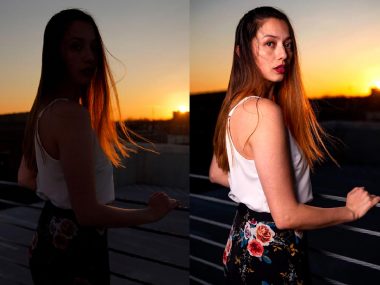
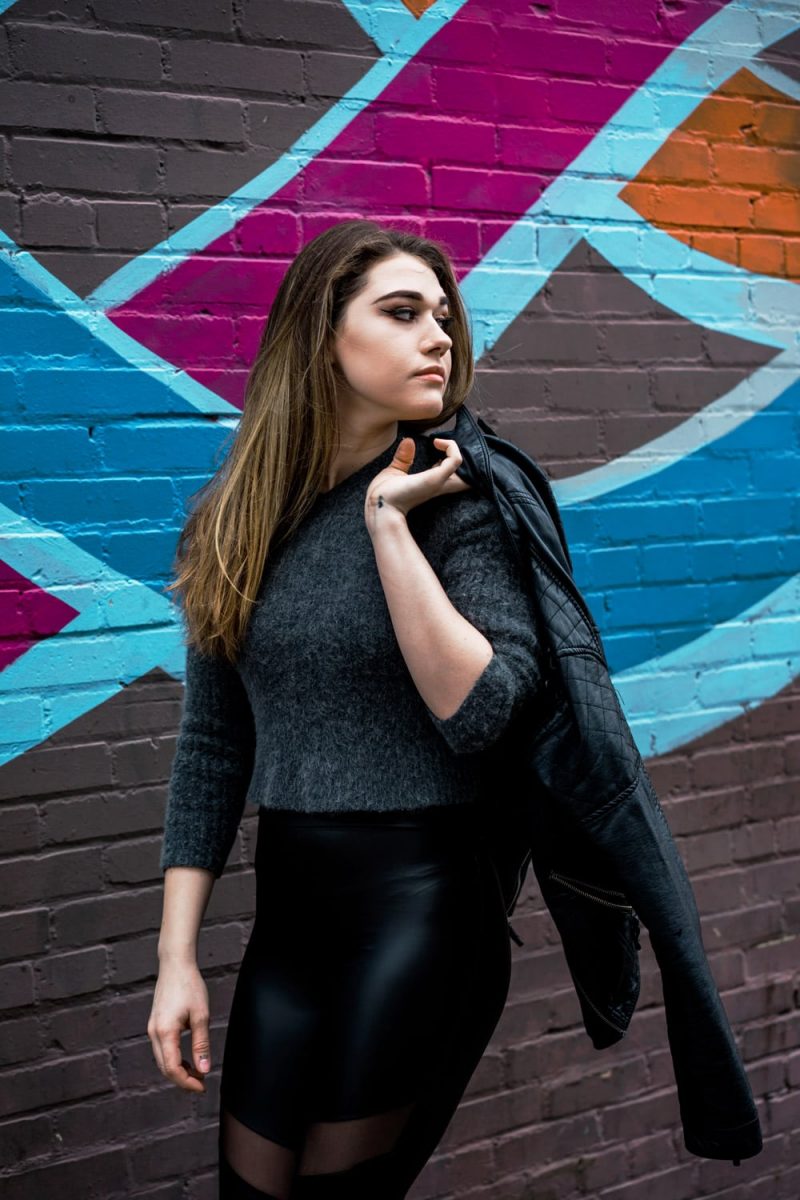
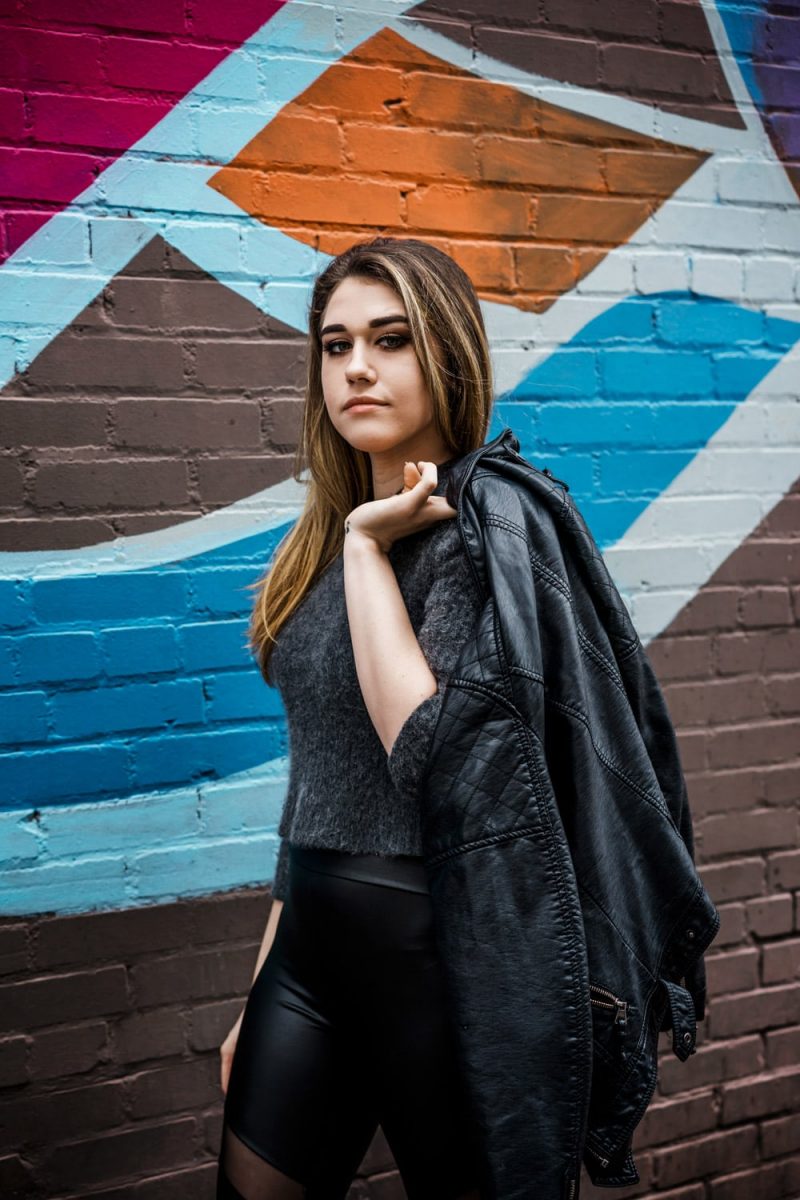
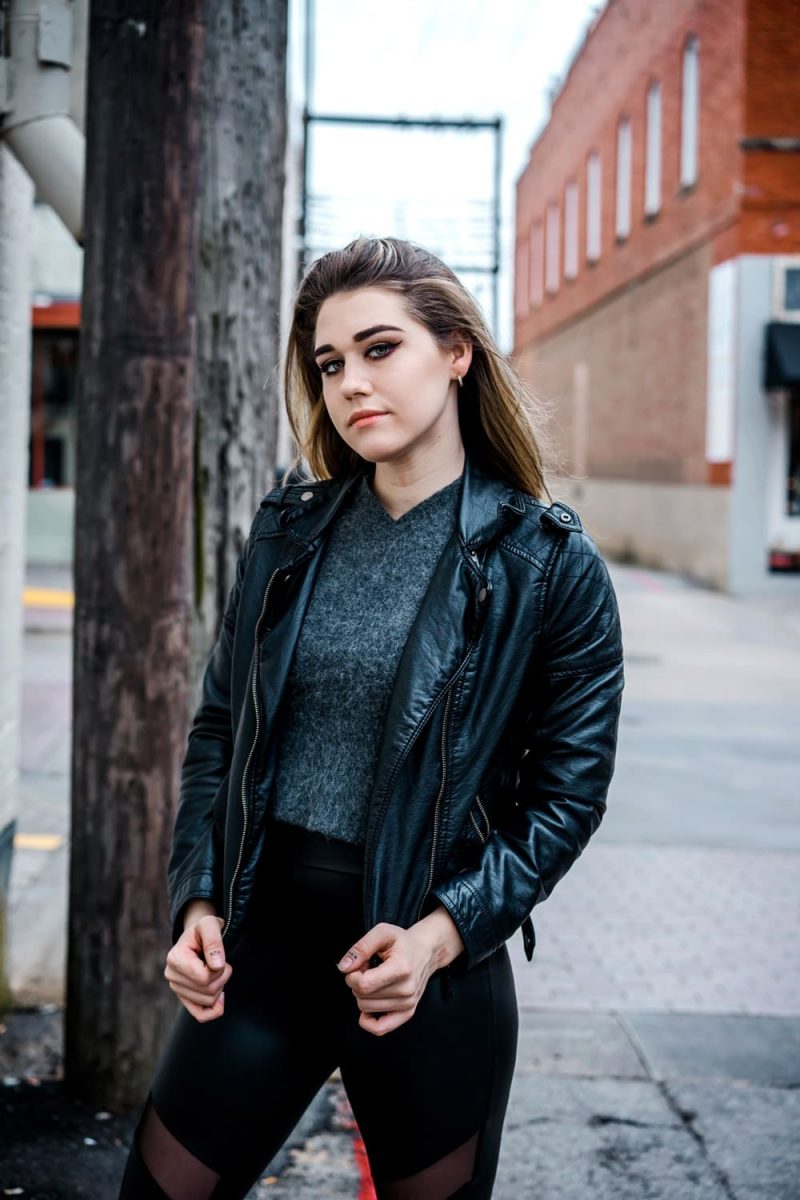
Shooting portraits outdoors
Once I finished shooting the portraits indoors, we moved outdoors to the street. I knew of a small alleyway with a cool mural for my background.
Lighting was perfect in the overcast sky so I didn’t have to worry about changing my settings too often. We used the street and empty alley for the outdoor session.
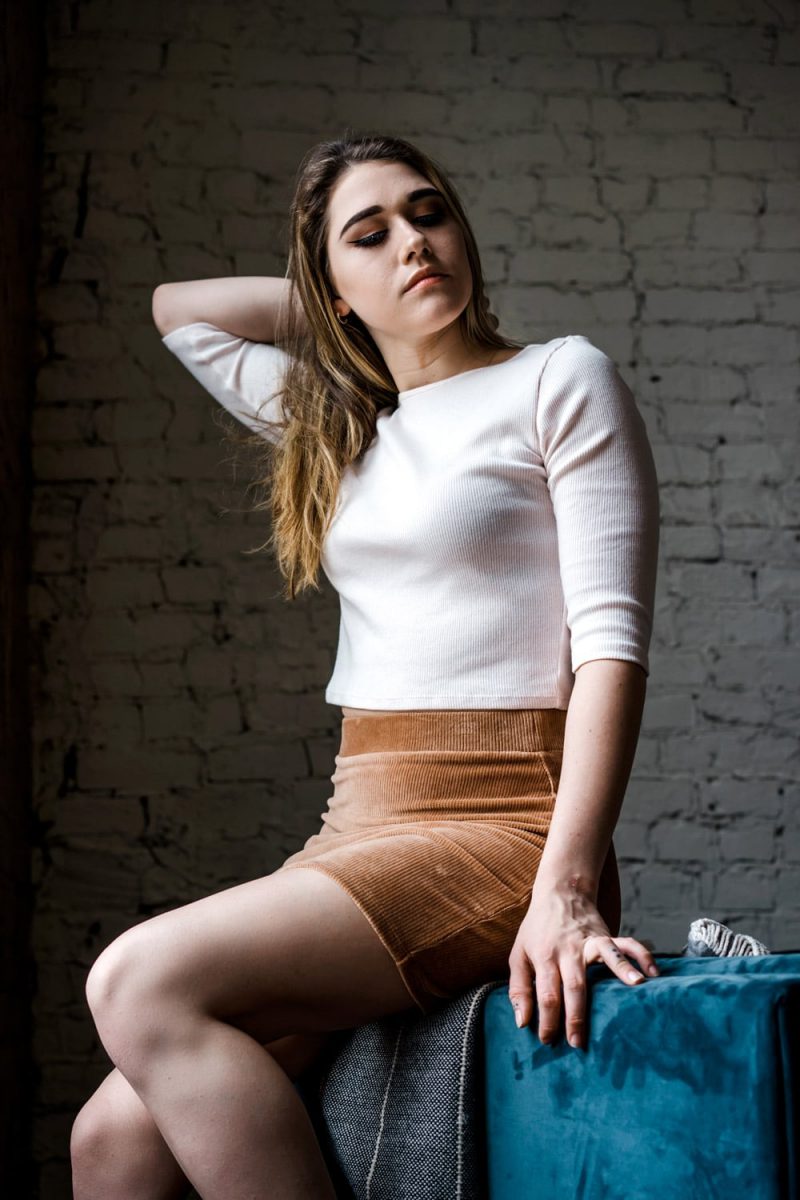
Model posing for this portrait shoot
I had Adrian moving around and walking while I shot. I did have her pose for a few shots, but overall, I wanted to catch her in action.
I love the look of more natural lifestyle shots, so I had my shutter speeds at higher settings to capture her movements.
Finishing up the portrait shoot
Once we finished shooting outdoors, we went back inside for the next look. It started raining outdoors so I couldn’t do a second look outside.
This is just part of photoshoots. You can plan as much as possible, but the weather and other elements can get in the way.
Portrait photoshoot samples
Here are the final shots from the portrait shoot. All shots are brought into Adobe Camera RAW and then edited in Photoshop.
What I learned from this portrait photoshoot
Like all shoots, the weather will always play a role in where you can shoot. I learned quickly that I needed to slow down and do a few test shots to make sure my exposure was correct.
What I would change
I learned quickly that I needed to slow down and do a few test shots to make sure my exposure was correct.
I was shooting fast because of the studio time I had booked and all I could think about was my time chipping away.
Conclusion
As a beginner, it can be hard to learn how to setup a portrait photoshoot. From getting all the details together and constant communications, there is much to learn.
Don’t let all the details get in your way. Just like this portrait photoshoot with Adrian, keep in mind that each shoot is a learning experience that you can keep taking with you to your next shoot.
[wptb id=3129]