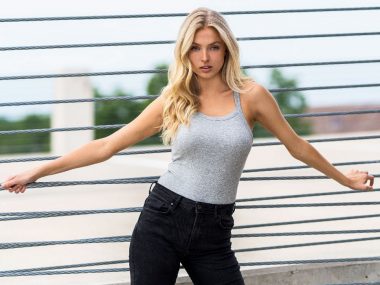
Have you been interested in how to take natural light studio portraits? Let’s go over this model test shoot with Erin and see all the settings for each final shot.
I’ve had the chance to shoot indoor and outdoor natural light portraits over the years, and indoor shoots are some of my favorite. I love to use large windows and the sun as my key light to light my models and subjects.
How to take natural light studio portraits
A simple approach to taking natural light portraits indoors is to place your subject close to a main window or large light source. Set your camera setting to expose for the subject. This will make the background slightly darker, but the model will be well lit from the light coming into the scene. If you can have the subject facing the window so the light is in the front and not behind the model this would be most ideal for the composition.
Natural light portraits – Model Test Shoot
The best way to explain how to shoot in natural light is to show you a real-world example portrait shoot and my thought process behind each shot.
In this portrait shoot with Erin, I took advantage of a large window as my main light source for the entire portrait shoot. No reflectors or other external light sources were used.
In this portrait shoot breakdown, I’ll help you learn how to take portraits in natural light and see what you can expect when shooting wide open with your large aperture lenses.
Getting started in studio
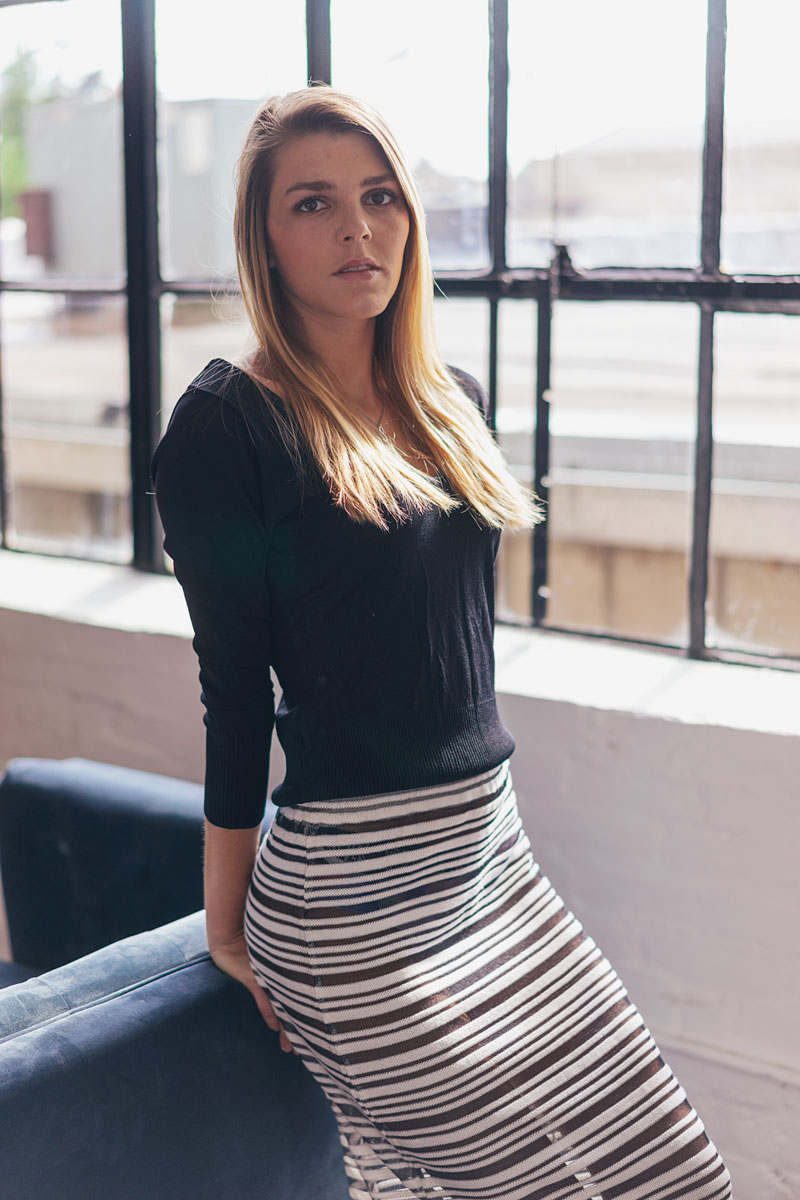
A quick note about the studio. I was shooting in a small loft style studio for this portrait shoot. All the walls were white brick and the floors a dark smooth cement.
The window was around 10ft by 8ft and was centered in the room.
My model for this shoot was local Dallas model Erin Lee. She reached out to me on Instagram and wanted to do a simple test shoot. We setup a time and date to get the shoot in place and met up on location.
It was bright and sunny the morning of the shoot. The Texas heat was beaming down and there was not a could in sight.
Camera gear for natural light portraits
For this shoot, I used my Sony a7 mirrorless camera with a combination of two prime lenses. First, I used my Sony 85mm f1.4 G Master lens and then switched over to my Sony 55mm f1.8 lens.
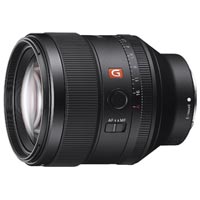 | Sony 85mm f1.4 GMaster Lens |
 | Sony 55mm f1.8 Zeiss Lens |
Each lens has its own unique look and style, so I tried to get a variety of shots for my portfolio.
I would recommend having a small reflector with you in case you need to bounce the direct light or redirect it to another spot.
You can also use a translucent reflector to help cut out some of the harsh light coming in from your main light source. Here is a great 5-in-1 reflector to have on hand just in case.
How I positioned the model
The model was positioned around the window light. I moved all the furniture in the room towards the window and positioned Erin around the props.
Erin stayed mostly stationary so I could keep my camera on single shot mode. I didn’t have to change my setting often as the light remained pretty constant in the room during the hour-long shoot.
Natural light photo gallery
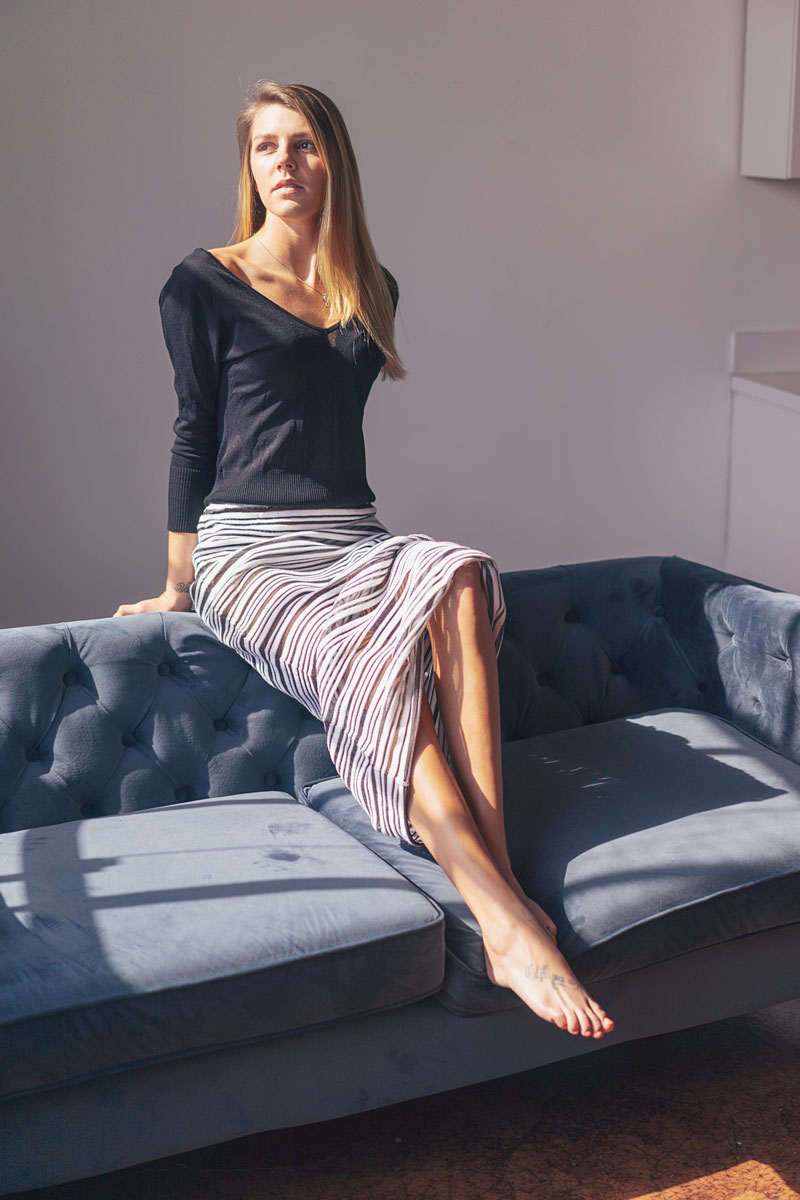
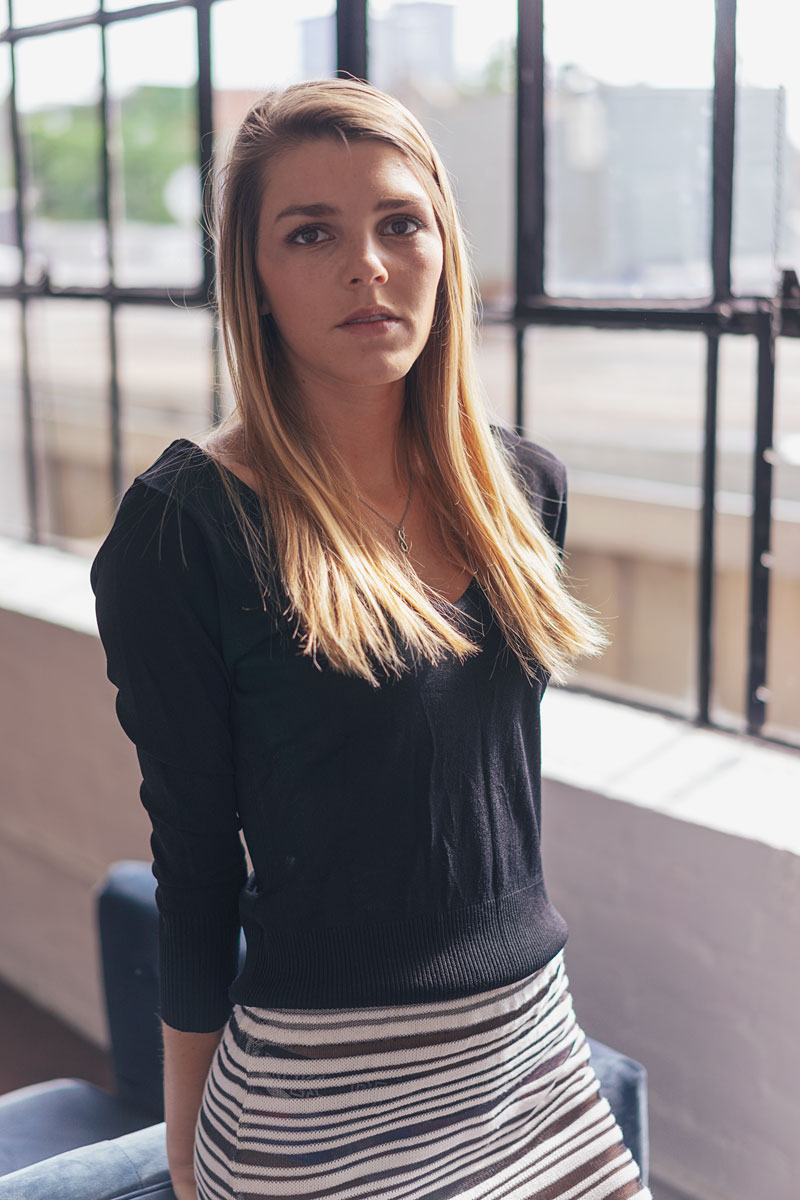
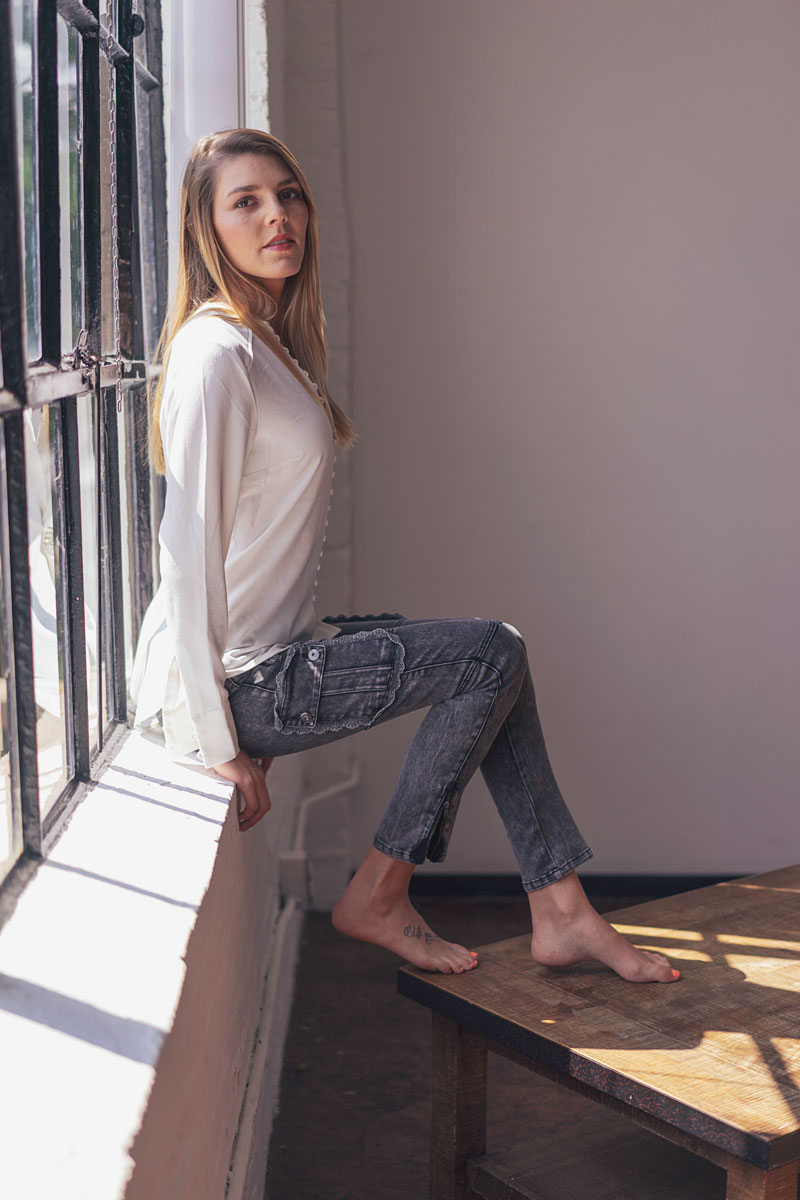
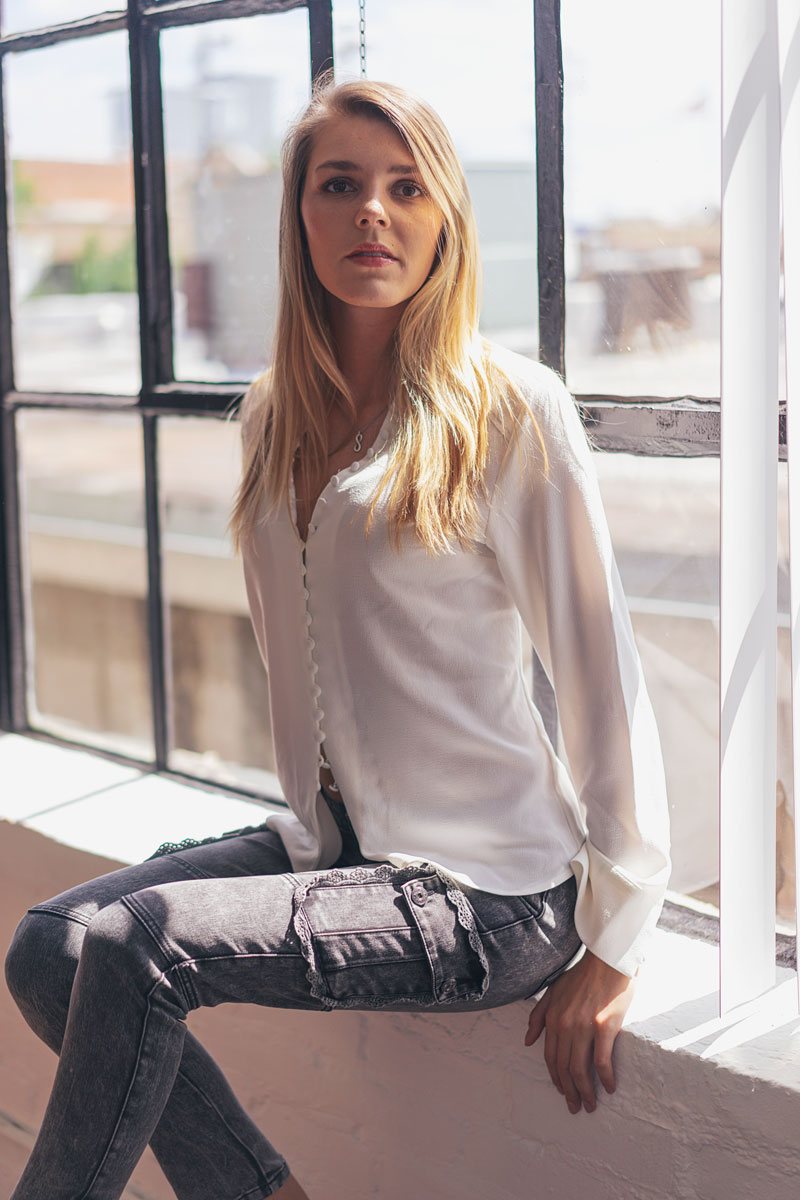
Erin was sitting on a small coffee table that was oriented at an angle towards the window. As she was sitting I took a few shots.
I was standing around 3ft away from her while using my Sony 55mm f1.8 lens. I stopped down to f2.0 because of the close distance I was using to shoot.
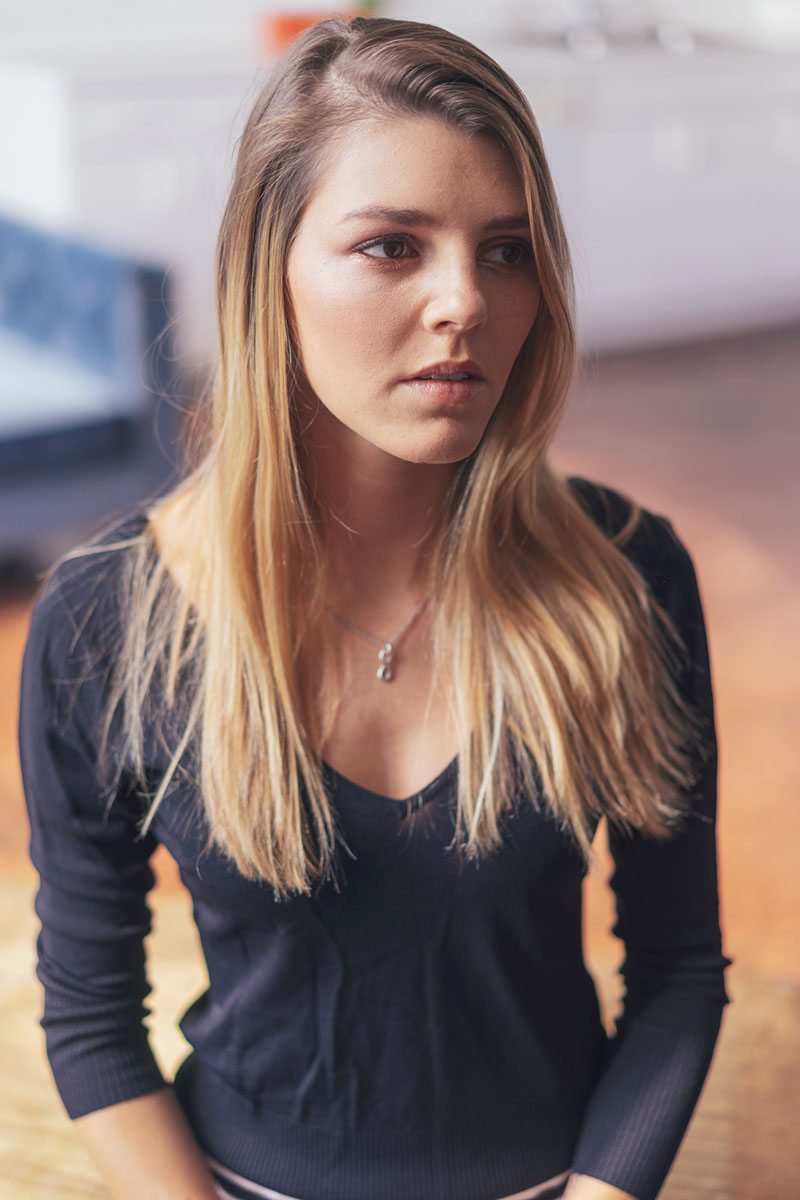
In this shot, I positioned Erin on an adjacent wall. The light was bouncing all over the room and still provided efficient glow even when the light was not directed at the model.
This gave me a few shots that had even and soft lighting on the model.

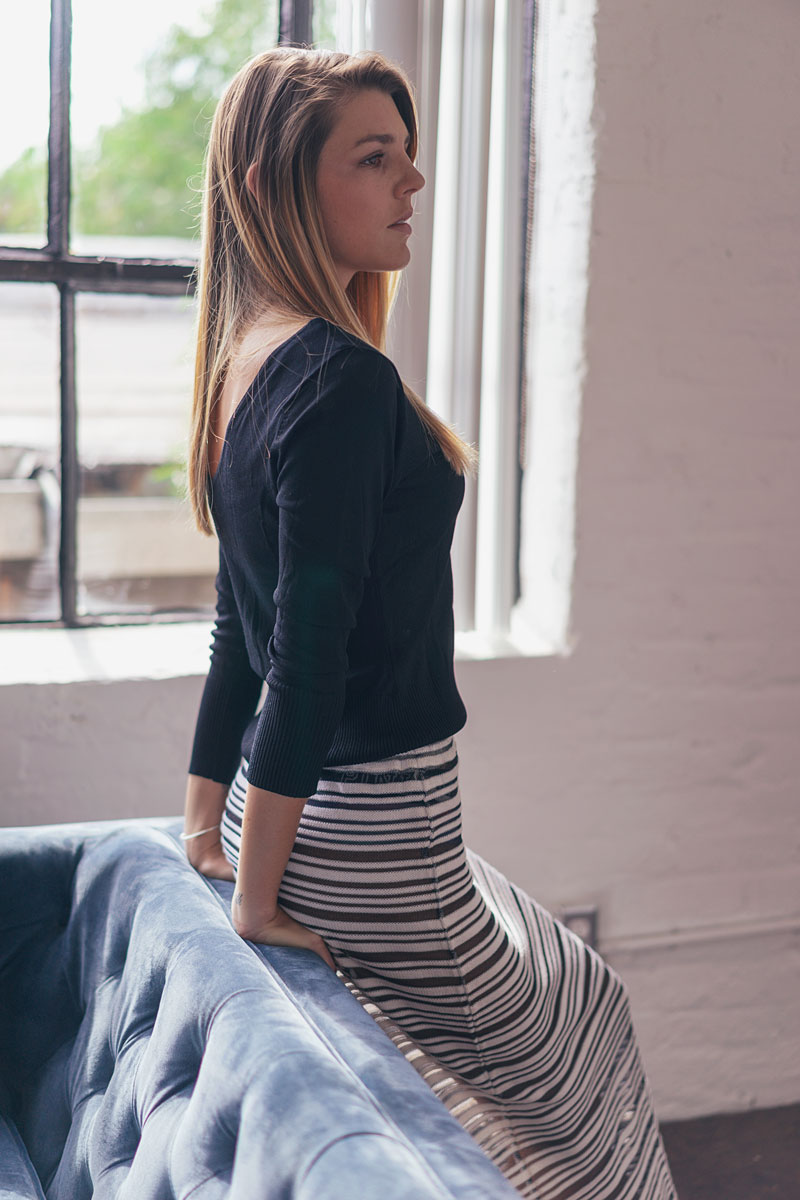
As you can see from this shot, the direct lighting can create harsh lines and darker shadows. The couch was positioned at an angle towards the large main window.
I love how the light was wrapping around Erin in this composition and giving me straight lined shadows from the window bars.
Moving Around The Studio
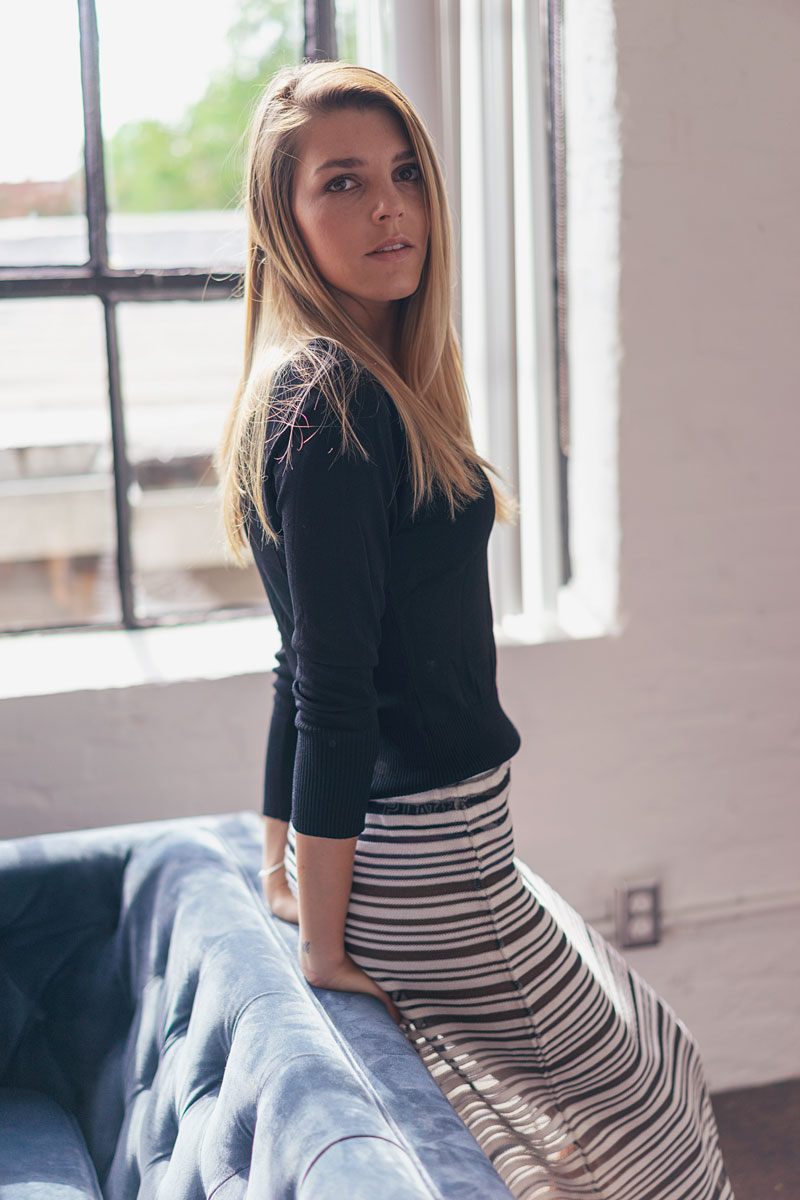
Like the previous shot, Erin is positioned against the couch but in an opposite direction.
I was able to keep the highlights from clipping by positioning the couch just out of the direct light from the window.
Same pose but different angle. Erin stayed positioned in the same location as I worked around her to get a variety of shots.
Don't Miss This
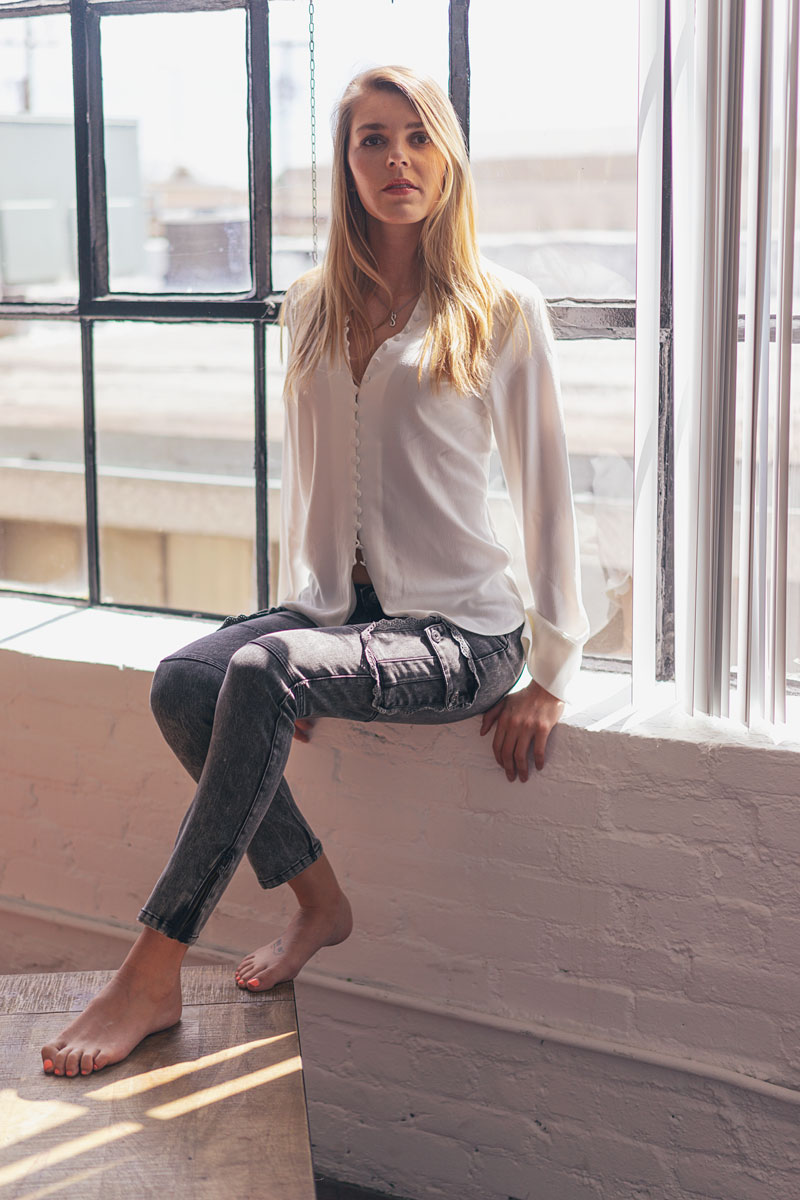
We did a wardrobe change and I had Erin in a white top with darker pants. The white shirt was slightly more difficult to use as the highlights could easily get blown out in the exposure.
I stopped down on my shutter speed to compensate for the lighter look.
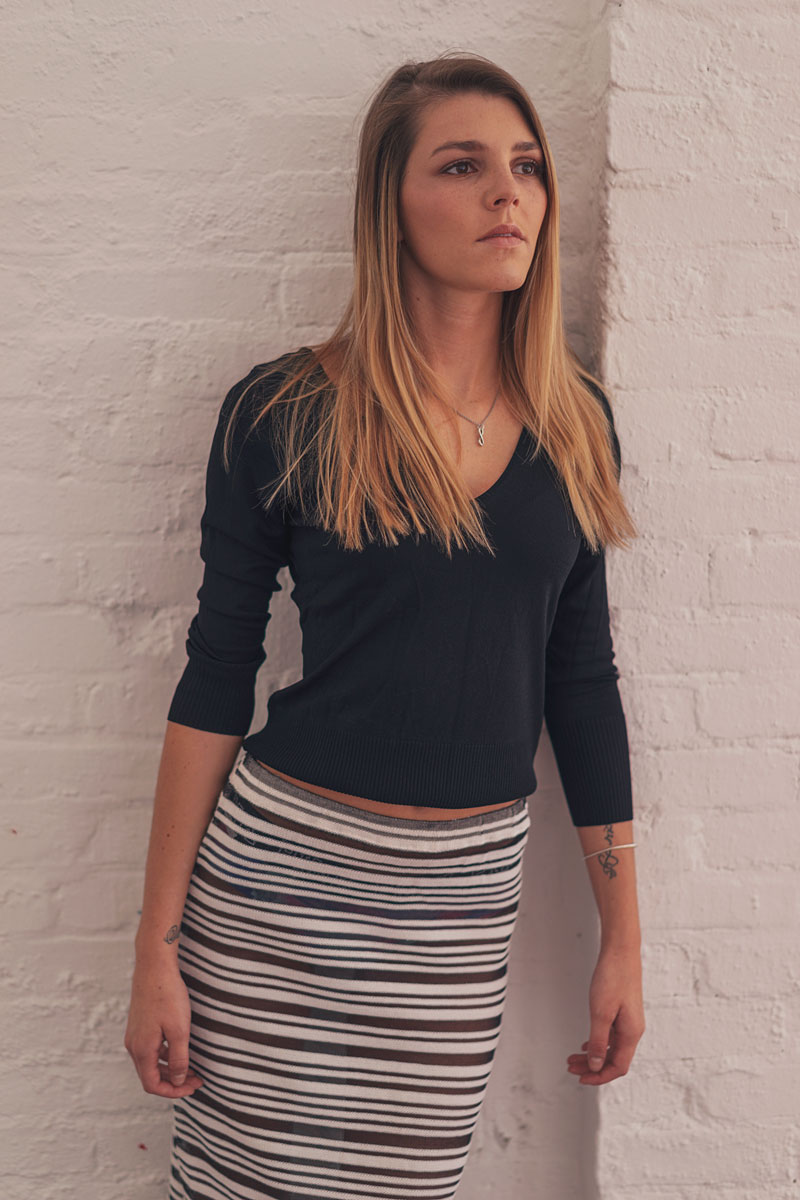
Posing near the window
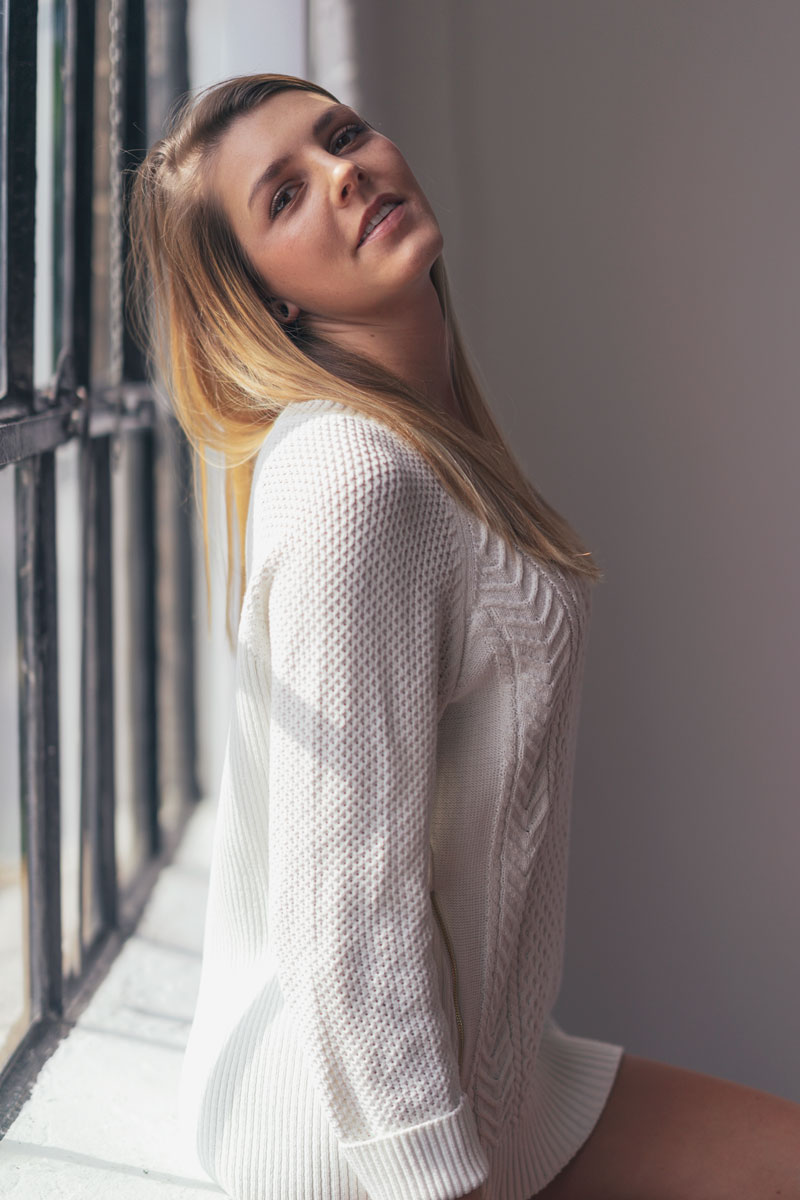
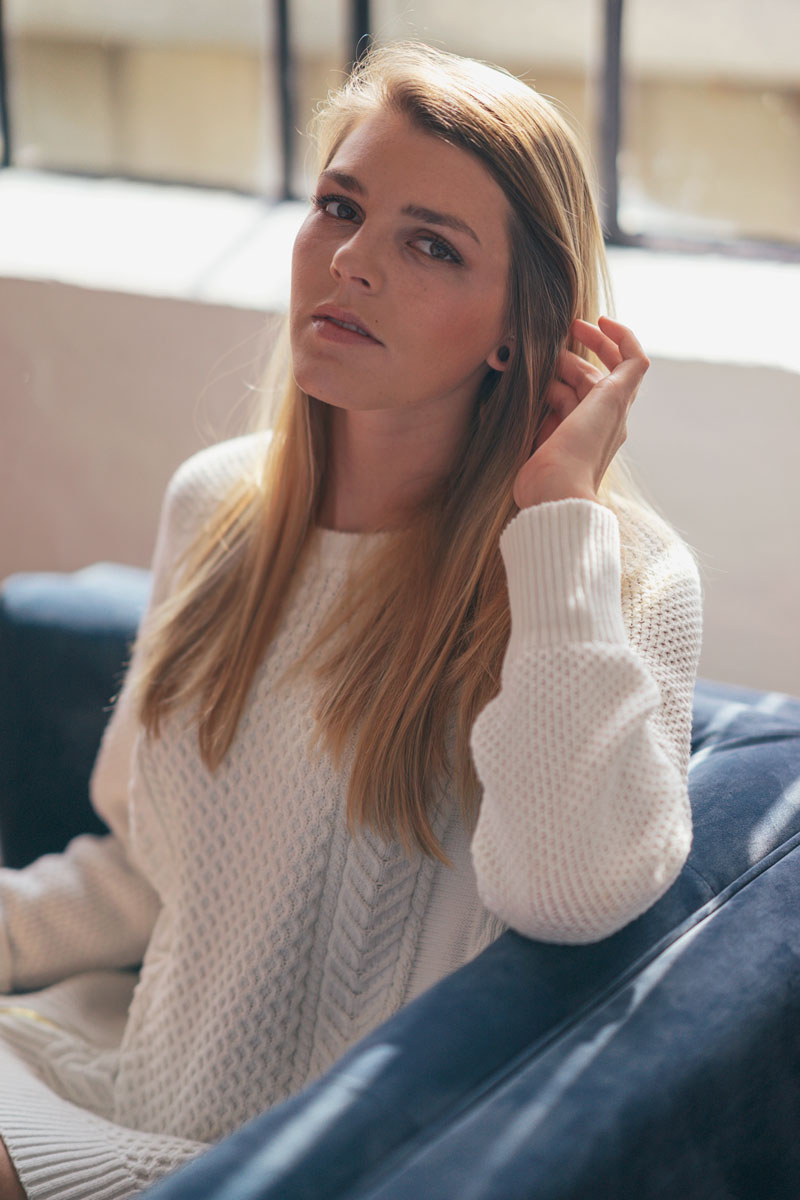
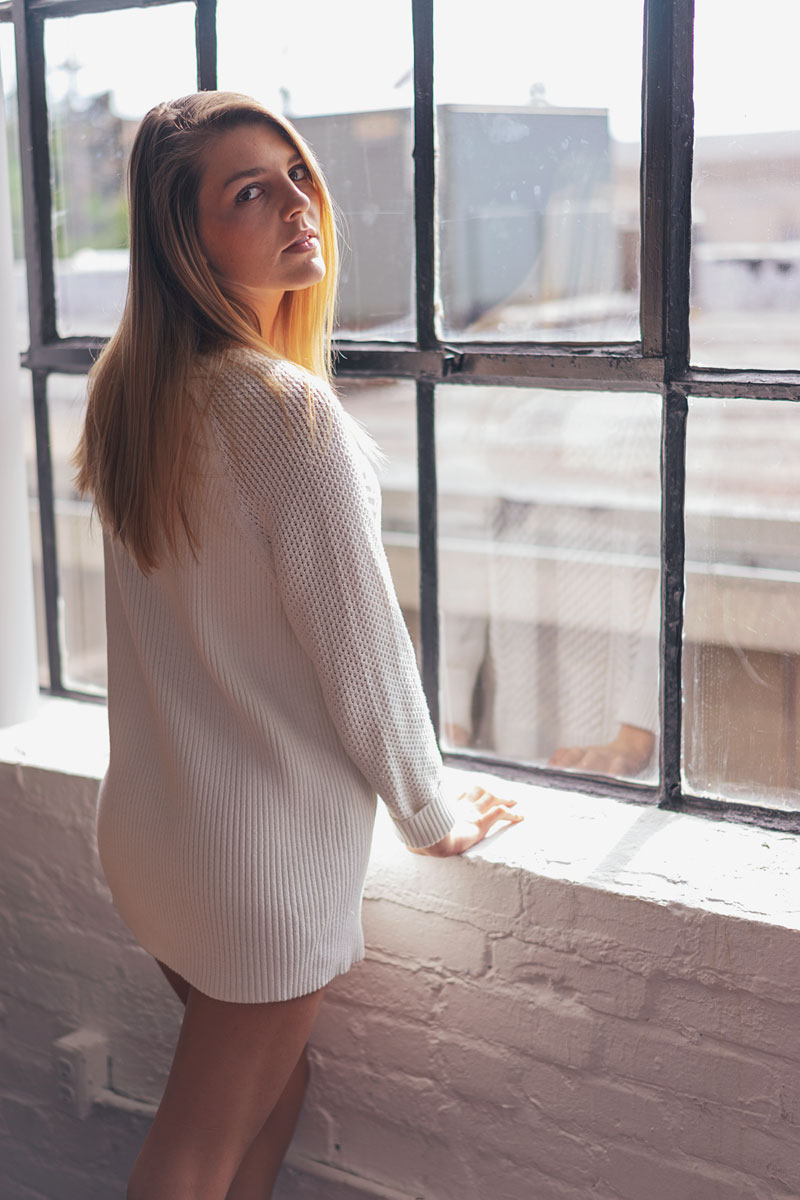
I positioned Erin closer to the edge of the window and further down the wall. This kept her out of the bright light angle from the sun.
The light was bouncing off the large white wall behind me so this made for a softer light on Erin.
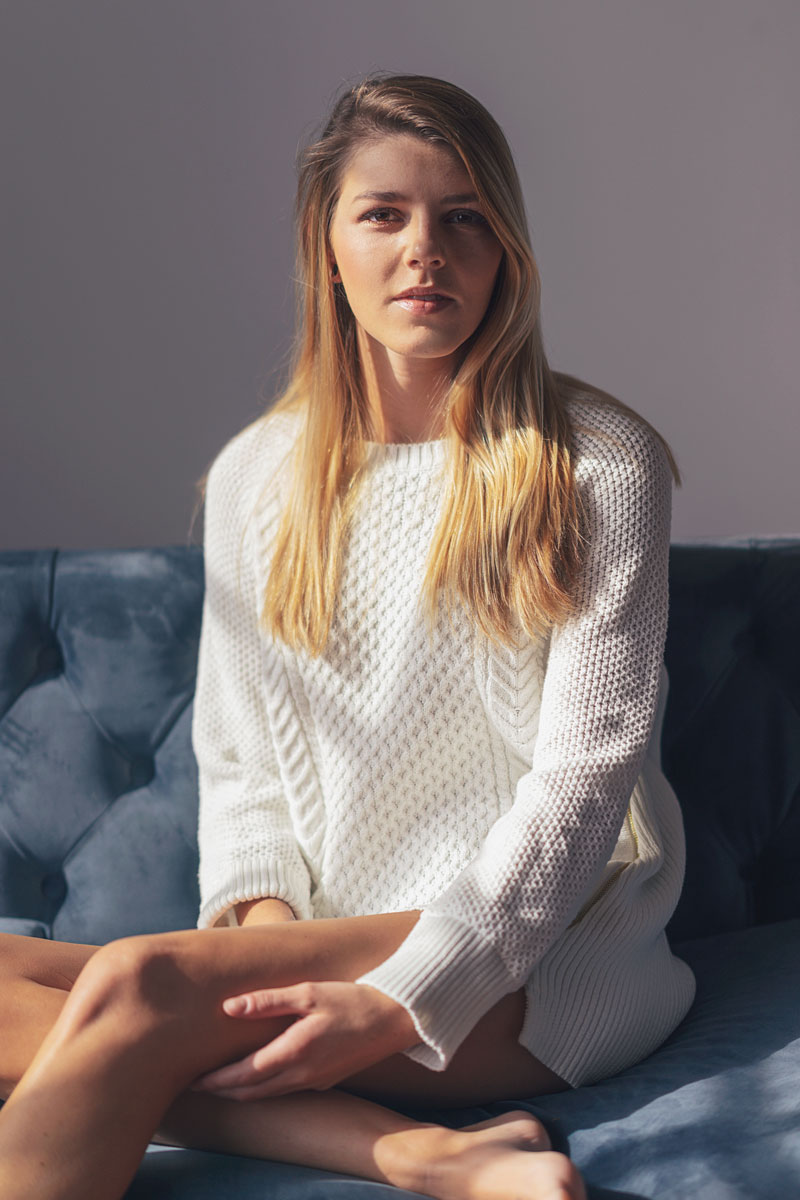
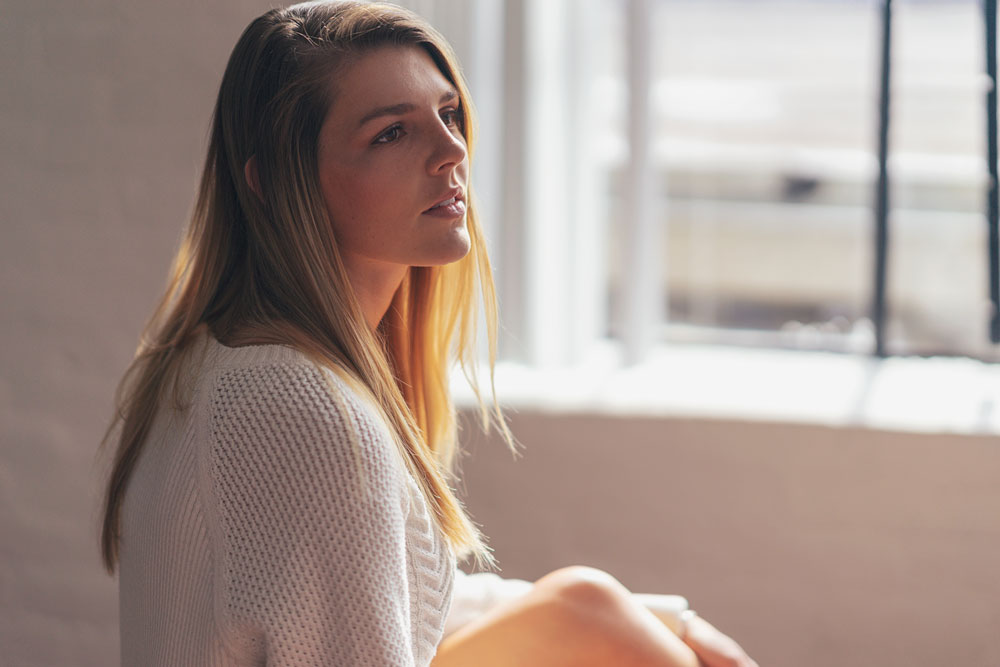
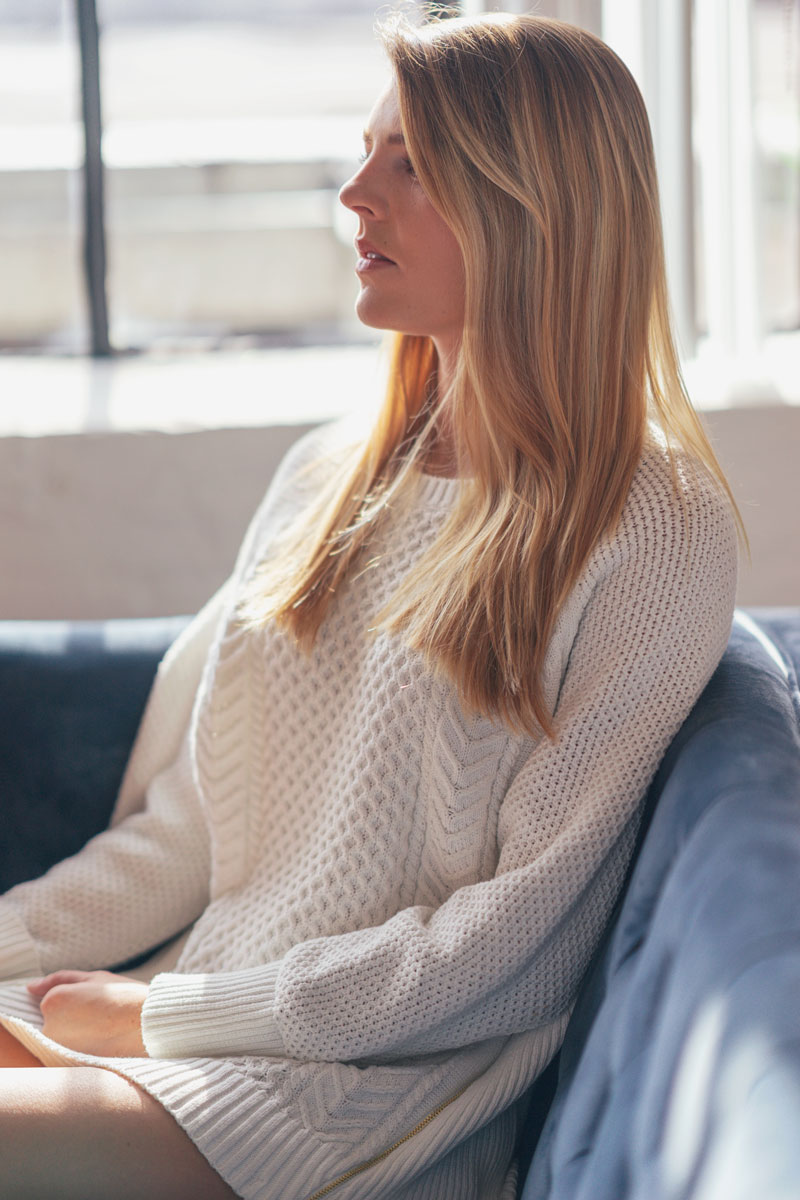
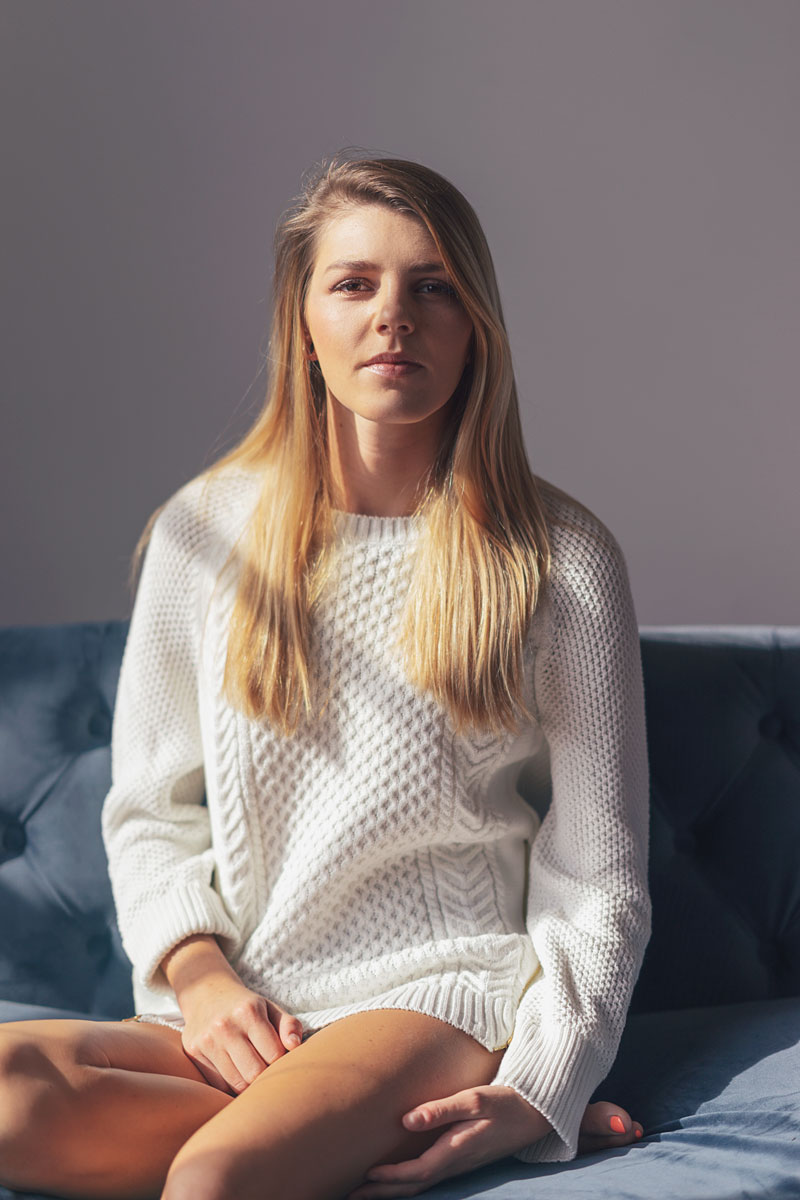
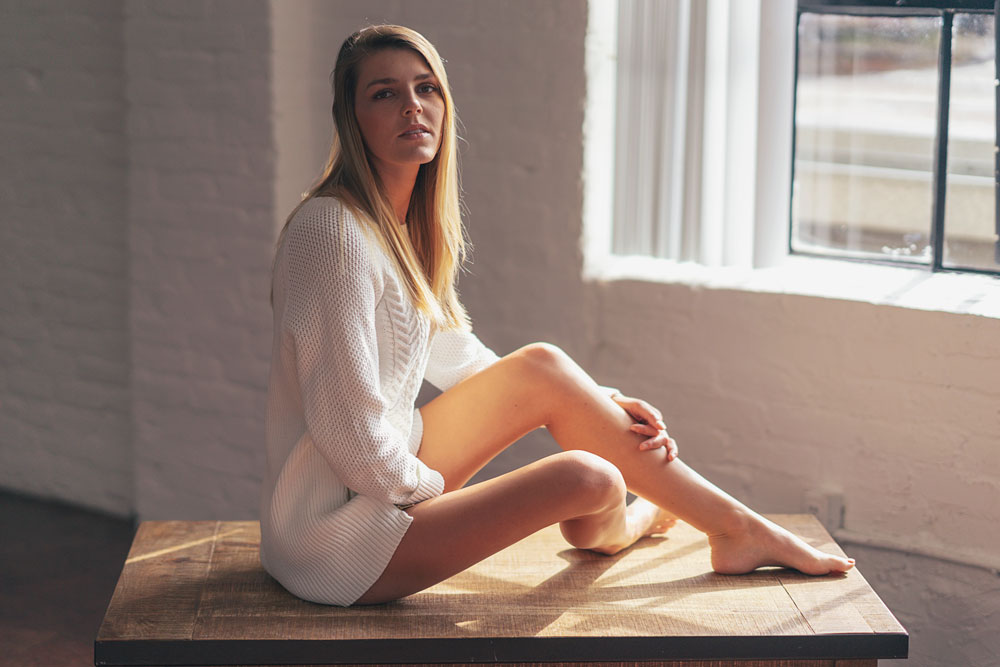
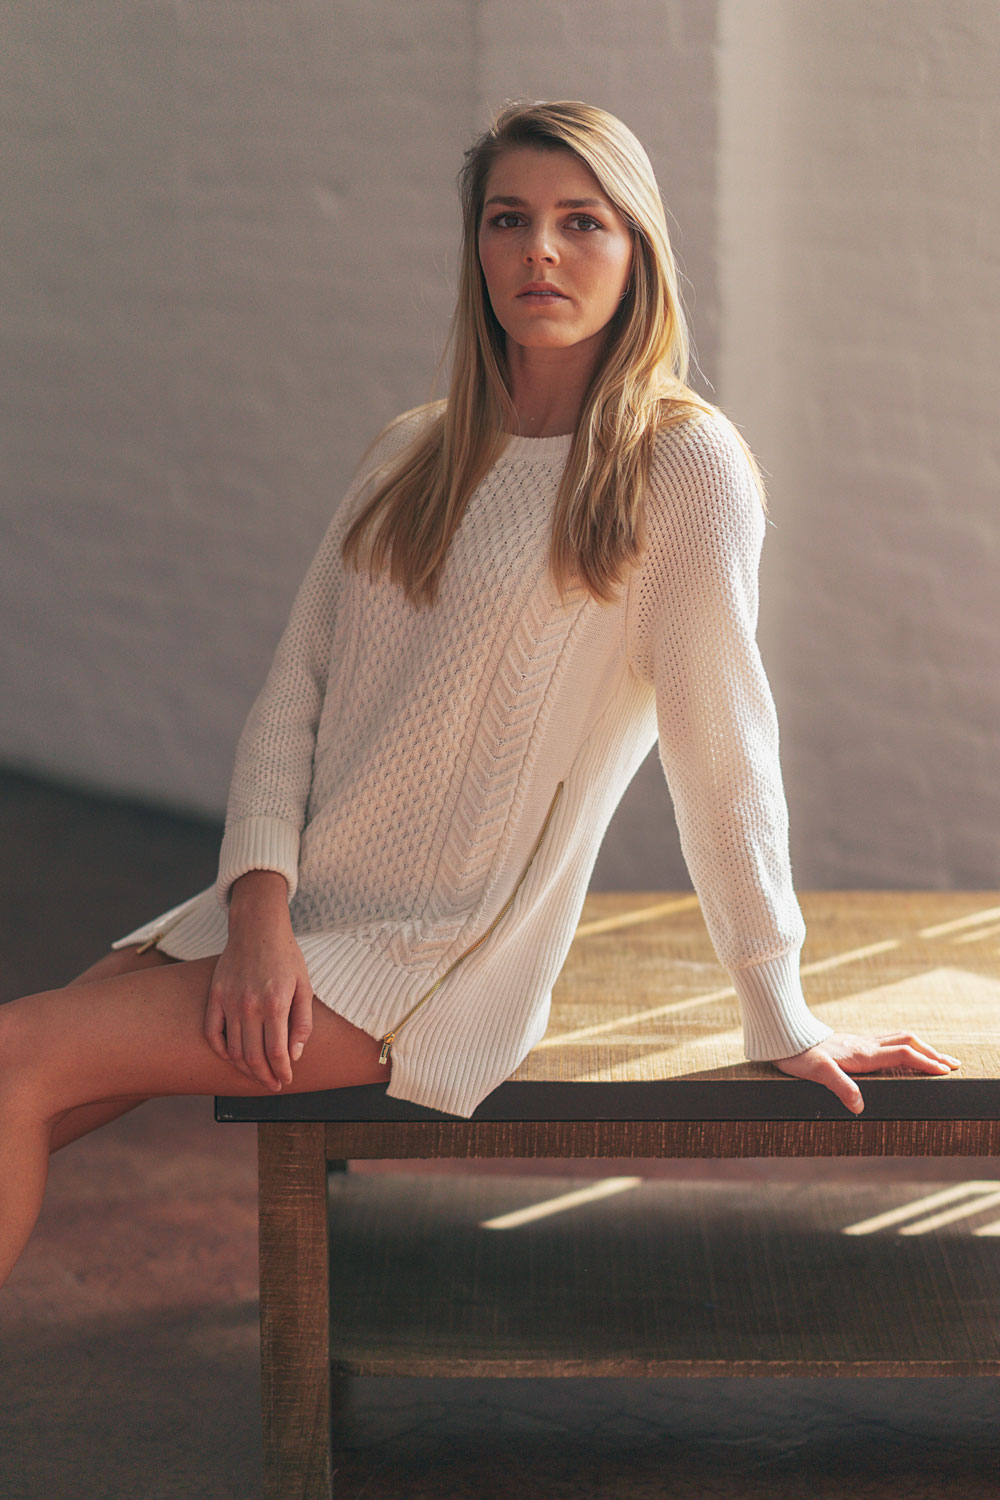
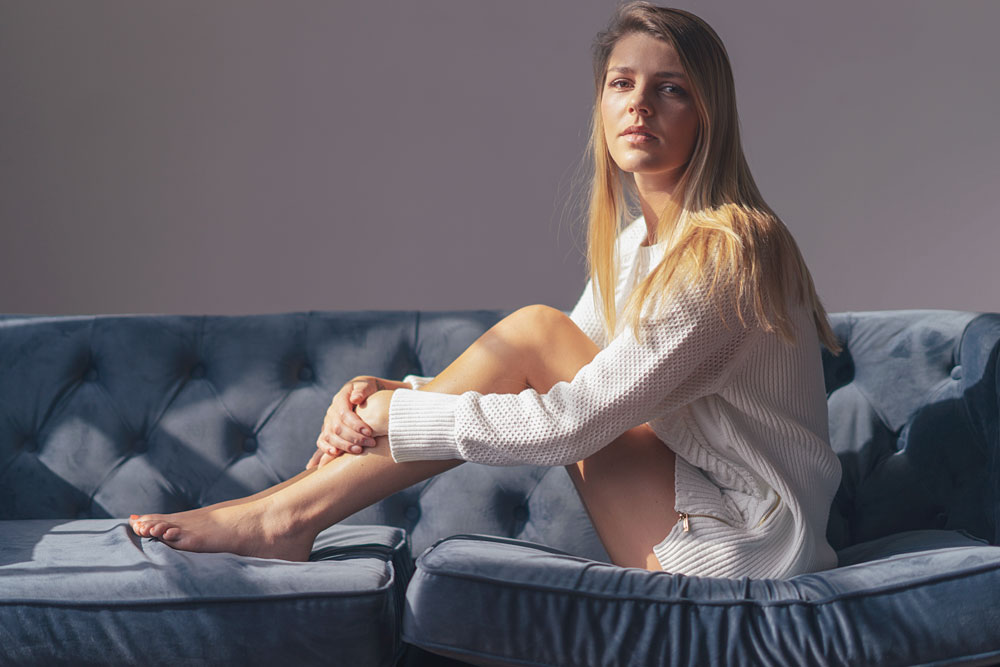
The third look was a white textured sweater. This was the final look and I wanted to give more of a comfy lifestyle look.
I liked the contrast of the white sweater with the darker blue tones of the couch so we started taking photos there.
Switching Lenses
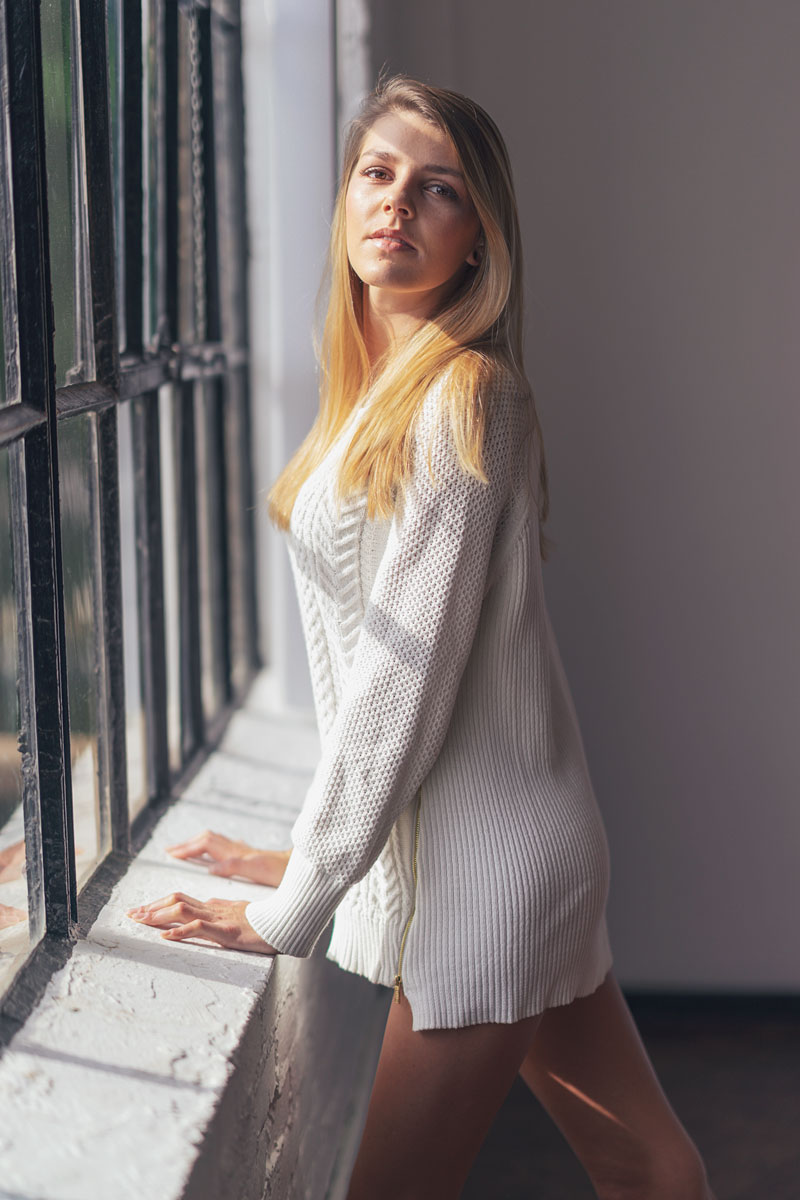
Eventually we moved back to the window and I tried more of a closer shot with the Sony 85mm f1.4 G Master lens.
I kept my lens wide open at f1.4 so I had to raise my shutter speed much higher to get an even exposure.
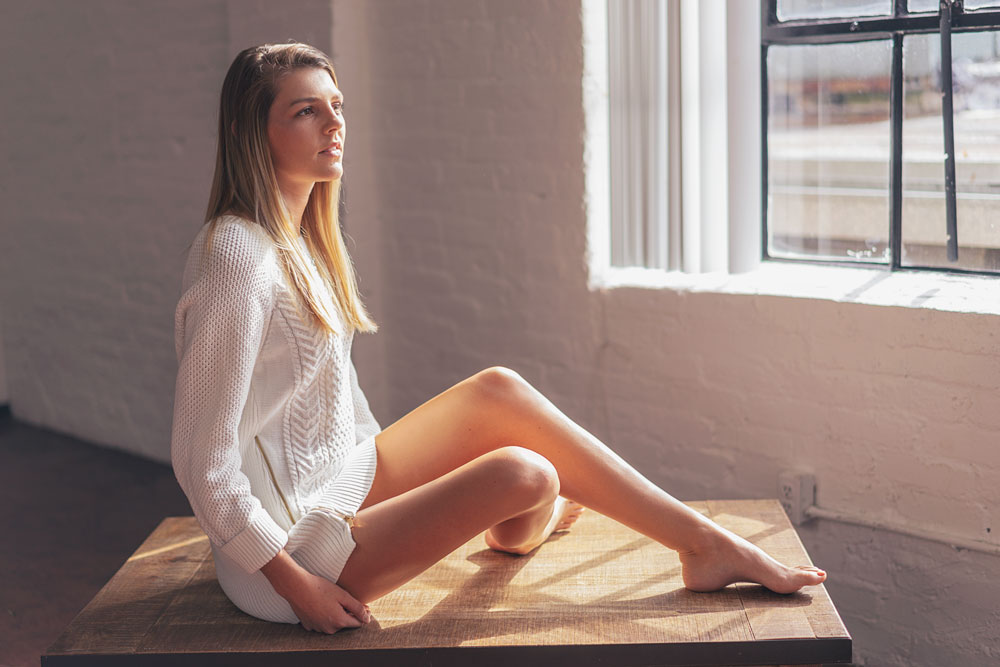
I notice the lighting was too bright so I moved Erin away from the window. I positioned her on the coffee table about 6 feet from the window wall.
To maintain the lifestyle look, I added the couch back into the composition and had Erin facing the adjacent wall. This allowed the bounding light to give her a soft glow on the front of her body.

When I had Erin posing back against the window, I tried to expose for the highlights of the scene.
Once I did this, I was able to bring back up the shadows in the composition and retain as much details as possible in the highlights.
Posing in the middle of the room
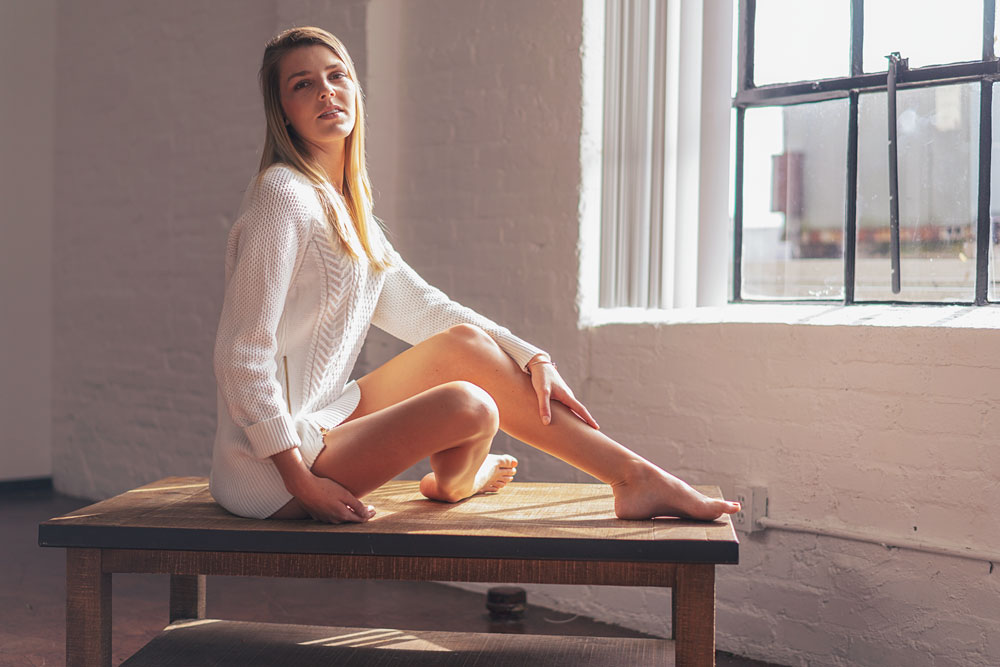
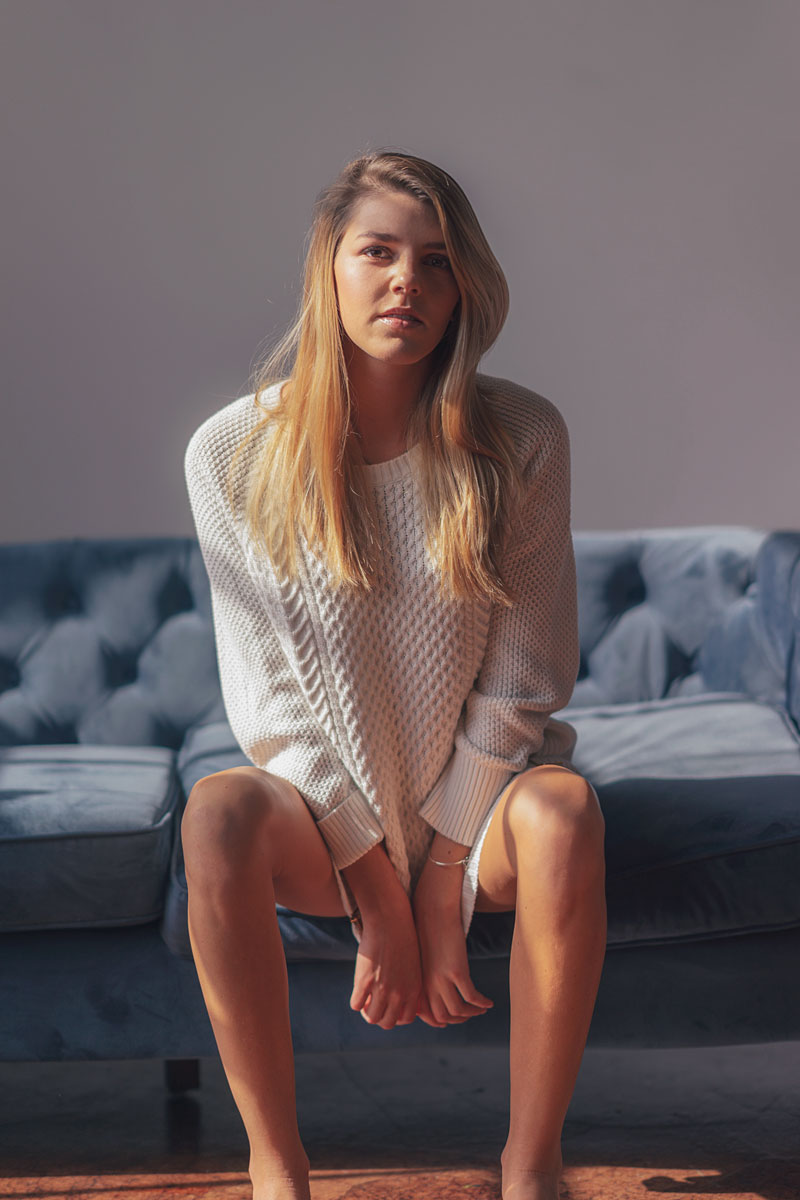
For one of my favorite natural light shots, Erin is back on the coffee table and I stepped back to get a full body shot.
I shot in horizontal mode and was able to use the Sony 55mm f1.8 to get as much details as possible in the composition.
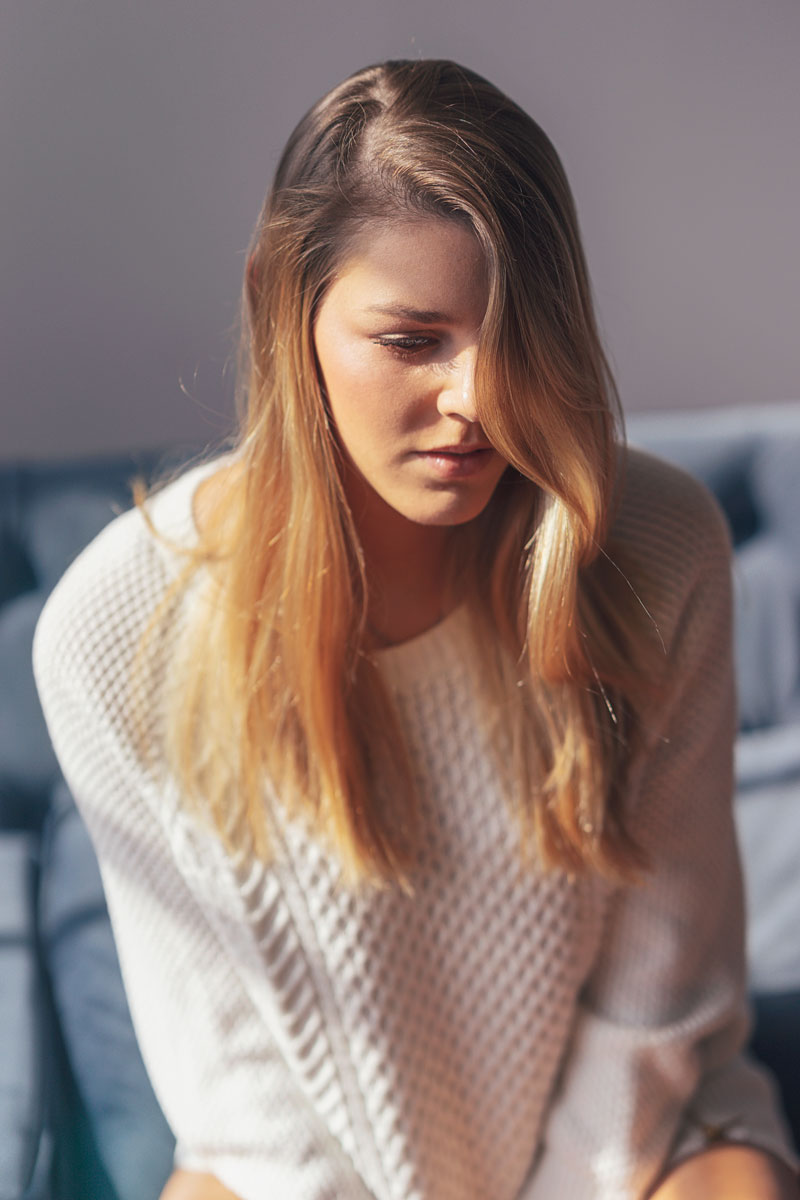
A simple natural light portrait shot of Erin. I liked how the natural light created a soft glow on her face and sweater.
As you can see, the opposite side of the face was more in shadow. I was able to raise the details in post-production since I was shooting under exposed by around 2 stops.

Don't Miss This
Utilizing shallow depth of field
At first I didn’t like this shot, but it quickly grew on me. The depth of field was so shallow that much of her face and hair was out of focus, except for the wave of hair closest to the camera.
This is an issue you will run into when shooting with wider apertures and standing very close to models.
Be sure to check your shots after the set to make sure your photos are in focus.

Switching up the looks
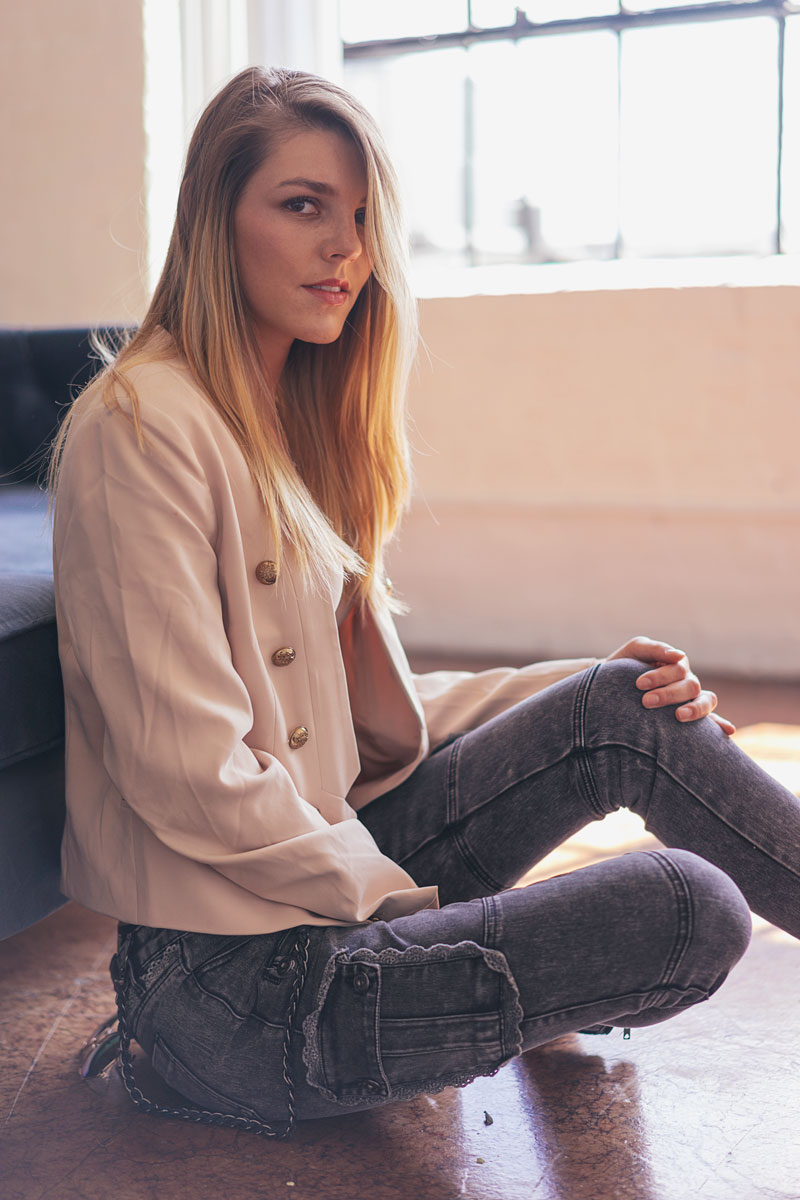
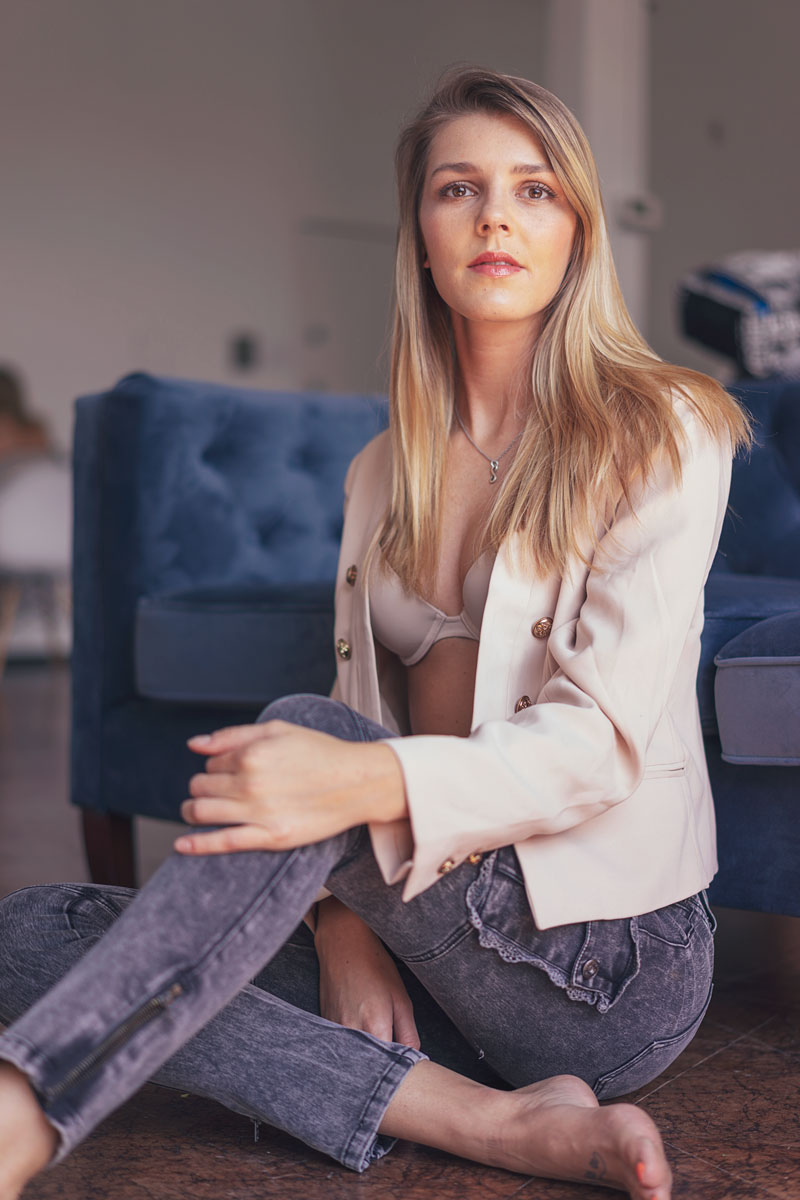
For the final fourth look, Erin wanted a more fashion lifestyle look so she switched her top and bottoms and added a jacket and a few other small accessories.
By the fourth look, Erin was having a great time and she became more and more comfortable in front of the camera.
This is always great to see when shooting with new models. You want to make them feel comfortable so they are more confident in front of the camera.
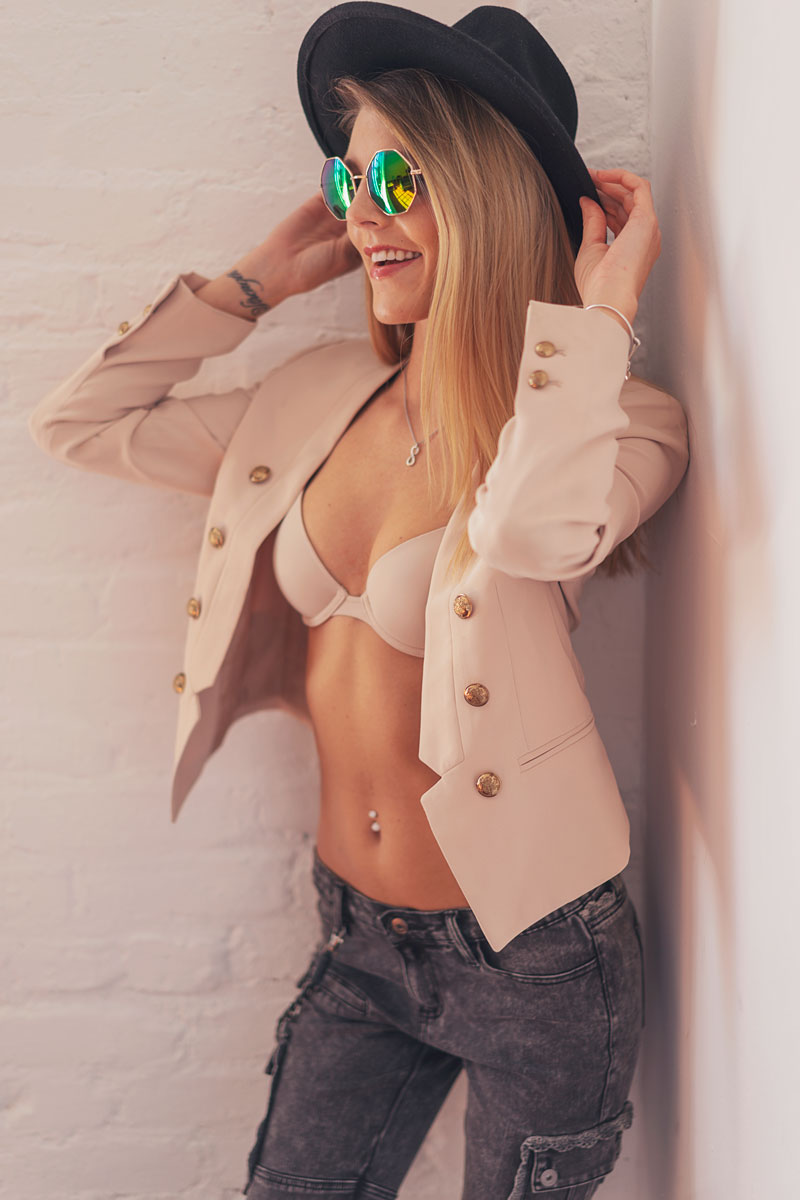
The hat and glasses were Erin’s personal belongings, but these added big details to the image. The front of the glasses had a polarized look so this added a more dynamic color to the shots.

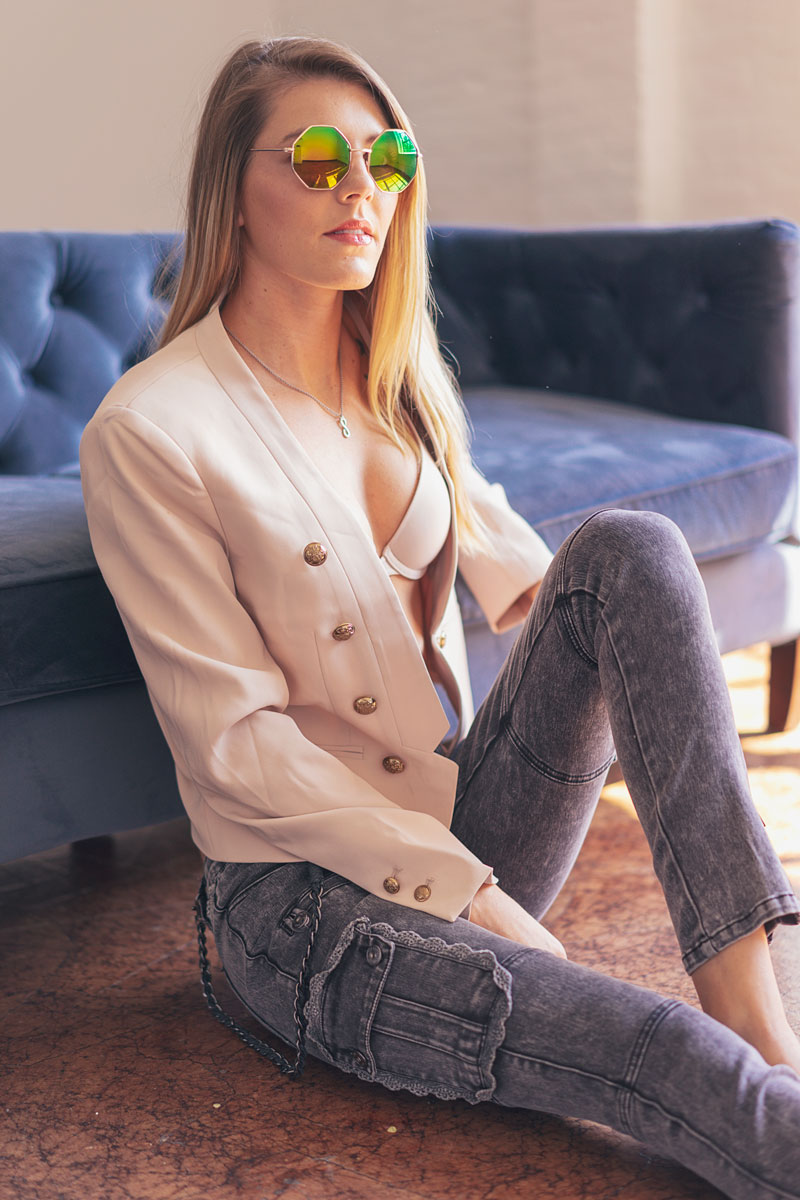

Finishing with a wider lens
We finished the set with some sitting poses and I finished with the shoot with the Sony 55mm f1.8. This lens is small and light weight and easy to use.
If you want to learn more about my entire photography workflow, you can read it in detail here.

Quick benefits of shooting natural light photos
There are a few quick benefits of shooting photos in natural light that I want to touch on.
- Gives your photos a very natural and soft look
- Using the sun is FREE and great for beginners
- You don’t have to carry much gear
Drawbacks to shooting natural light
Just like with any lighting there are some drawbacks to shooting natural light.
- Color temperature can change as the sun goes down
- You have limited time with the sun before sunset
- The light intensity can change based on weather (clouds can effect light)
- If can be difficult to shoot in harsh light
There are both good and bad qualities of shooting natural light, but this is the same with all lighting types. Your goal should be to learn to shape or redirect the light to your advantage.
What did I learn from this shoot
This natural light photo shoot was fun and gave me a chance to experiment with the available light in studio. I saw it as an opportunity to problem solve and get the best shots possible.
I also grew more fond of the Sony 55mm f1.8. This lens is tac sharp and small and light weight. It was perfect for this particular shoot concept.
Conclusion to taking portraits with natural light
Natural light vs flash photography will always be a big question for many beginner photographer. My goal is to show you the type of photos you can get from shooting with natural light.
Get out and shoot and you will learn what style is best for you. Just remember that every scenario will be different. You’ll want to study the light available be flexible in your compositions.
*Affiliate Disclaimer - I am a proud partner of the various affiliate programs including the Amazon.com Affiliate Program. When you click on my links and make a purchase I make a commision which goes to helping me support this blog. Thanks! |