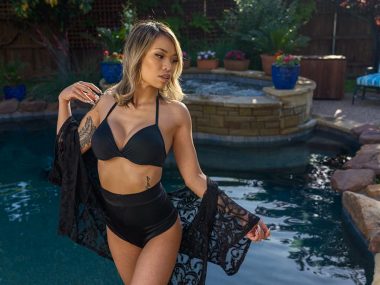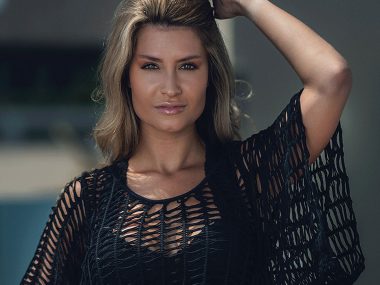
If you’re curious about prime lens portraits, then this photoshoot may be for you. I had the opportunity to do a small portrait shoot with local model Ashley.
If you started out like me, then maybe you’re looking to purchase and invest in more gear. I know I started with a single camera and lens combination, but I was able to grow this collection as my skills progressed. I was constantly looking for samples of prime lens portraits to see which one I wanted the most.
Fast forward 2 years and my collection has grown. I brought along my 35mm, 55mm and 85mm for this shoot and I wanted to share the results of each lens with you.
Introduction to Model
Ashley is a local interior designer in the Dallas, TX area. She has been modeling on the side and building her portfolio along the way.
I put together a small model call and she reached out because she was interested in the concept. I kept the shoot small and brought minimal gear along with me. I’m glad Ashley reached out, because I was able to get some great shots of her.
Photoshoot location
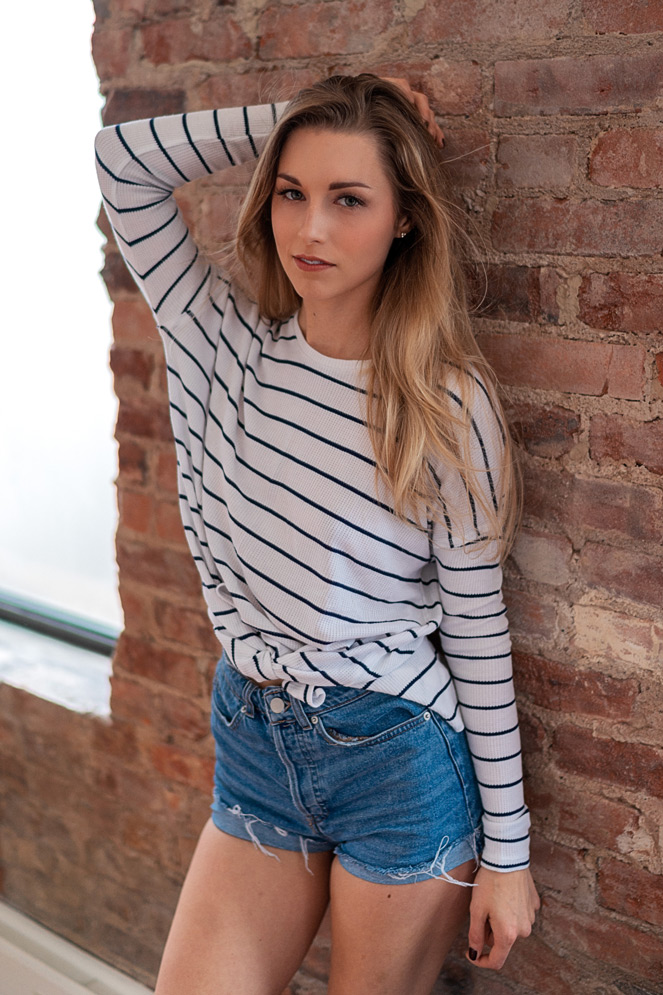
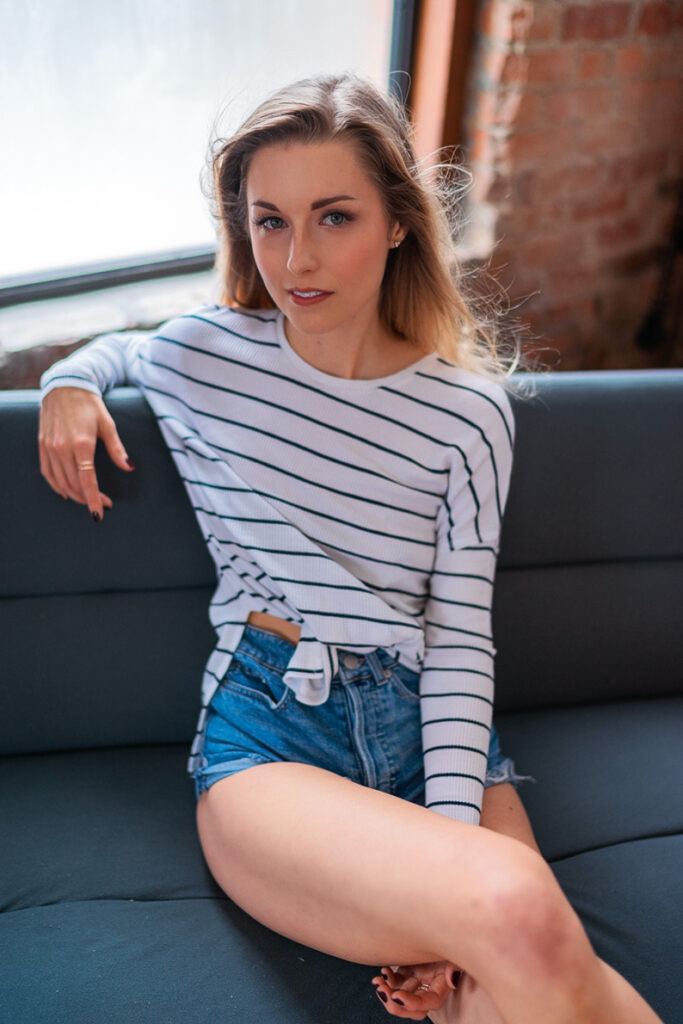
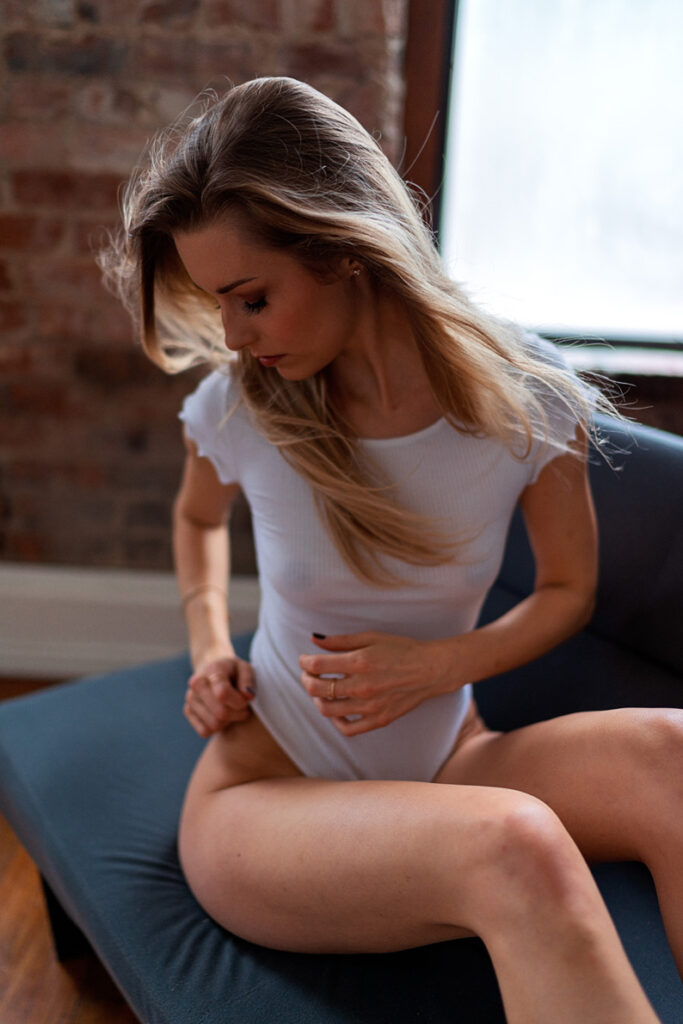
The location for the shoot was a small photography studio in the heart of Plano, TX. Just north of Dallas. The studio features 6 large windows, each frosted to give a light glow into the room.
The studio was surrounded by natural wood floors and an old reddish brick that lined most of the walls. It also features some small furniture that I utilized during the session.
Photography Gear
For this shoot, I have 2 cameras. The Sony a7 mirrorless camera and the Sony a7ii. I normally use one of the cameras as a backup but for this shoot I used both during the session so I can shoot with different lenses.
I also had 3 prime lenses that I used for this shoot.
Each lens has a unique look and characteristic so I wanted to use all three to get a variety of looks during the session.
No off-camera flash or reflectors were used for this shoot. I used only the natural ambient light coming into the studio.
[wptb id=5380] [wptb id=5294] [wptb id=5292]The Prime Lens Portrait – Gallery
Now that we’ve gone over the details, let’s check out the final edits from this session.
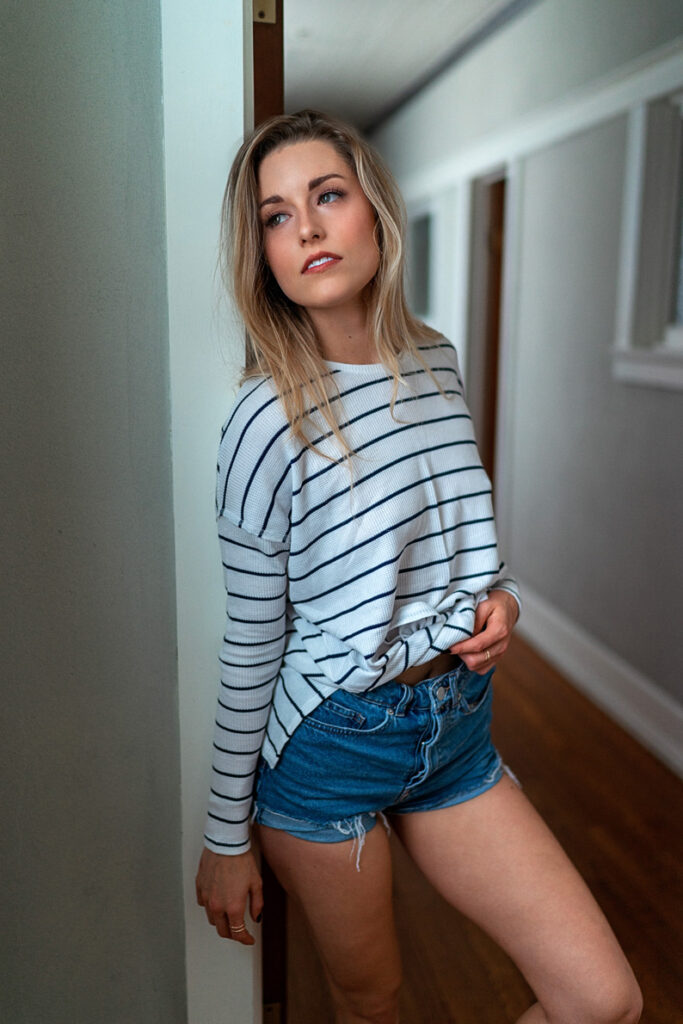
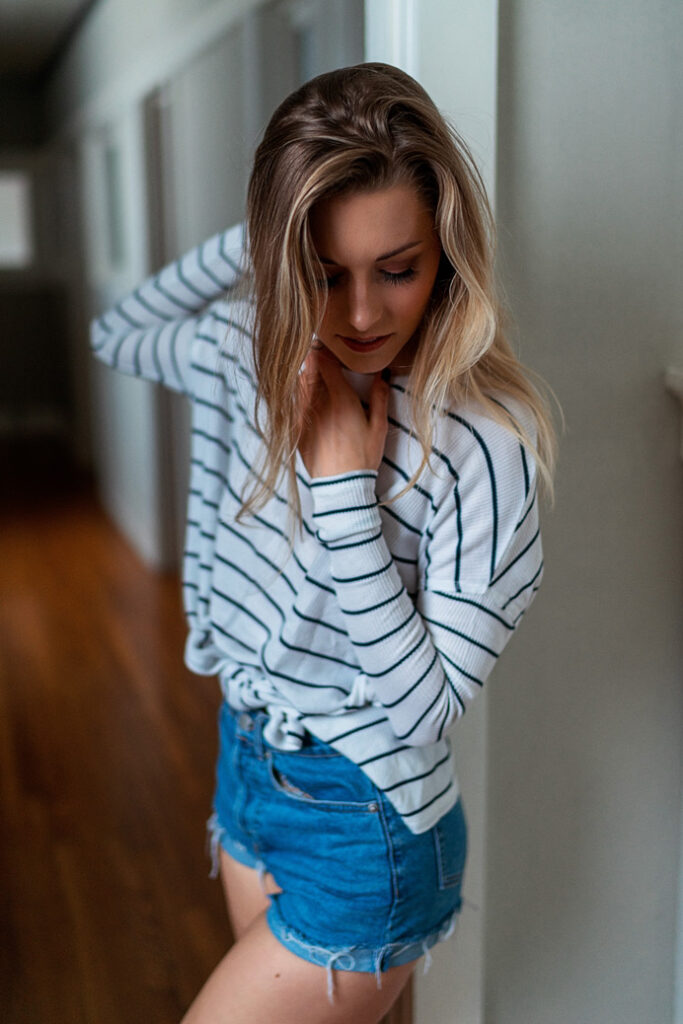
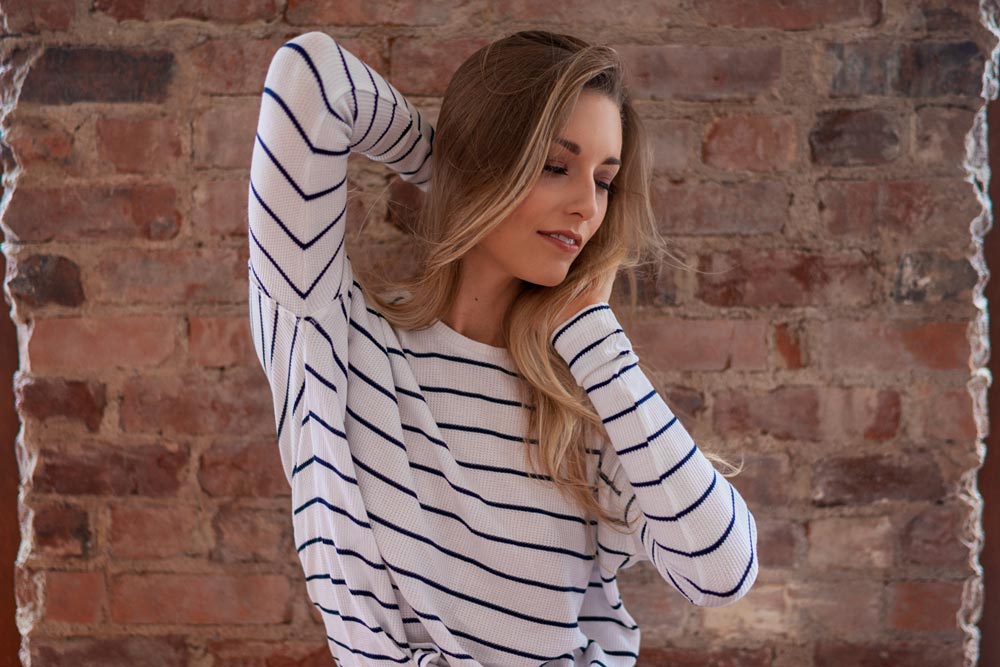
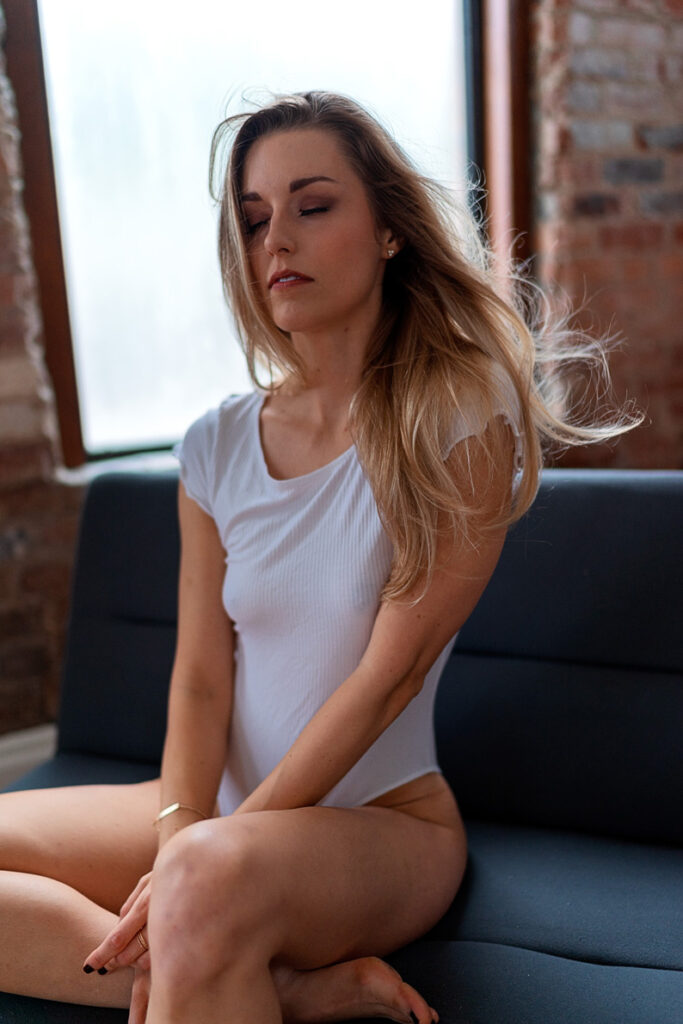
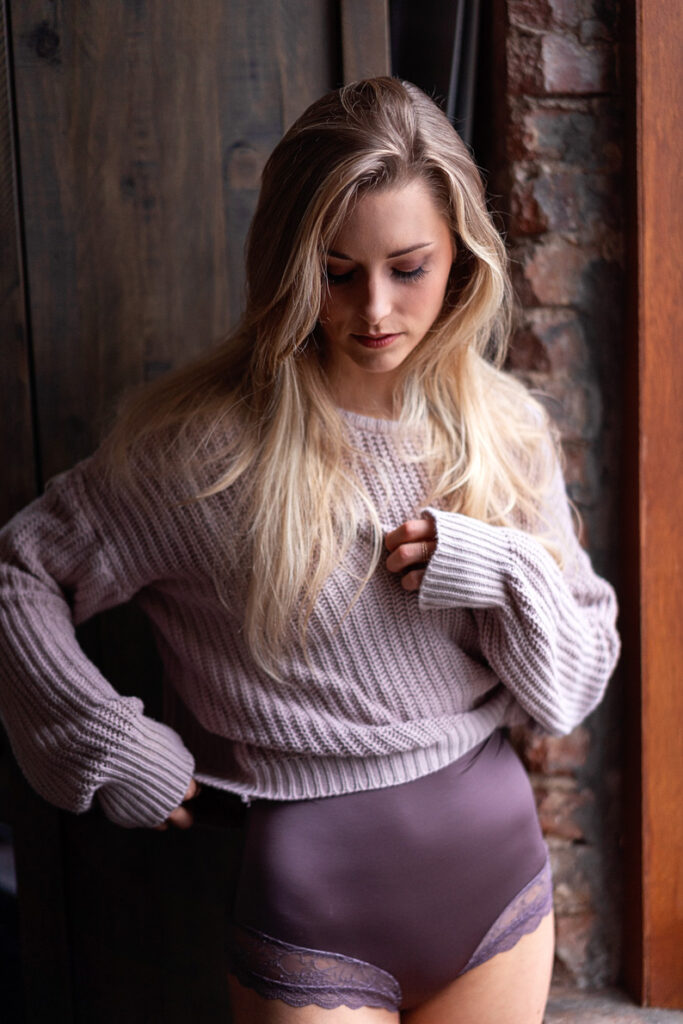
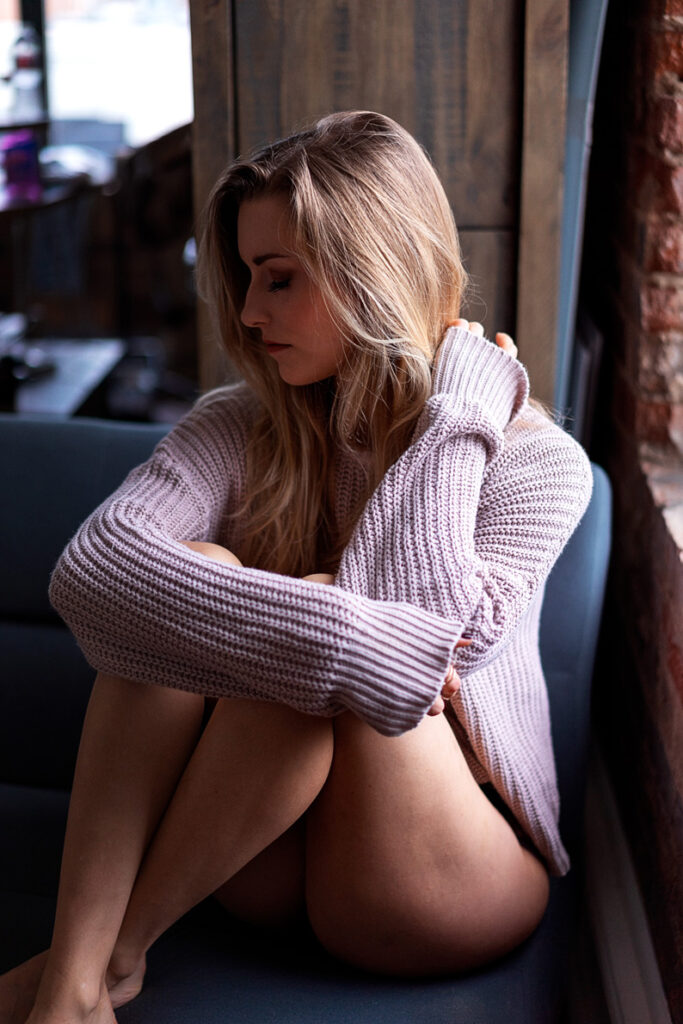
35mm Prime Lens Portraits
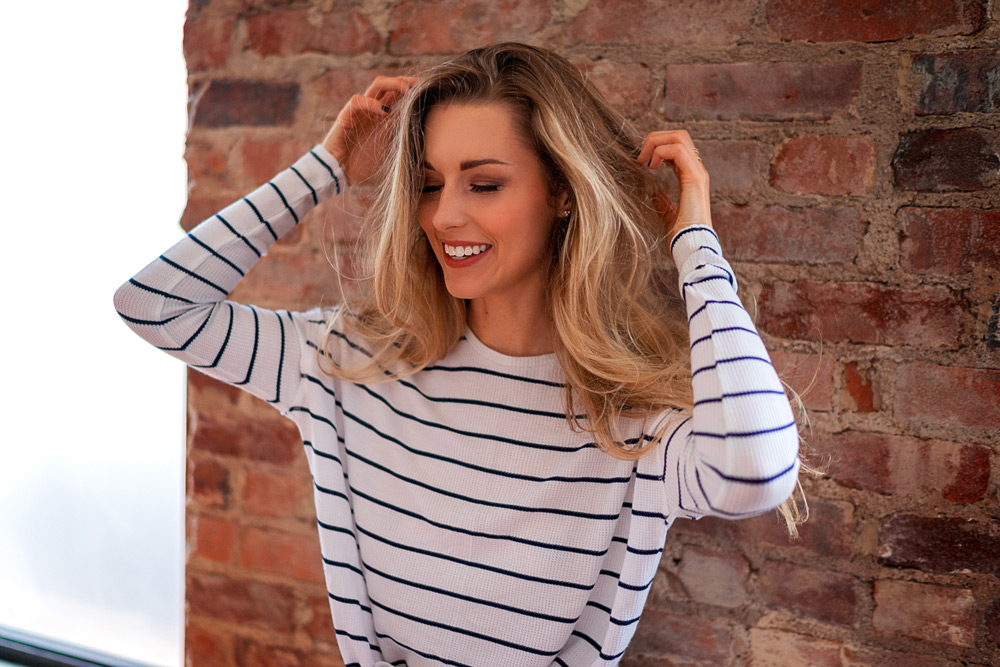
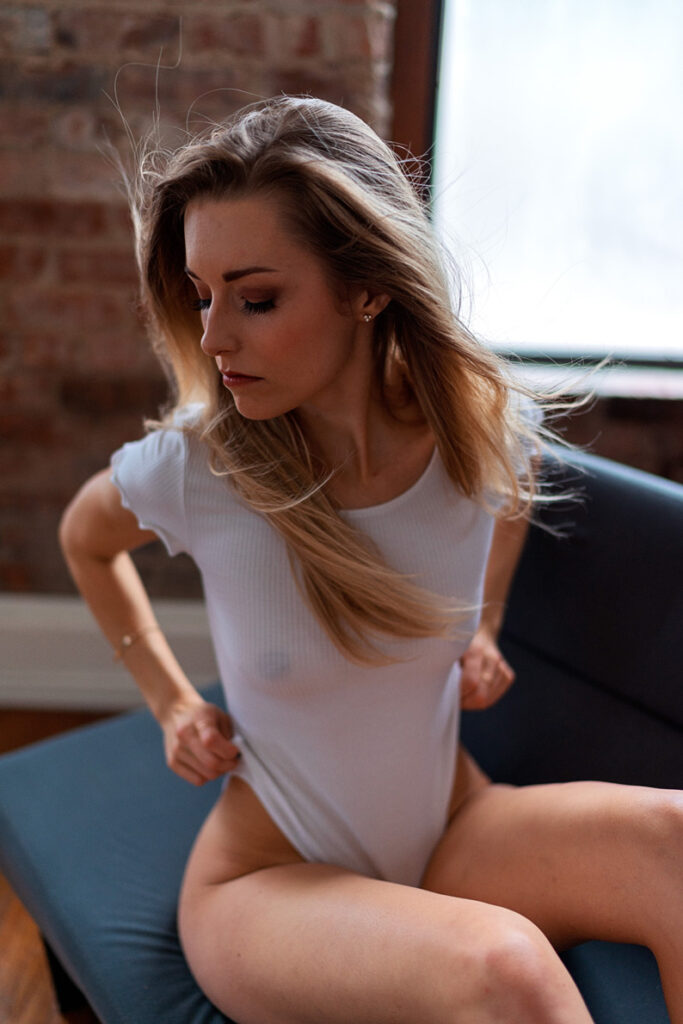
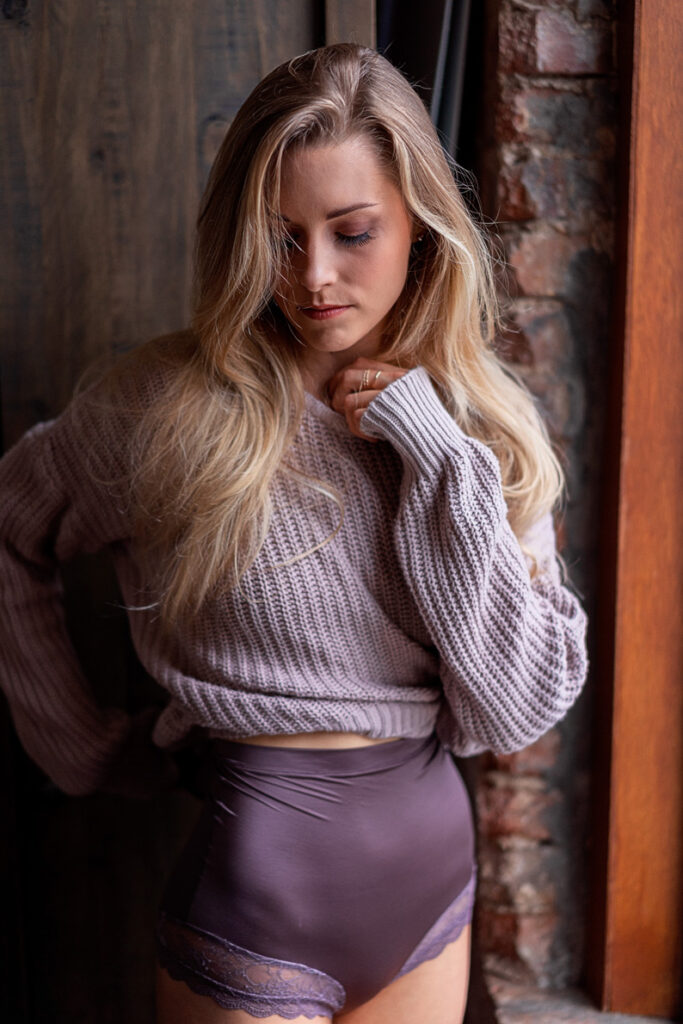
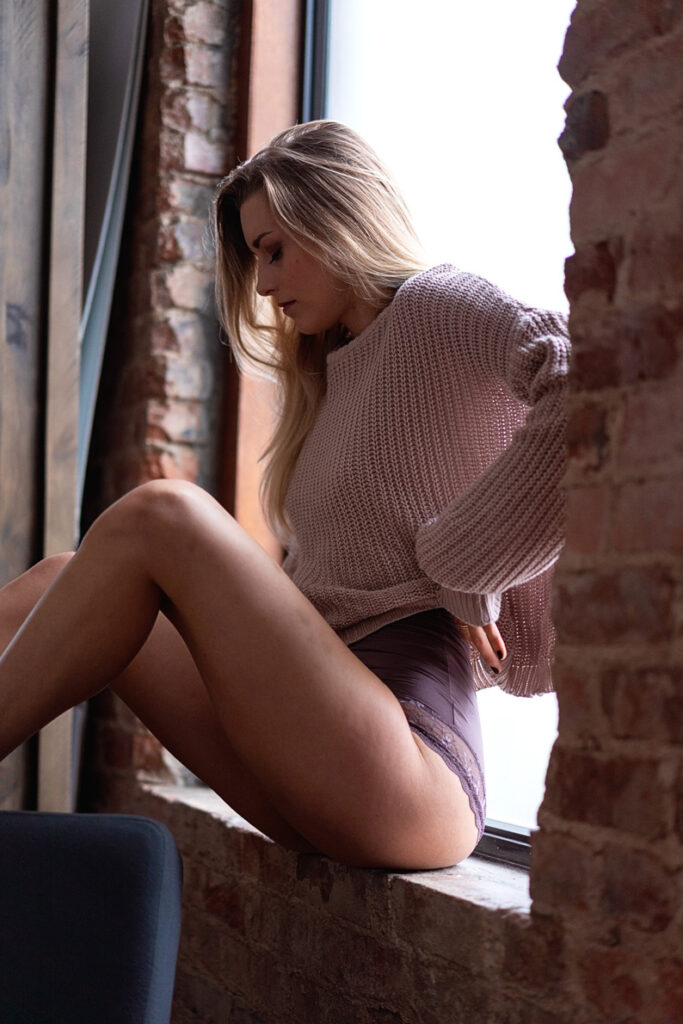
55mm Prime Lens Portraits
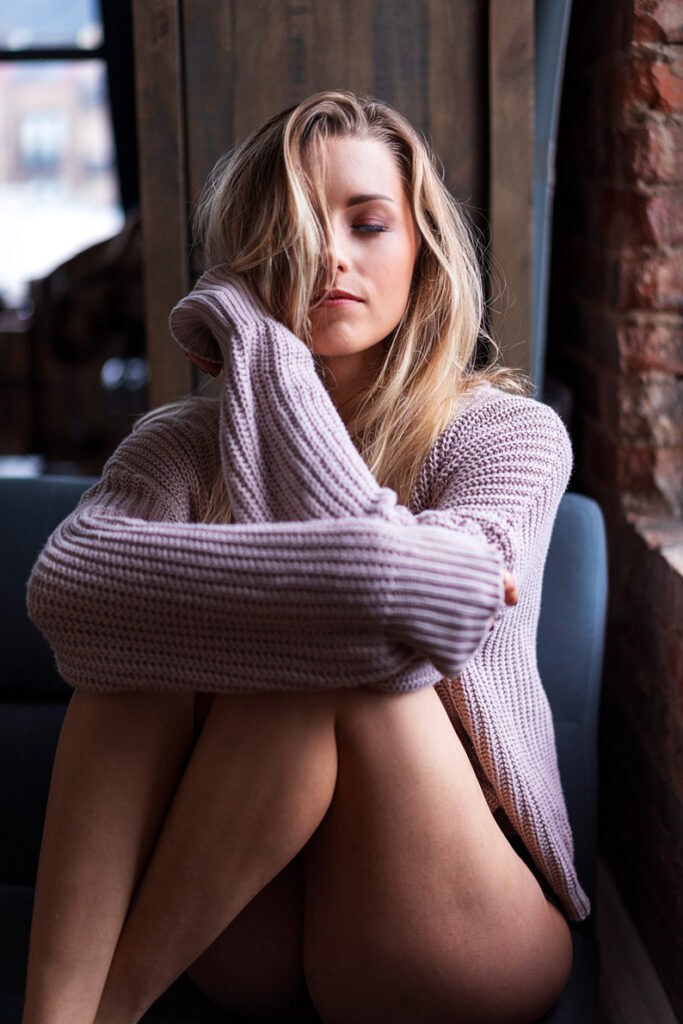
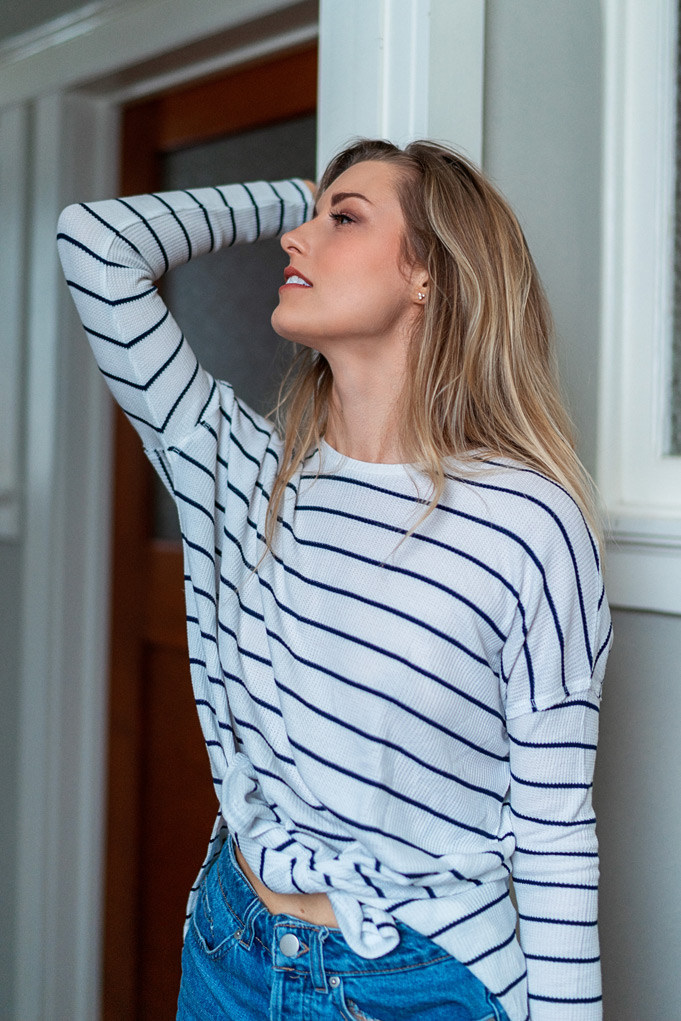
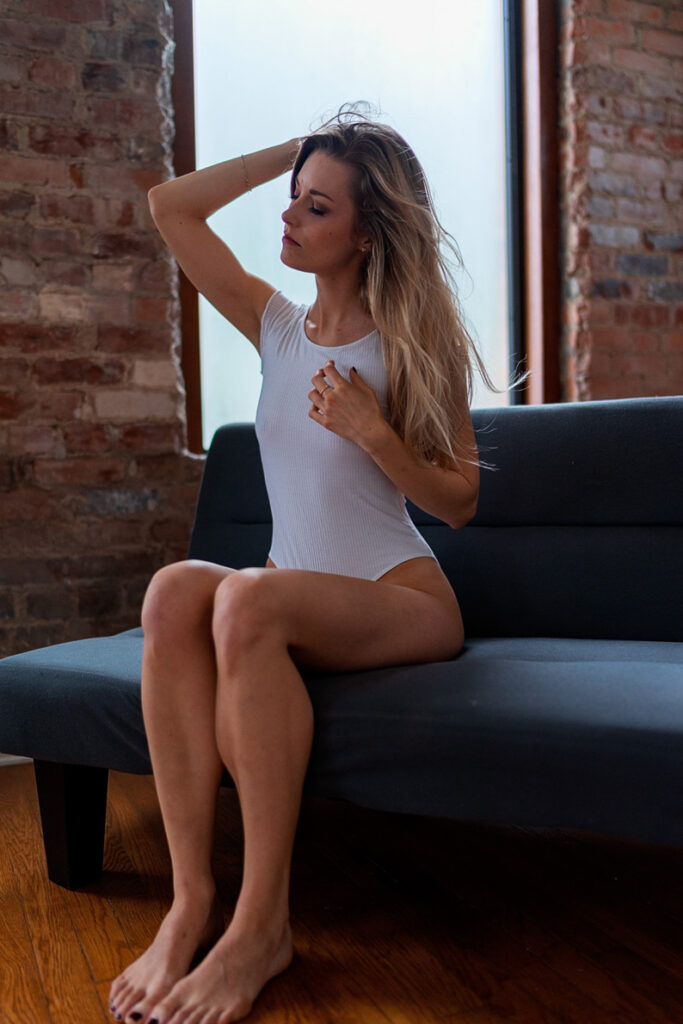
85mm Prime Lens Portraits
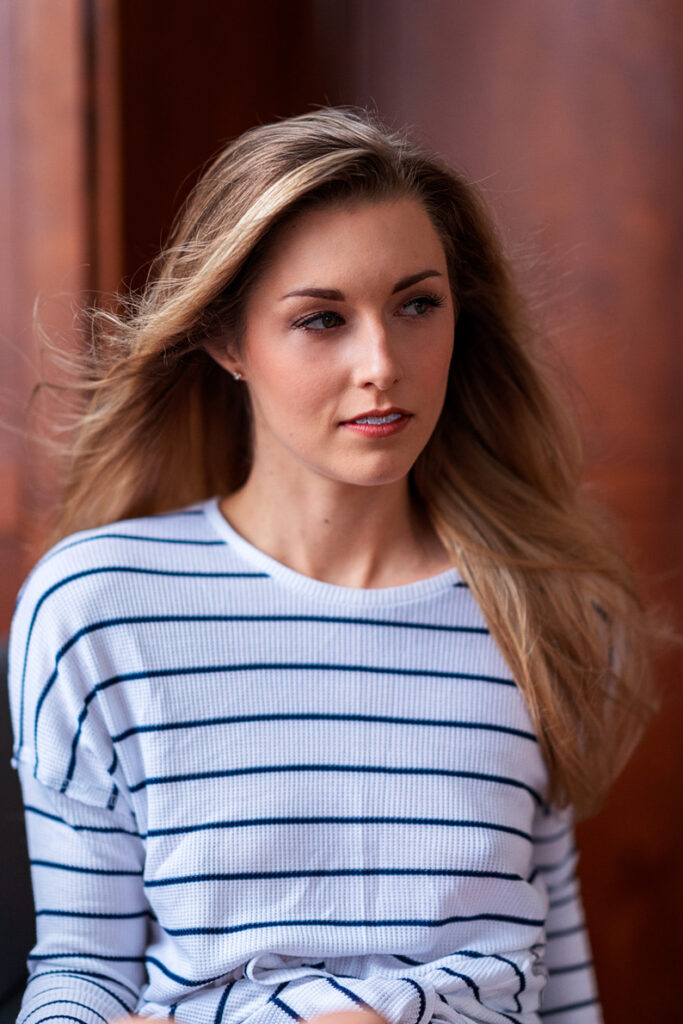
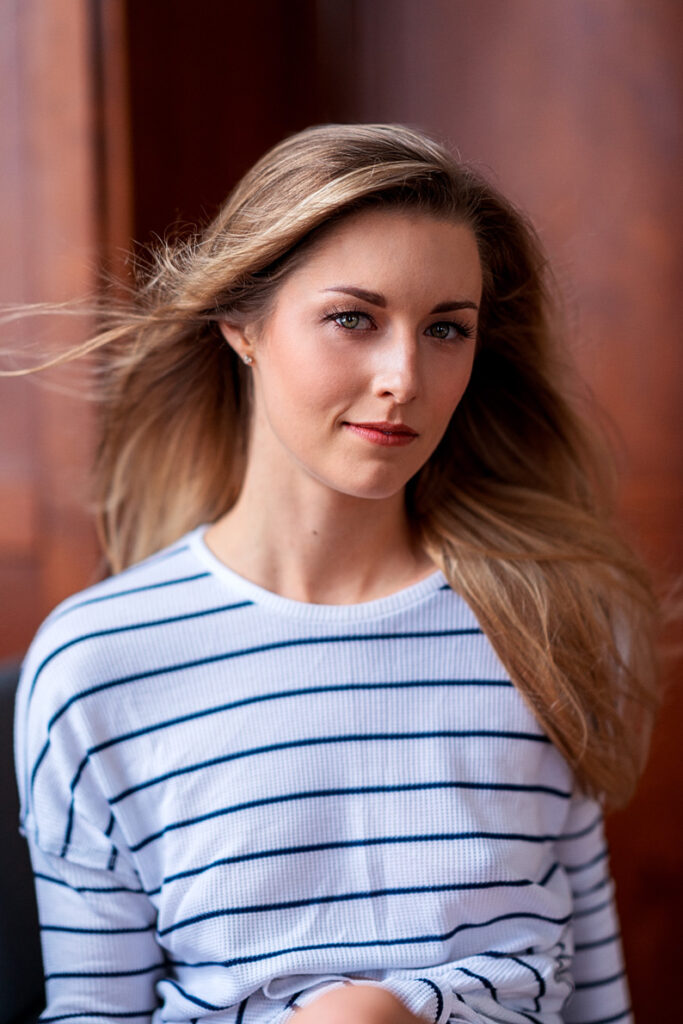

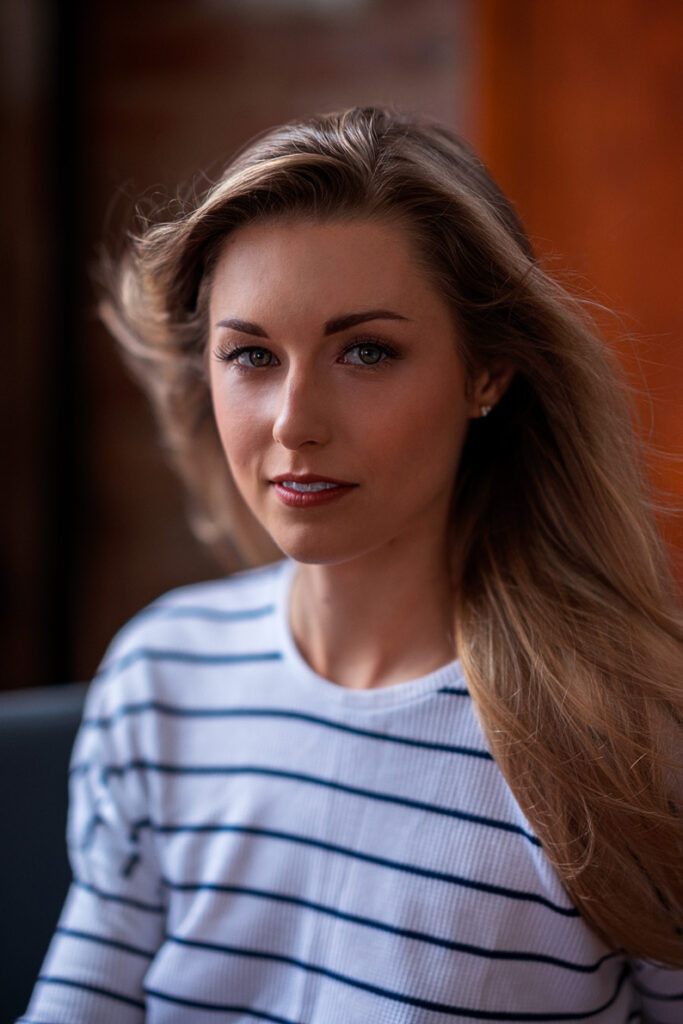
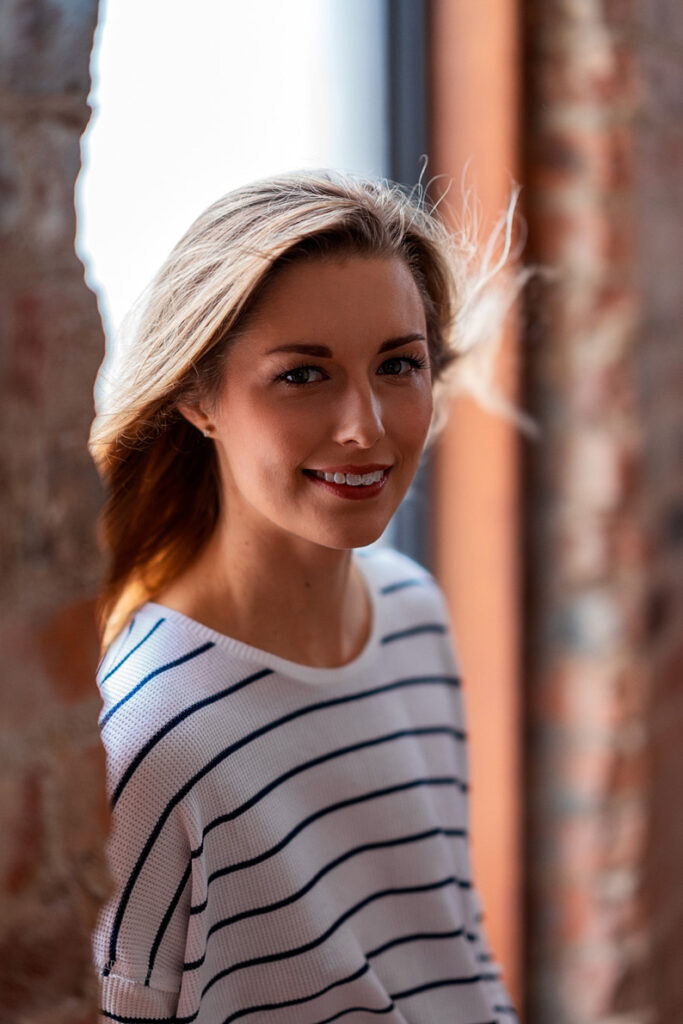
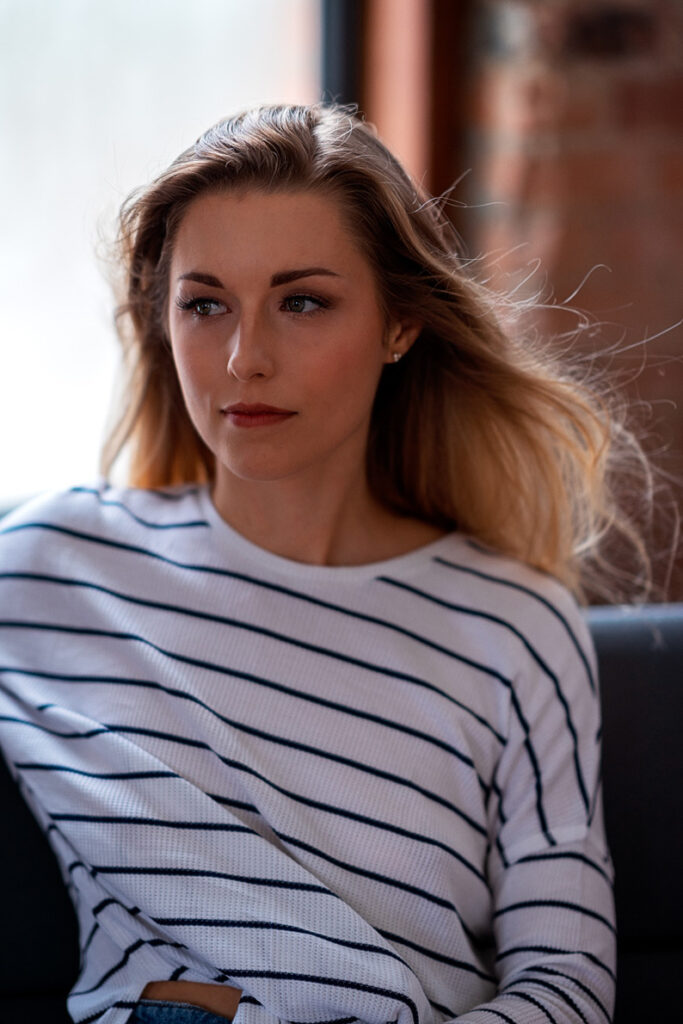
Photo Editing
All final photos were culled using my iMac and final photos were edited using Photoshop. If you’re interested in learning more about my editing process make sure to check out the article below.

What did I learn from this shoot
I really learned to slow down for this shoot. Normally I approach all portrait shoots with only one camera and one lens. I spend more time moving around and shooting fast.
For this session, I knew I was using different prime lens focal lengths so I wanted to really play to the strength of each lens.
I composed my shots and made sure to check and double check all my settings multiple times. Keeping the aperture wide open the whole time was a beginner mistake.
I kept the aperture wide open and new touched it again, but I wish I had stopped down to f2.8 or even f4.0 to get more in focus.
Which lens did I prefer
Switching lenses is never ideal when you are in a hurry, but if you have the time, you can get some great results from the diversity of each lens.
Of the three prime lenses I used for this shoot, I will say that the 35mm was my favorite for this particular session. I was able to get full body shots and wider shots due to the wider focal range.
I wanted to keep some of the background in the shot to help sell the casual nature of the shoot. Each lens performed great but overall I like the outcome of the Sony 35mm lens.
Conclusion
The shoot was a success. I got some amazing shots of Ashley and I know she loved the results. Once all editing was completed, I sent her a Dropbox link for her to download the final files.
Gear Mentioned In This Article
[wptb id=5380] [wptb id=5294] [wptb id=5292] [wptb id=5392][wptb id=3129]