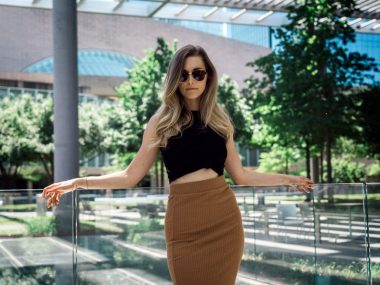
I remember clearly Sabrina reaching out over Instagram asking to collaborate on a portrait shoot. I wanted to see what 85mm portraits looked like and as a new photographer I was eager to test my new Sony 85mm f1.4 G Master portrait lens.
85mm Portraits
I’ve heard great things about using an 85mm lens for portraits, so I felt this would be a perfect time to test it out on a shoot.
The Sony 85mm f1.4 is a sharp lens with great image quality. I would not expect anything less for the price. The only downside is the size and weight of the lens on my Sony a7 camera.
[wptb id=5292]
The lens weighs around 1.8 lbs and it made my camera very front-heavy. But that’s really all I could complain about once I started taking photos.
Model introduction
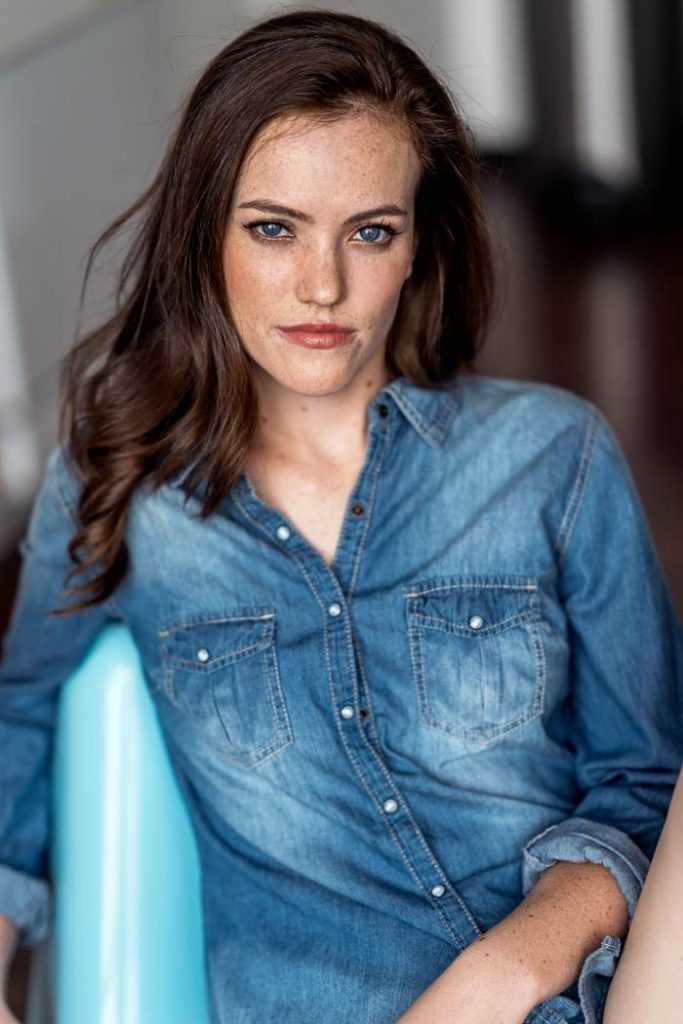
Sabrina is a local Dallas model that works with photographers around the Dallas Fort Worth area. She is a local student in college and looks to further her portfolio in modeling.
Our Makeup artist for the day was Isabel Gachrich. She did a great job in keeping the makeup soft and natural on Sabrina.
I requested the colors stay neutral for this shoot since I wanted a more casual lifestyle look for the photos.

Portrait shoot breakdown
This portrait shoot with Sabrina was an all-natural light shoot. I rented a small photography studio in Dallas for a few hours so we could get out of the hot sun.
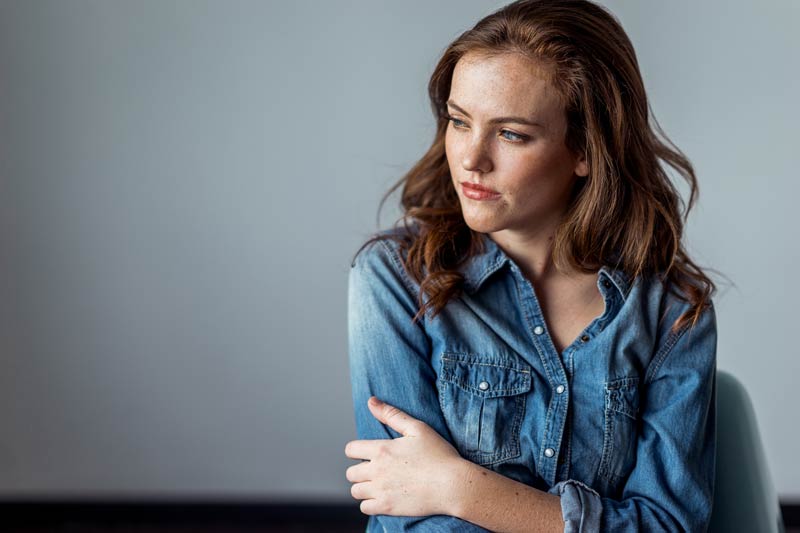
Large windows on a single wall let in plenty of natural light, filling the entire studio with a soft glow.
There was no need for any artificial light or flash on this shoot, so I kept that gear at home.
The majority of the studio was painted white, even the brick. The floors were pinkish-colored concrete. This created a small red and warm color cast that I would eventually edit out of my photos of my models that sat on the floor.
Portrait Shoot Wardrobe
Once the makeup was completed the team including the model, myself, and the makeup artist looked through the wardrobe that Sabrina provided for the shoot. We decided on a simple look that ended up being the main wardrobe for the first half of the shoot.
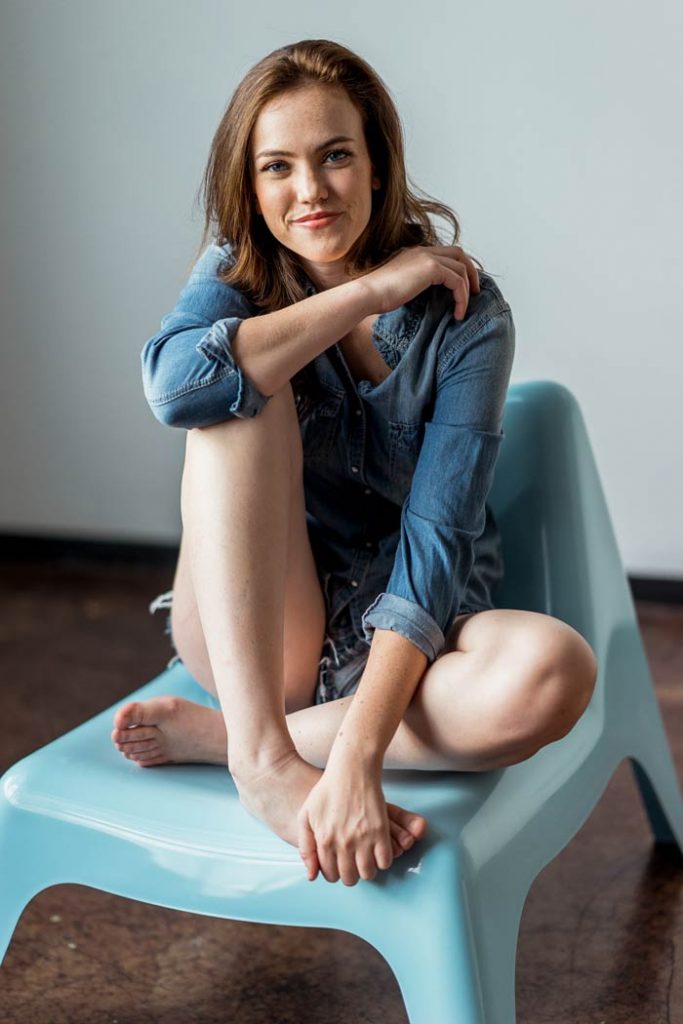
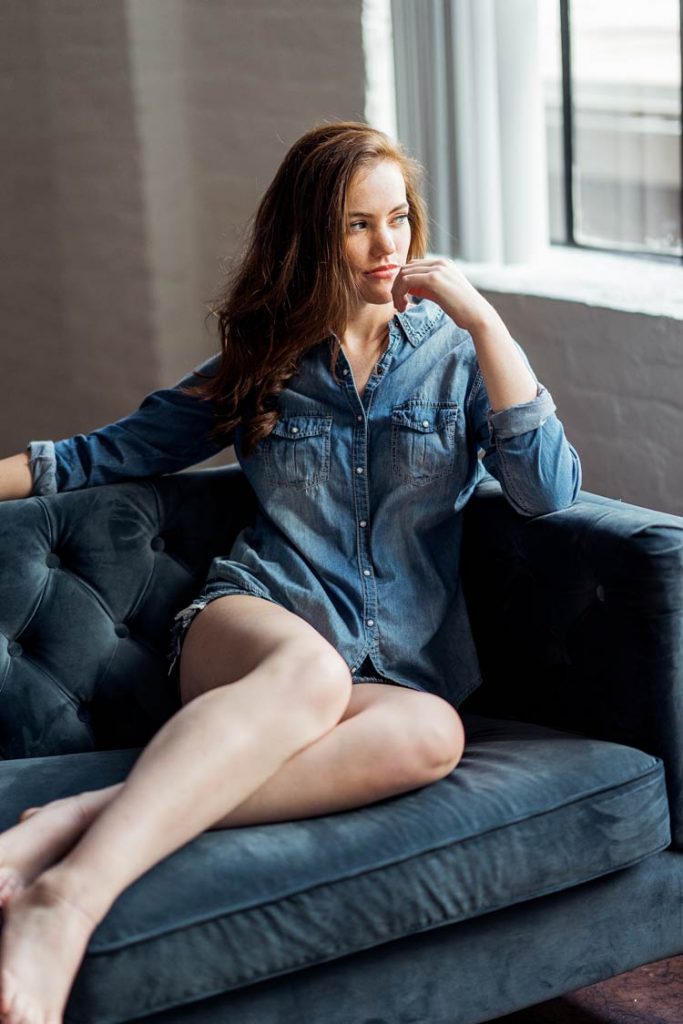
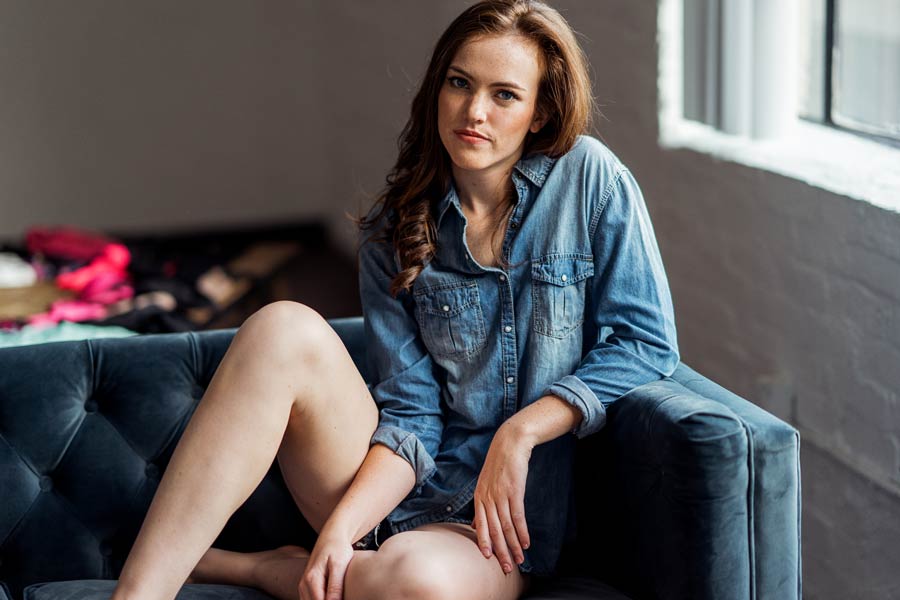
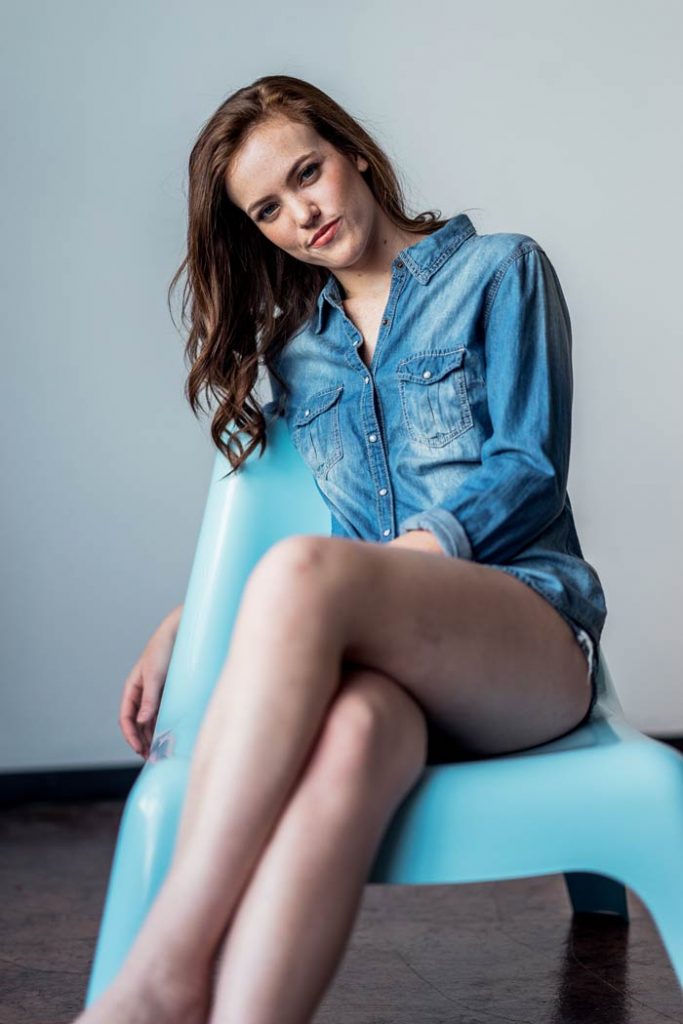
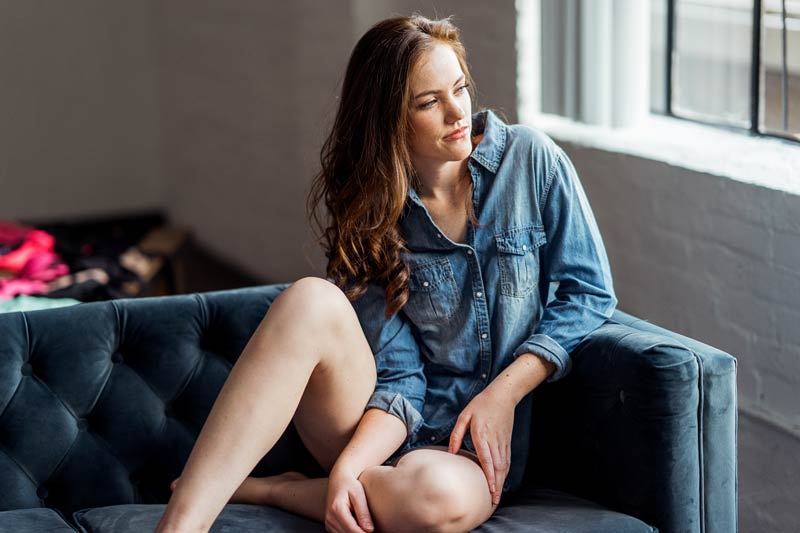
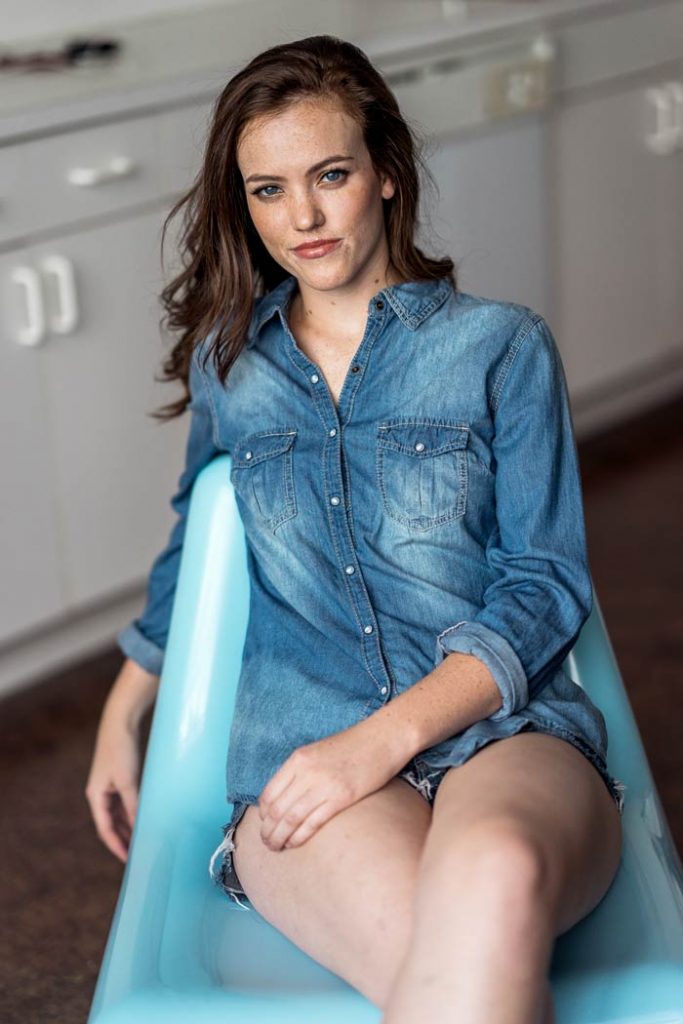
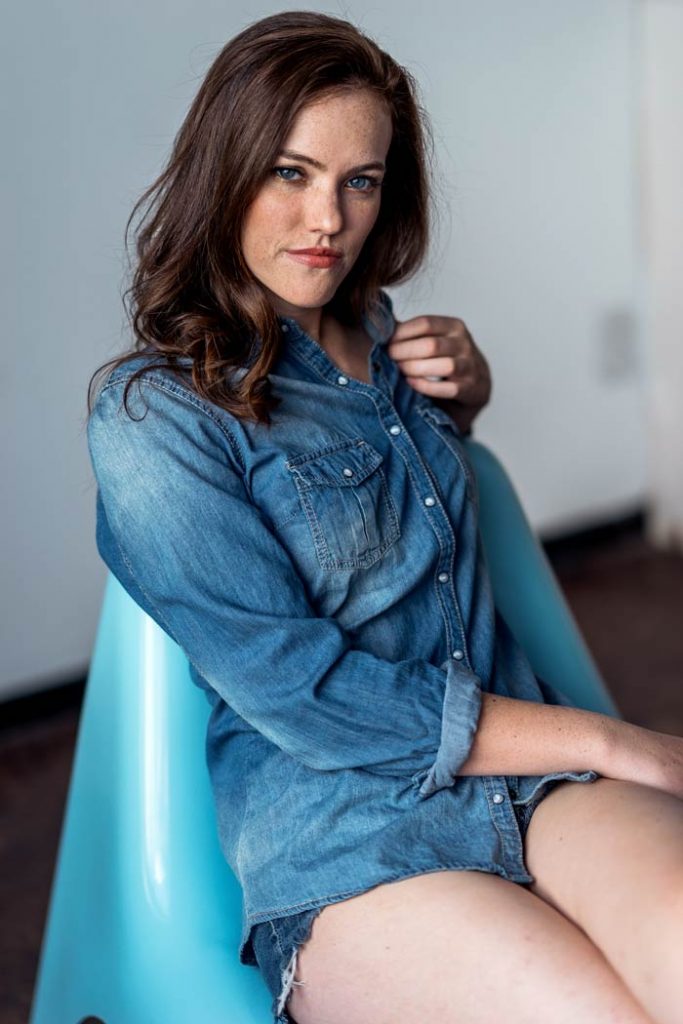
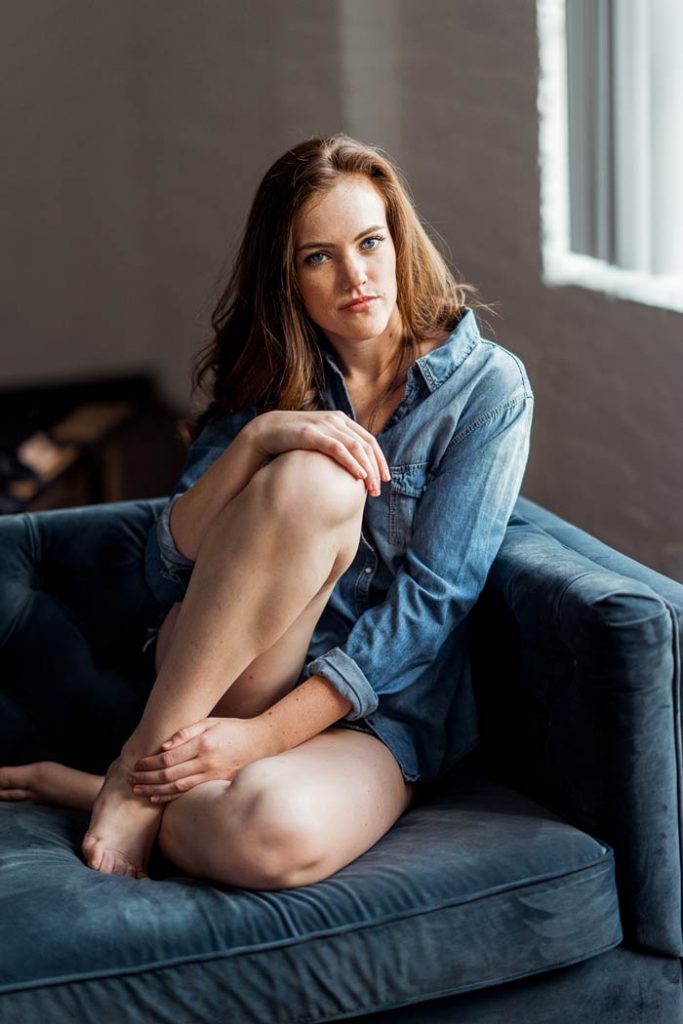
This was a simple blue long-sleeve shirt and torn shorts. The blue of this look really popped against the room. It also complemented Sabrina’s deep blue eyes.
Her eyes were the main focal point in the majority of the shots. It was hard not to feature them for each portrait shot as they stood out in a colorful way.
Moving Around The Studio
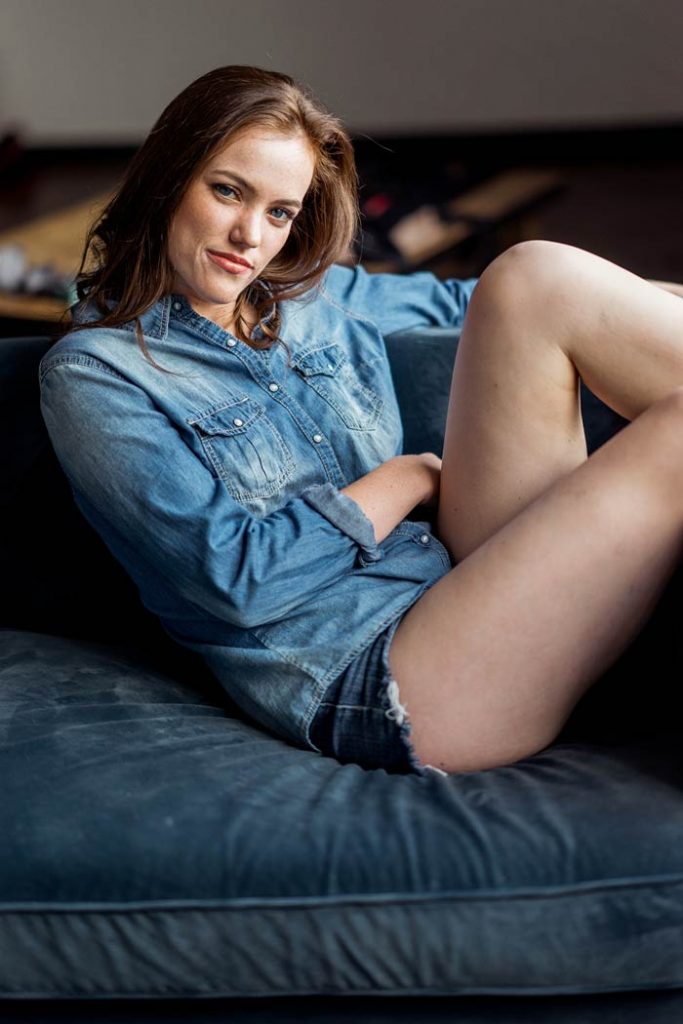
We moved around the room and Sabrina took the posing directions really well. We used some of the small furniture around the room including chairs, and one of the large couches.
I moved the chairs and couches towards the windows to maximize the lighting on my subject. I didn’t want to get too close so I kept Sabrina around 3-4 feet away from the windows.
There were no blinds or curtains to block the light, so I was cautious about the harsh light hitting my model.
Model Posing
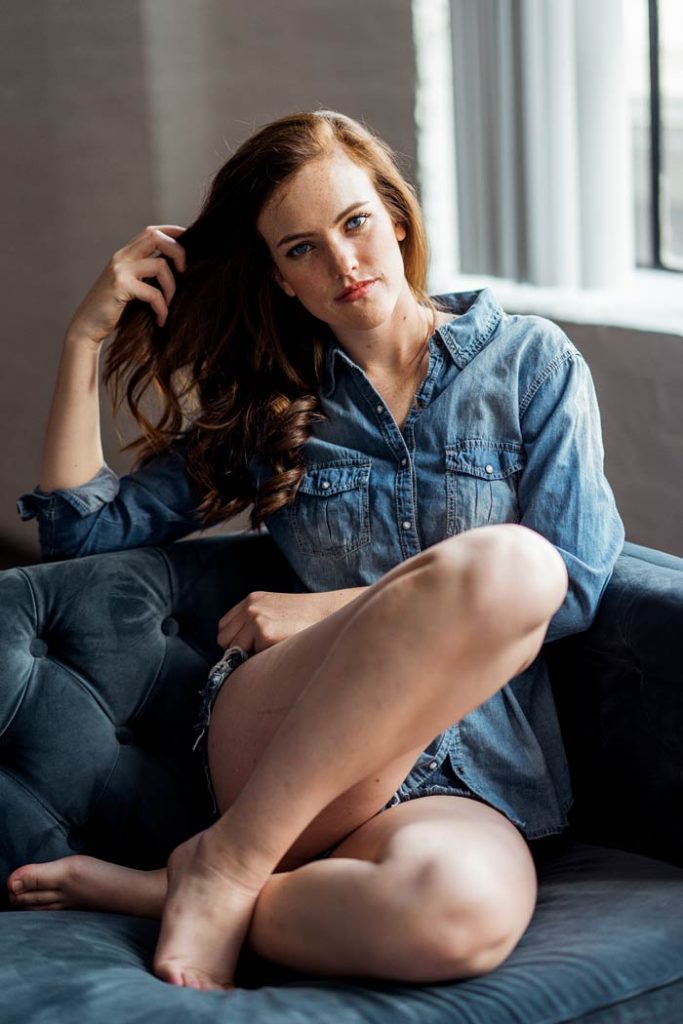
I directed Sabrina to make small movements. I wanted to use body contrast to if one arm was down, and the other was up. If one leg was down, the other was up.
This created visual interest in the shots even though she was not moving around much. She would wiggle her hands every few minutes to stop from tensing up.
From hair flips and jumping on the couch, I really enjoyed working with her on this model test shoot.
85mm natural light studio portraits – Gallery

What I would have done differently
The biggest regret I had was not having a photography reflector with me on this shoot. I think even a small silver or white reflector would have bounced more light back into the model’s face and body.
This would have added more details into the shadows and made it easier to bring back more details in post-production.
I also kept Sabrina in too many seated positions. I should have kept her moving around the room and grabbed shots of her walking or leaning against the walls.
Lessons learned for 85mm portraits
I was not very experienced with the 85mm and I noticed I pretty much kept my settings the same through most of the shoot. I shot at f1.4 for the majority of the shoot in order to see how well the focussing worked with shallow depth of field.
The lens and camera paired really well together to produce great-quality images. I had to keep my shutter speed slightly high in order to compensate for any camera shake I introduced from shooting hand-held.
- The Sony a7 doesn’t have IBIS so keep your shutter high in order to compensate for camera shake
- The 85mm has quick focus but did have some issues focusing during bright backlight situations.
- Have a photography reflector on hand to bounce more light back into the shadows
- Capture the model posing and moving around the room. This will add a more lifestyle feel to the shoot and give you more variety
- Focus on the eyes and let them be the center point of your composition
Final Thoughts
This TFP model test shoot with Sabrina provided me with an excellent opportunity to test new equipment. It also allows me to stay ahead in learning my camera’s abilities and limitations.
As a beginner, you should consider TFP portrait shoots for building your portfolio. Ask friends and family to get started. Then reach out to your local photography community and find more experienced models to work with.
Either way, best of luck, and happy shooting!
Gear Mentioned In This Article
[wptb id=5292] [wptb id=3129]