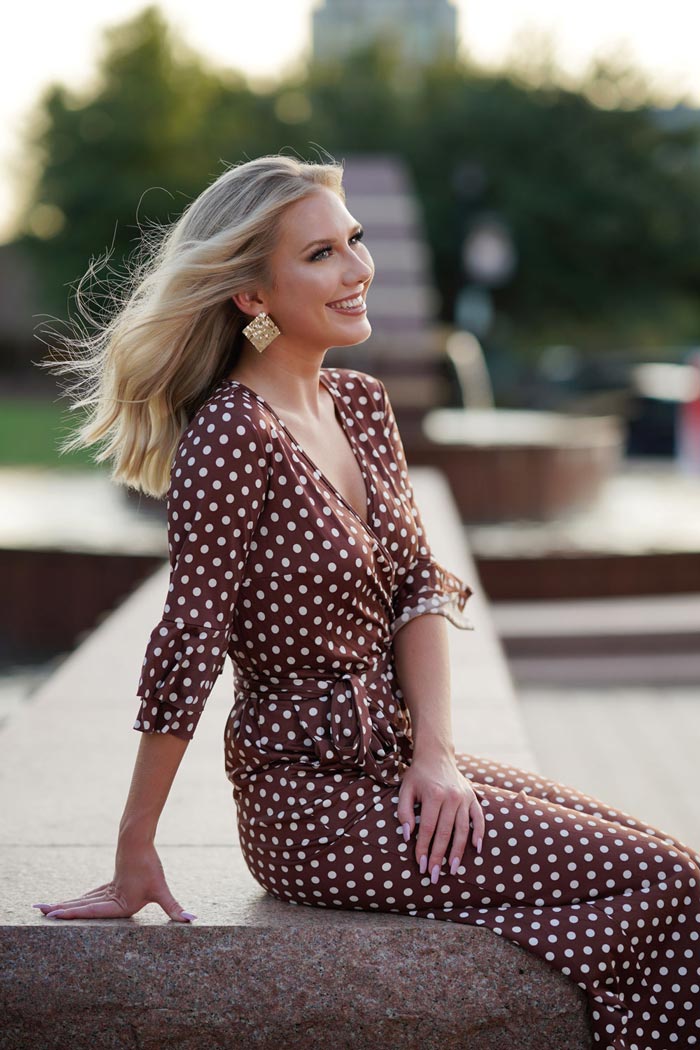
If you are worried about getting the perfect shot of your subject then let’s put your mind at ease. What is the best way to shoot a portraits? Every photographer is different but there are many ways to shoot a portrait shot.
Let’s go over a few things you need to plan for when trying to take the best portrait that you can.
What is the best way to shoot a portrait
The best way to shoot a portrait is to start with soft lighting on your subject. Move them around in your composition until the light is even across the face. Next, choose a background that is clear of distractions. Last adjust your settings in camera provide an even exposure and balance of ambient light in the scene.
Once these three parts of your composition are in place, you’re ready to take your image.
Now I know it can be a little more complicated than above. So, I’ve written in details all you need to know about the best way to shoot a portrait.
10 Steps to Better Portraits
- Decide on a location for your subject
- Make sure subject is dressed for the occasion
- Position the subject in the best lighting
- Comfortable posing is key to looking natural on camera
- 5. Try different angles to get the best shot
- Adjust your aperture (f-stop) for blurry background bokeh
- Focus on the eyes and the face
- Shoot during sunrise or sunset (golden hour)
- Use high speed sync flash for creative lighting
- Bonus Tip – Place the photos in your favorite editing program

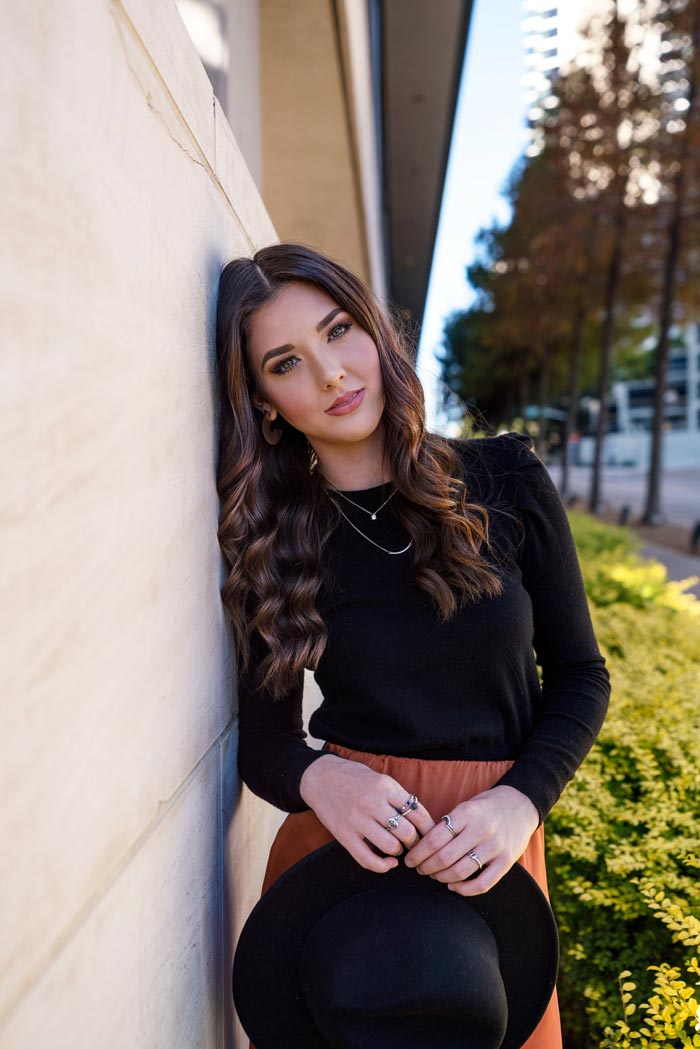
1. Decide on a location for your subject
When shooting portraits, the first step is to find a suitable location. Find a location that matches your concept or mood you want to convey in your image.
You don’t want to have a professional portrait staged in an alley way or garden. You want to have the subject in a professional setting or business environment.
For more of an urban feel, pick a downtown area with texture and neutral colors.
Make sure to find a location that is not busy. Find a location that will give you plenty of time to get the best shots.
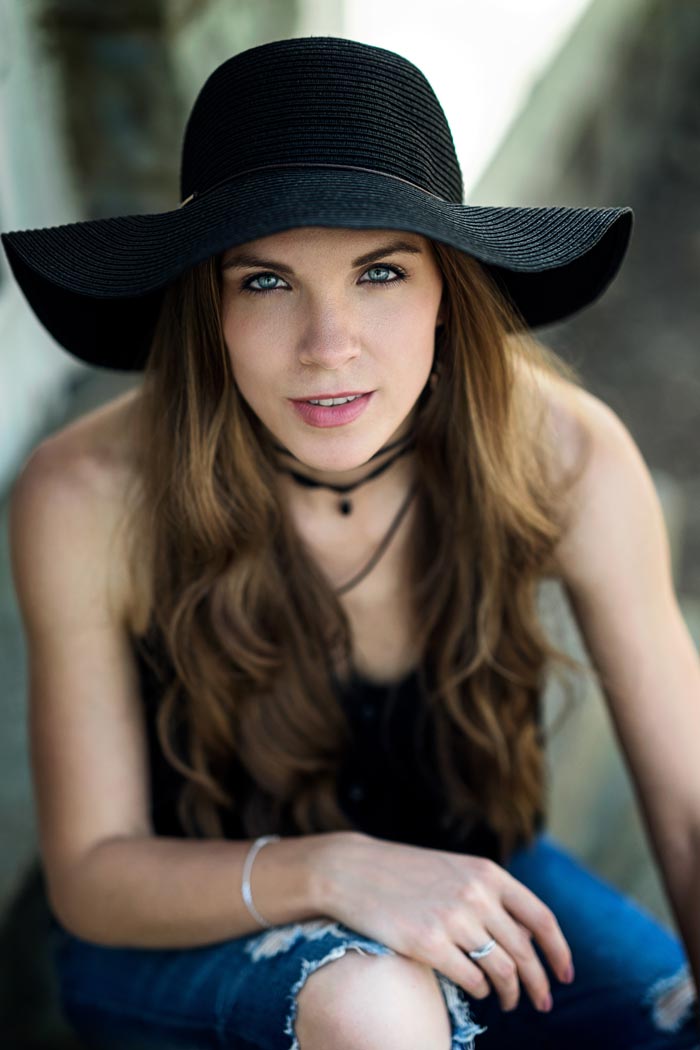
2. Make sure subject is dressed for the occasion
After you have a location in mind, next you will make sure to have your subject match the mood or concept for the shoot.
Again, if you are shooting professional business portraits, you want to make sure the subject is dressed in business attire. If you are shooting fashion or lifestyle portraits, make sure the model is dressed for this style.
It’s good practice to have the models bring at least 2-3 outfits so that you can get a variety of shots during your session. If you’re interested in learning about TFP shoots for portfolio building, then check out this article now.
They don’t have to be intricate outfits, as the tops can change, and the bottoms can stay the same.
This can make it easier and faster to get the variety they may be looking for.
3. Position the subject in the best lighting
Lighting is a key factor in portrait photography. Having good soft lighting will flatter your subject and bad lighting will draw unwanted attention.
If you’re shooting natural light, I recommend placing your subject in the shadows out of the direct sunlight. This will minimize harsh shadows on the face and body.
Use large white or light colored surfaces to your advantage. These can bounce light back into your subjects face and draw more attention to the model.
If you’re using flash, then place your subject in an area that you will have enough space to setup your lighting.
Make sure the background is not too bright and that you balance highlights and shadows in the image.
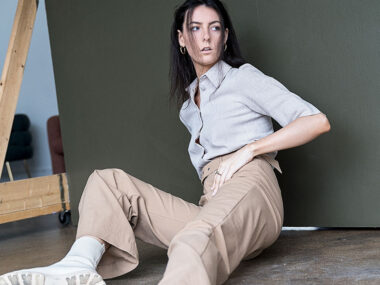
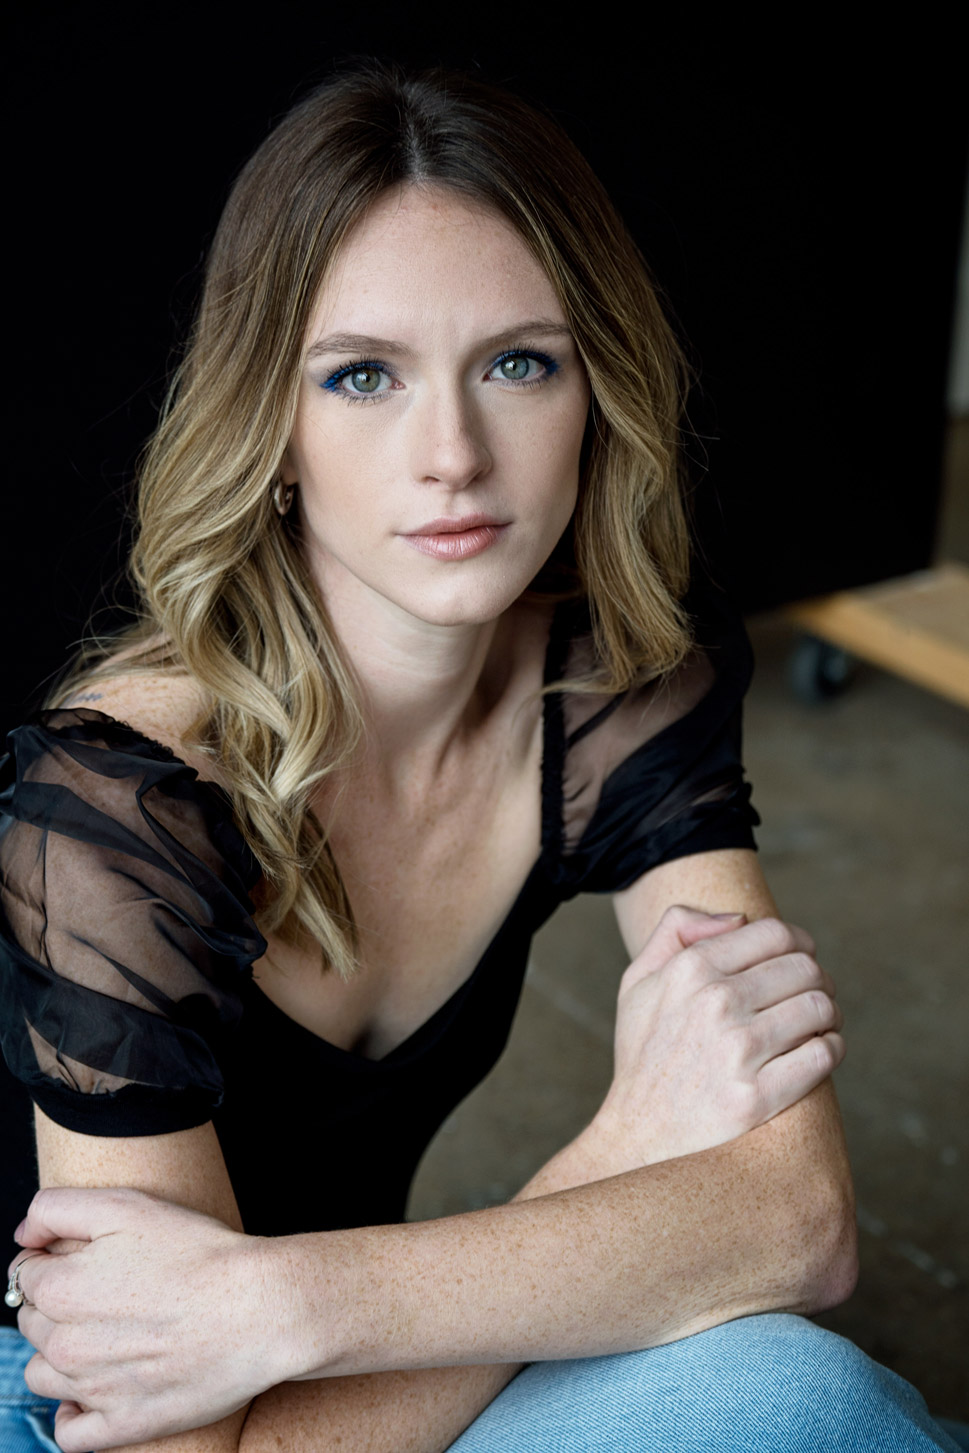
4. Comfortable posing is key to looking natural on camera
Once you have your lighting in place, next you need to work on posing your subject. You will want to make them look as natural as possible in front of the camera.
Ask the model or subject if they have a favorite side of their face. Many people do and they will let you know right away.
Face the subject towards the light and ask them to relax their shoulders and hips.
If this is a standing pose, have the model lean their weight from one side to the other. This keeps them from getting stiff.
If this is a sitting pose, have the models sit and relay their arms and legs. Ask them to sit naturally and then more their body from there.
As a photographer you want to be able to show the model different poses if they’re not comfortable getting into position on their own.
Make sure hands and facial features look relaxed and not stiff.
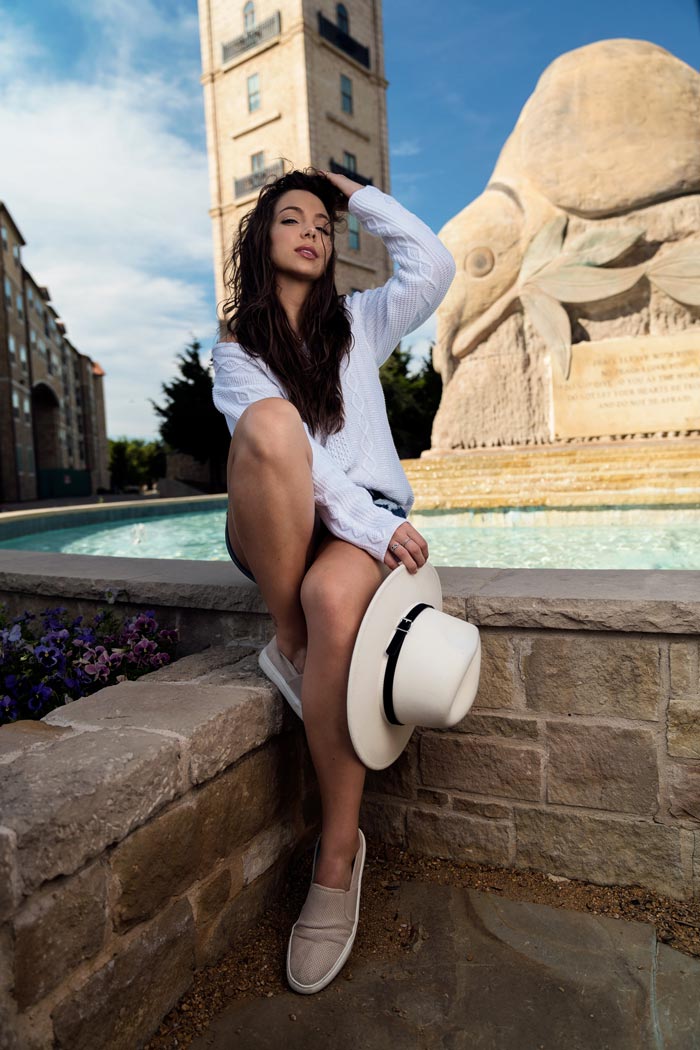
5. Try different angles to get the best shot
Once you have the subject in place and posing down, it’s time to get your shots.
Start by shooting at eye level with your subject and then working around them. You can go lower for a more dynamic shot.
Have the subject face the lighting directly and also look off at a 45 degree angle from the camera.
If you’re using flash, have the subjects close to the lighting so you can capture the flash in the eyes. These ads a small natural highlight in the pupils and gives a more interesting look.
Make sure to slow down and take your time with flash photography.
Remember the flash will be filling the subject’s eyes so you want to slow down and give them a chance to recalibrate their vision from the flash.
6. Adjust your aperture (f-stop) for blurry background bokeh
Now it’s time to experiment with your aperture. You can achieve a smaller depth of field with your subject by opening up your aperture and shooting wide open.
Many prime lenses like the 50mm or 85mm will go to f1.8 or higher. Open your aperture to the widest setting and adjust your shutter speed and ISO as needed to compensate for the exposure.
Take a few test shots and see how the background starts to melt away. Again, keep in mind that shooting wide open will decrease the depth of field so you will have to make sure the eyes and face are in focus.
If you have limited space on location, you can also stop down on your aperture to f2.8 or even f4.0 to get background blur and clear subject separation.
The best way to get the shot is to experiment with different angles and backgrounds so you can find the most pleasing background blur possible.
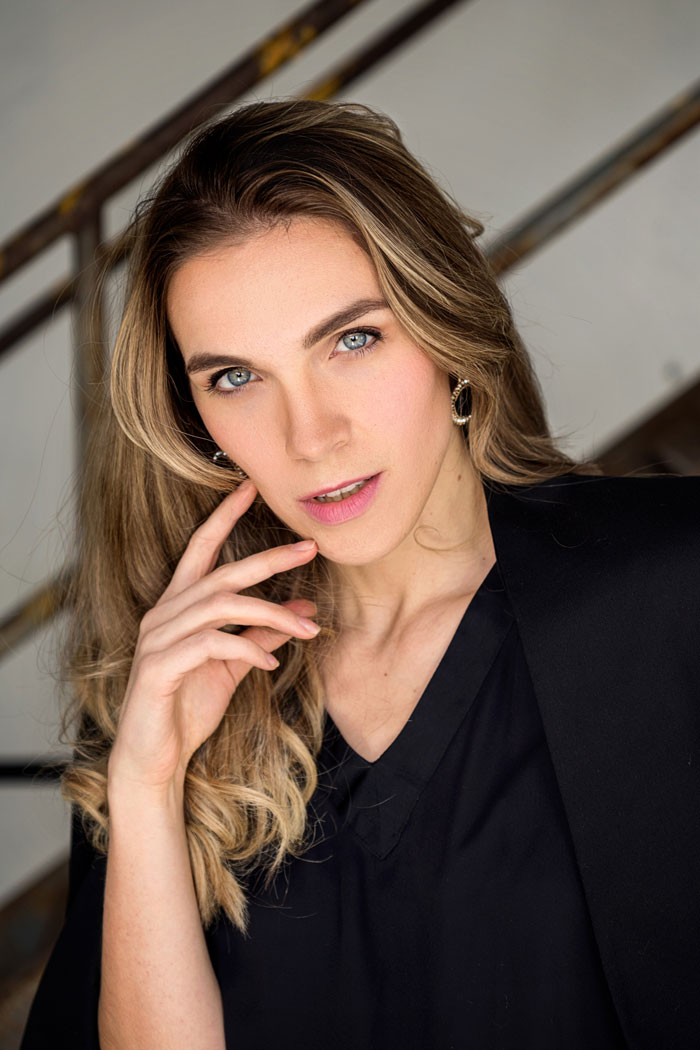
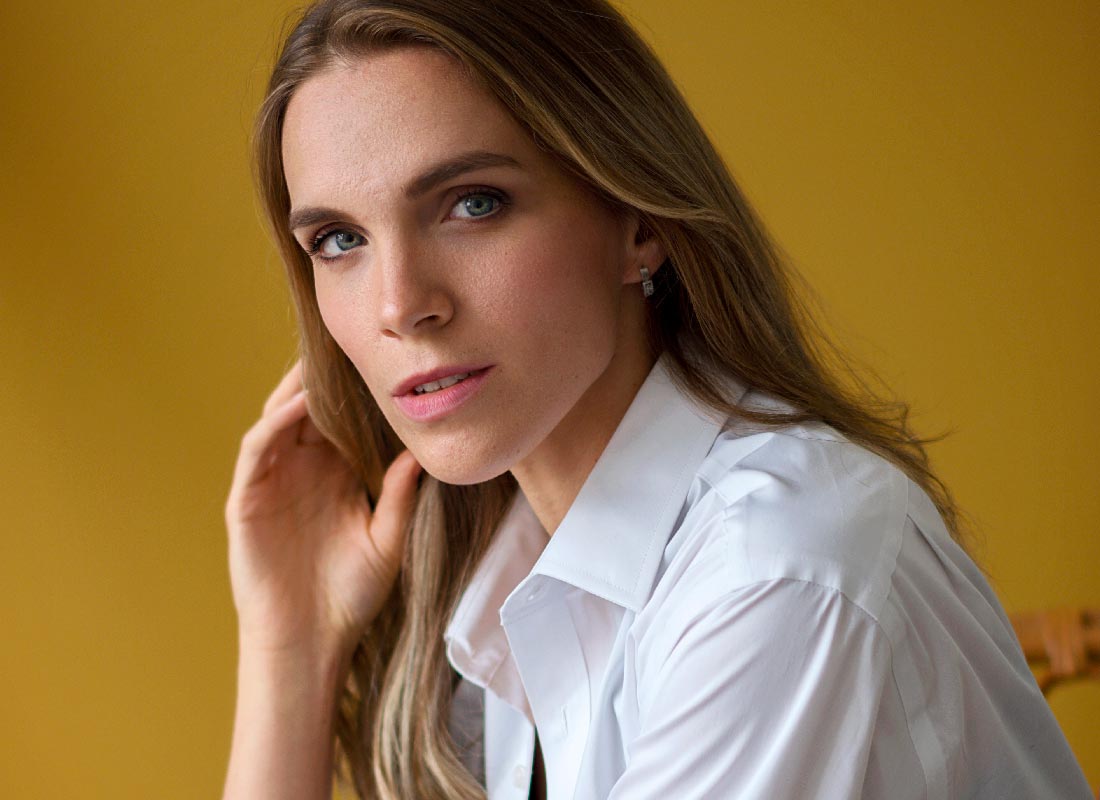
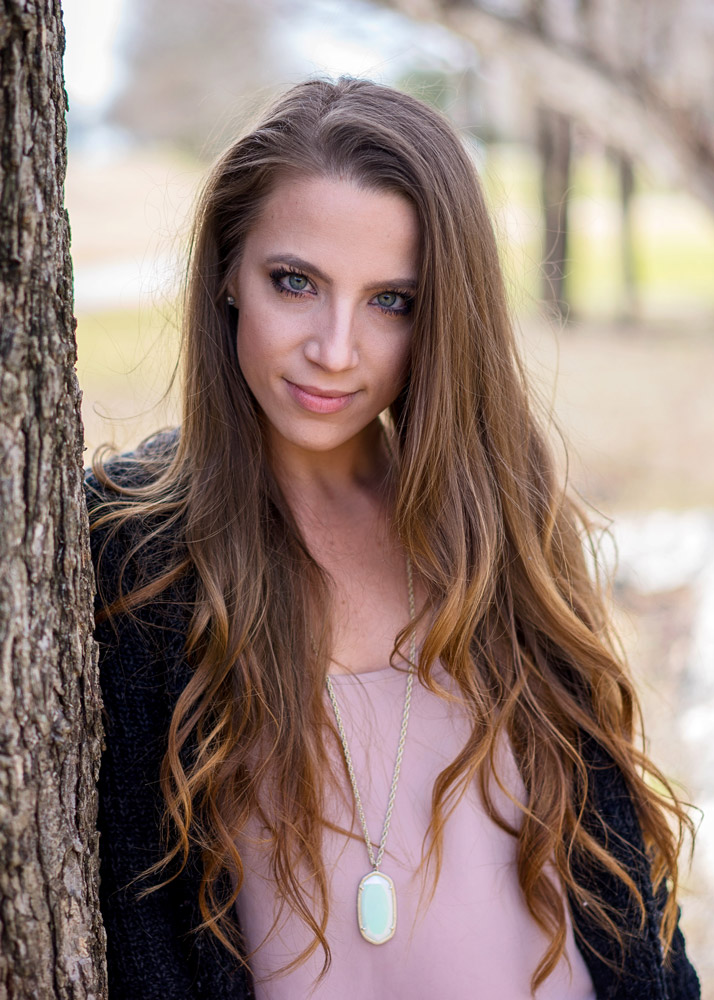
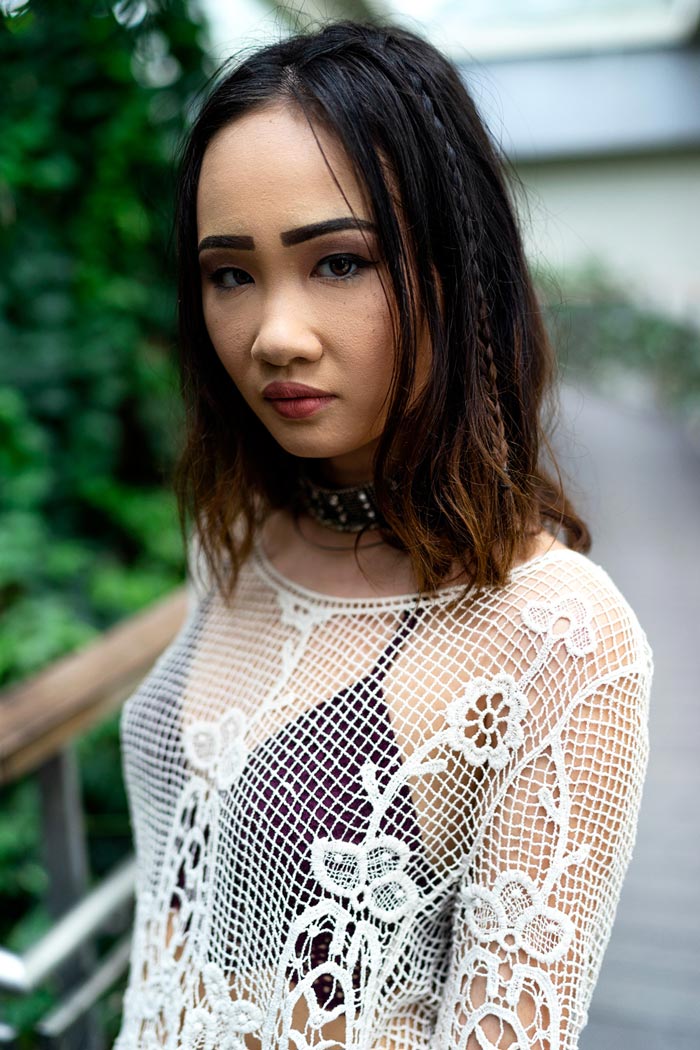
7. Focus on the eyes and the face
When shooting portraits, you will want to make sure you are hyper focused on the eyes of your subject. It’s a good habit to double check your shots are in focus when shooting at higher apertures.
If your subject is facing you with both eyes on an even plane, then you will have a higher chance of nailing focus on both eyes.
If your subject is at an angle, you will want to make sure to stop down on your aperture so you have a larger depth of field and you can get more in focus.
Many people will pose their bodies and faces to one side or the other and this puts the eyes in different focal planes.
One eye will be closer to the camera than the other so keep an eye on your focus points (no pun intended)
8. Shoot during sunrise or sunset (golden hour)
If you want a more dynamic look with natural light, then shoot during sunrise or sunset. The sun is positioned lower to the horizon and this gives you more of a direct light on your subject’s face eliminating the shadows under the eyes.
The lower the sun is positioned in the sky, then better and softer light you will get in your portraits.
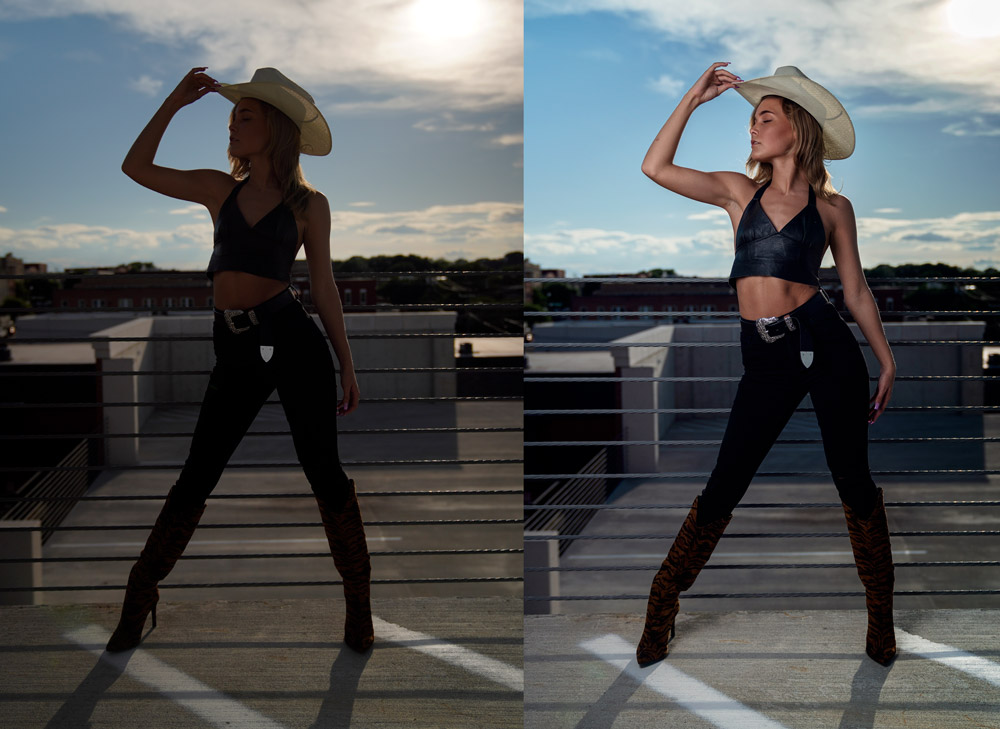
9. Use high speed sync flash for creative lighting
If you are shooting with flash or strobes, then expose for the background behind the subject and then go 1-2stops under exposed.
Then turn on your main light and evenly light your subject. This will give you contrast in your lighting and your subject will appear brighter and more defined in the portrait.
The best way camera is the one you have with you
If you are just starting with photography, then remember these tips and use the camera you have with you. Adjust your subject to put them in the best location you can find.
Make sure your lighting is even and not harsh on the face. Adjust your settings in camera to focus on the eyes and face of your model.
Once you have a few traditional portraits, try moving around and getting higher or lower than your subject.
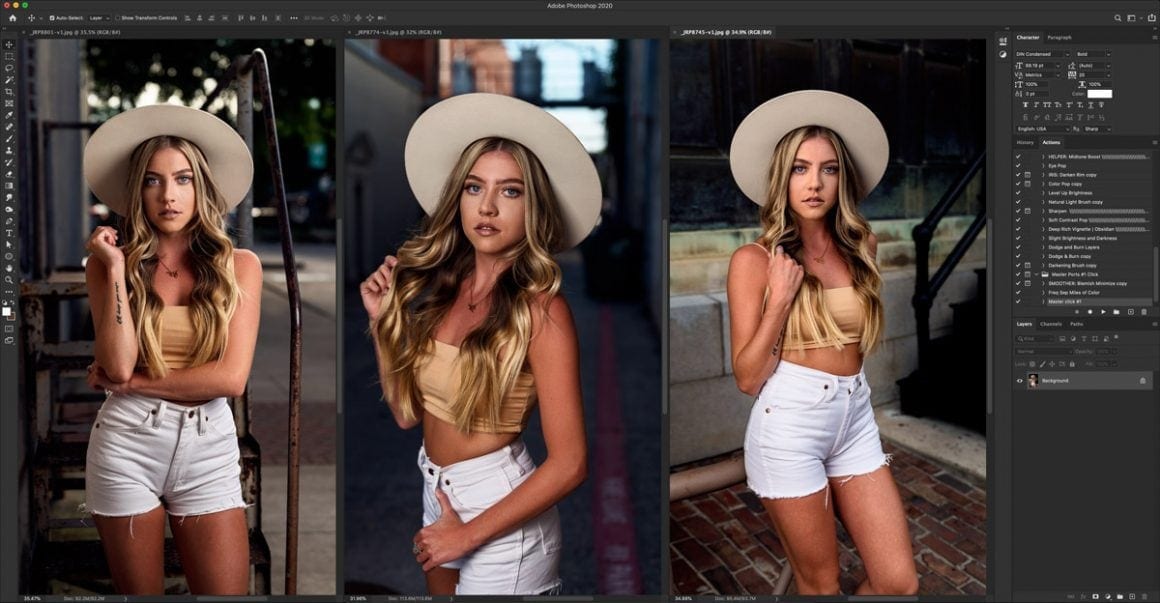
10. Bonus Tip – Place the photos in your favorite editing program
After the photos have been taken, place the photos in your favorite editing program and remove any unwanted background distractions.
Once all distractions are gone, adjust highlights and shadows and bring out more details in your photo. Don’t go overboard on editing and find a balance of colors and style that fit your aesthetic.
Now you know the best way to shoot a portrait
Now that you know these tips and can shoot the best portraits possible, go out and build your portfolio. Share your work online and attract more and more people to see your work. Best of luck and happy shooting!
*Affiliate Disclaimer - I am a proud partner of the various affiliate programs including the Amazon.com Affiliate Program. When you click on my links and make a purchase I make a commision which goes to helping me support this blog. Thanks! |